Summer Sale – lots of hot prizes!
  • Secure order
  • Easy return shipment
  • Service-Hotline +32 50 89 35 27
VBS Basteln und Hobby

light arch , Stamped with Miniatures

Instructions No. 4068

Instructions No. 4068

Difficulty: Beginner

Working time: 2 Hours 30 Minutes

Share article:
Print instructions View material list
Material list
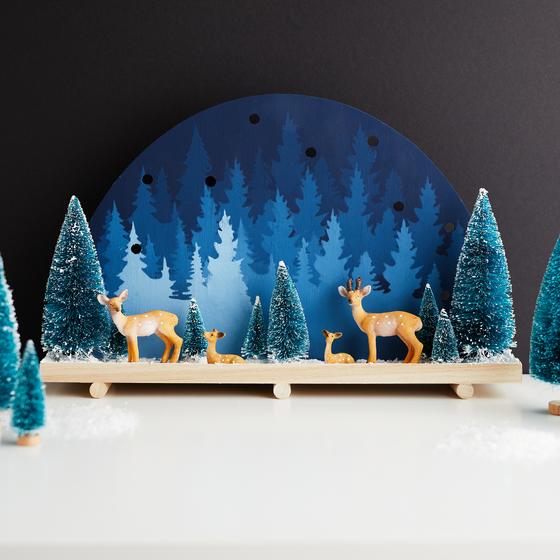
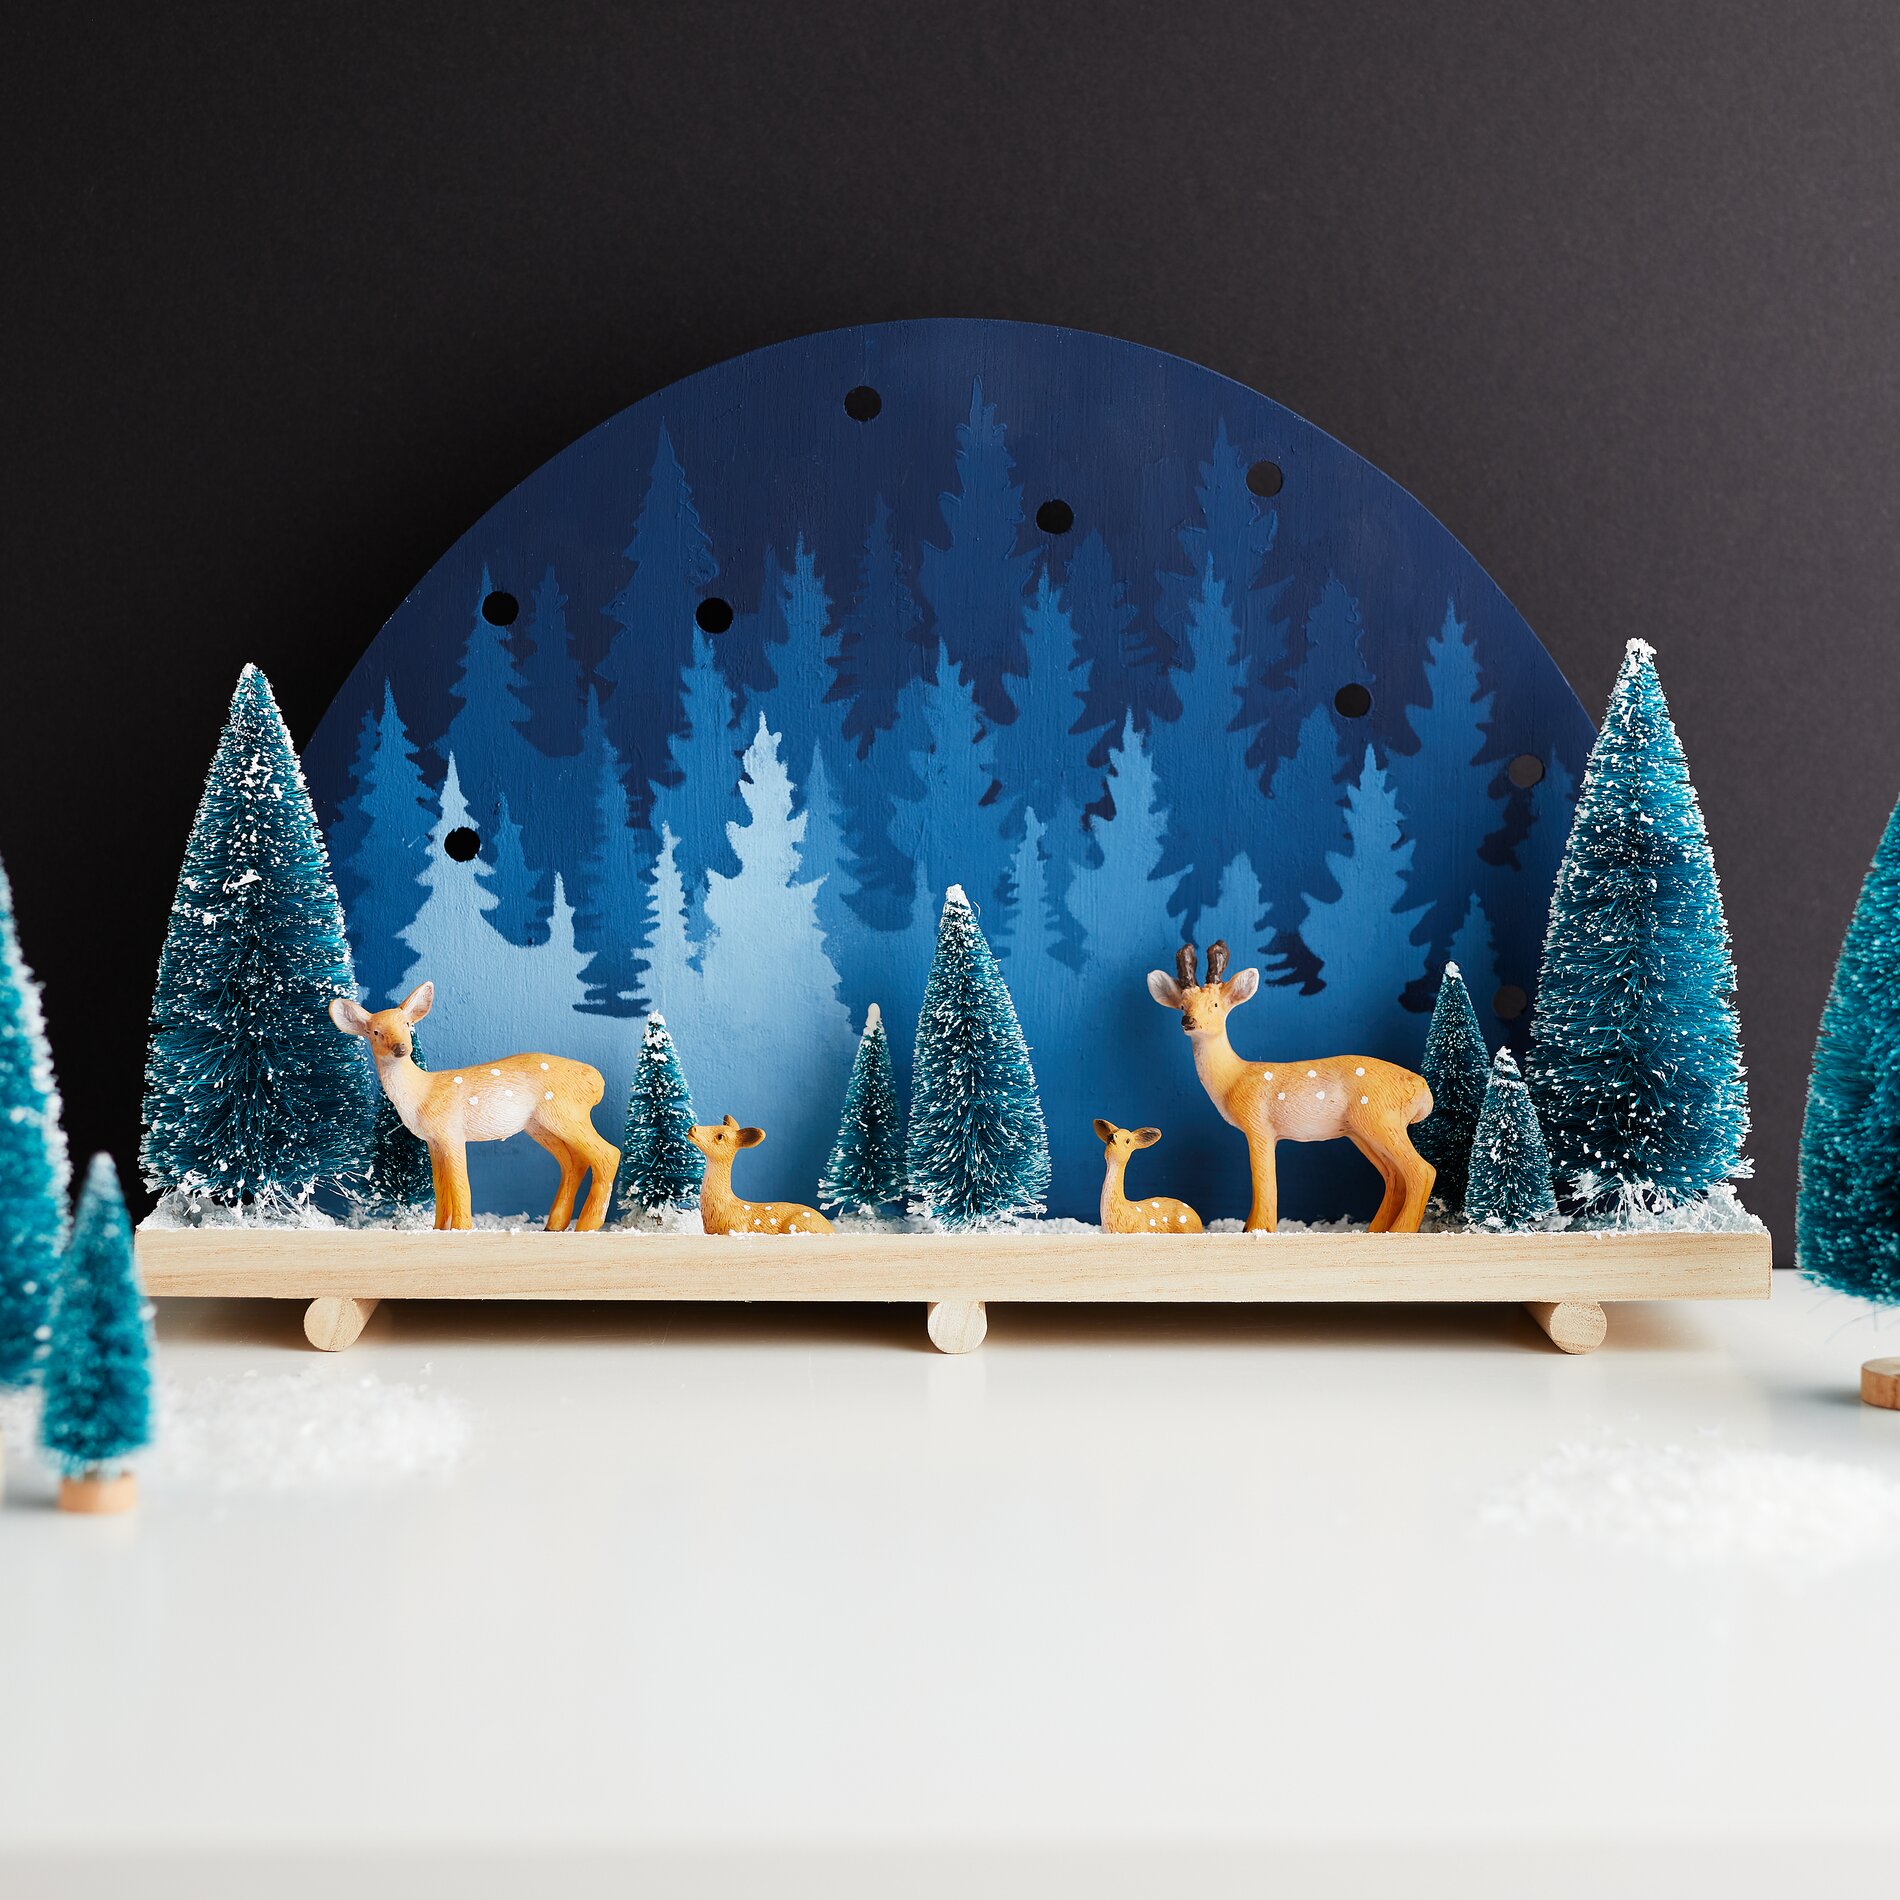
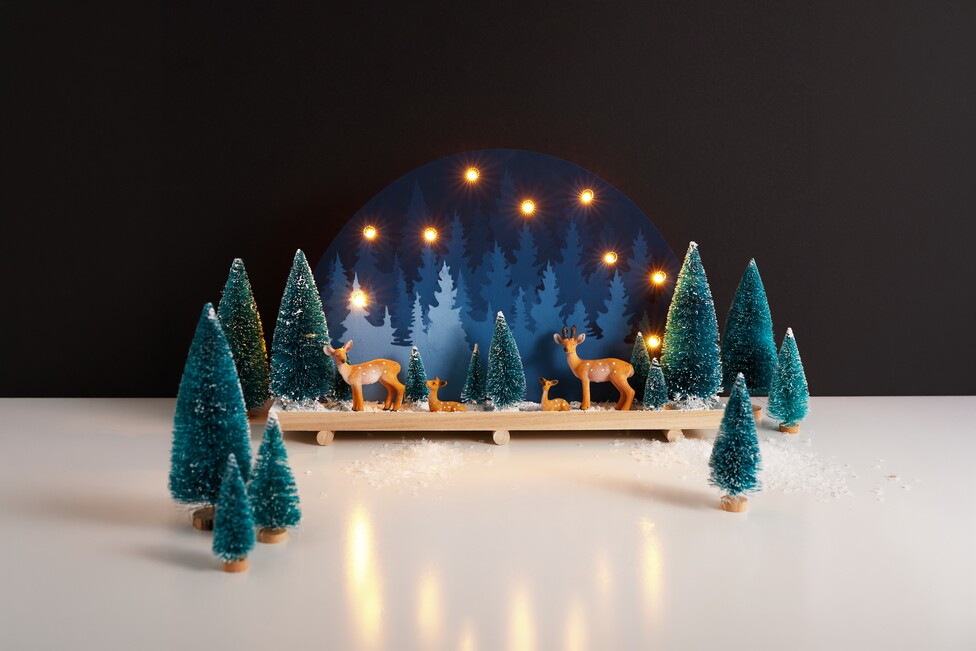
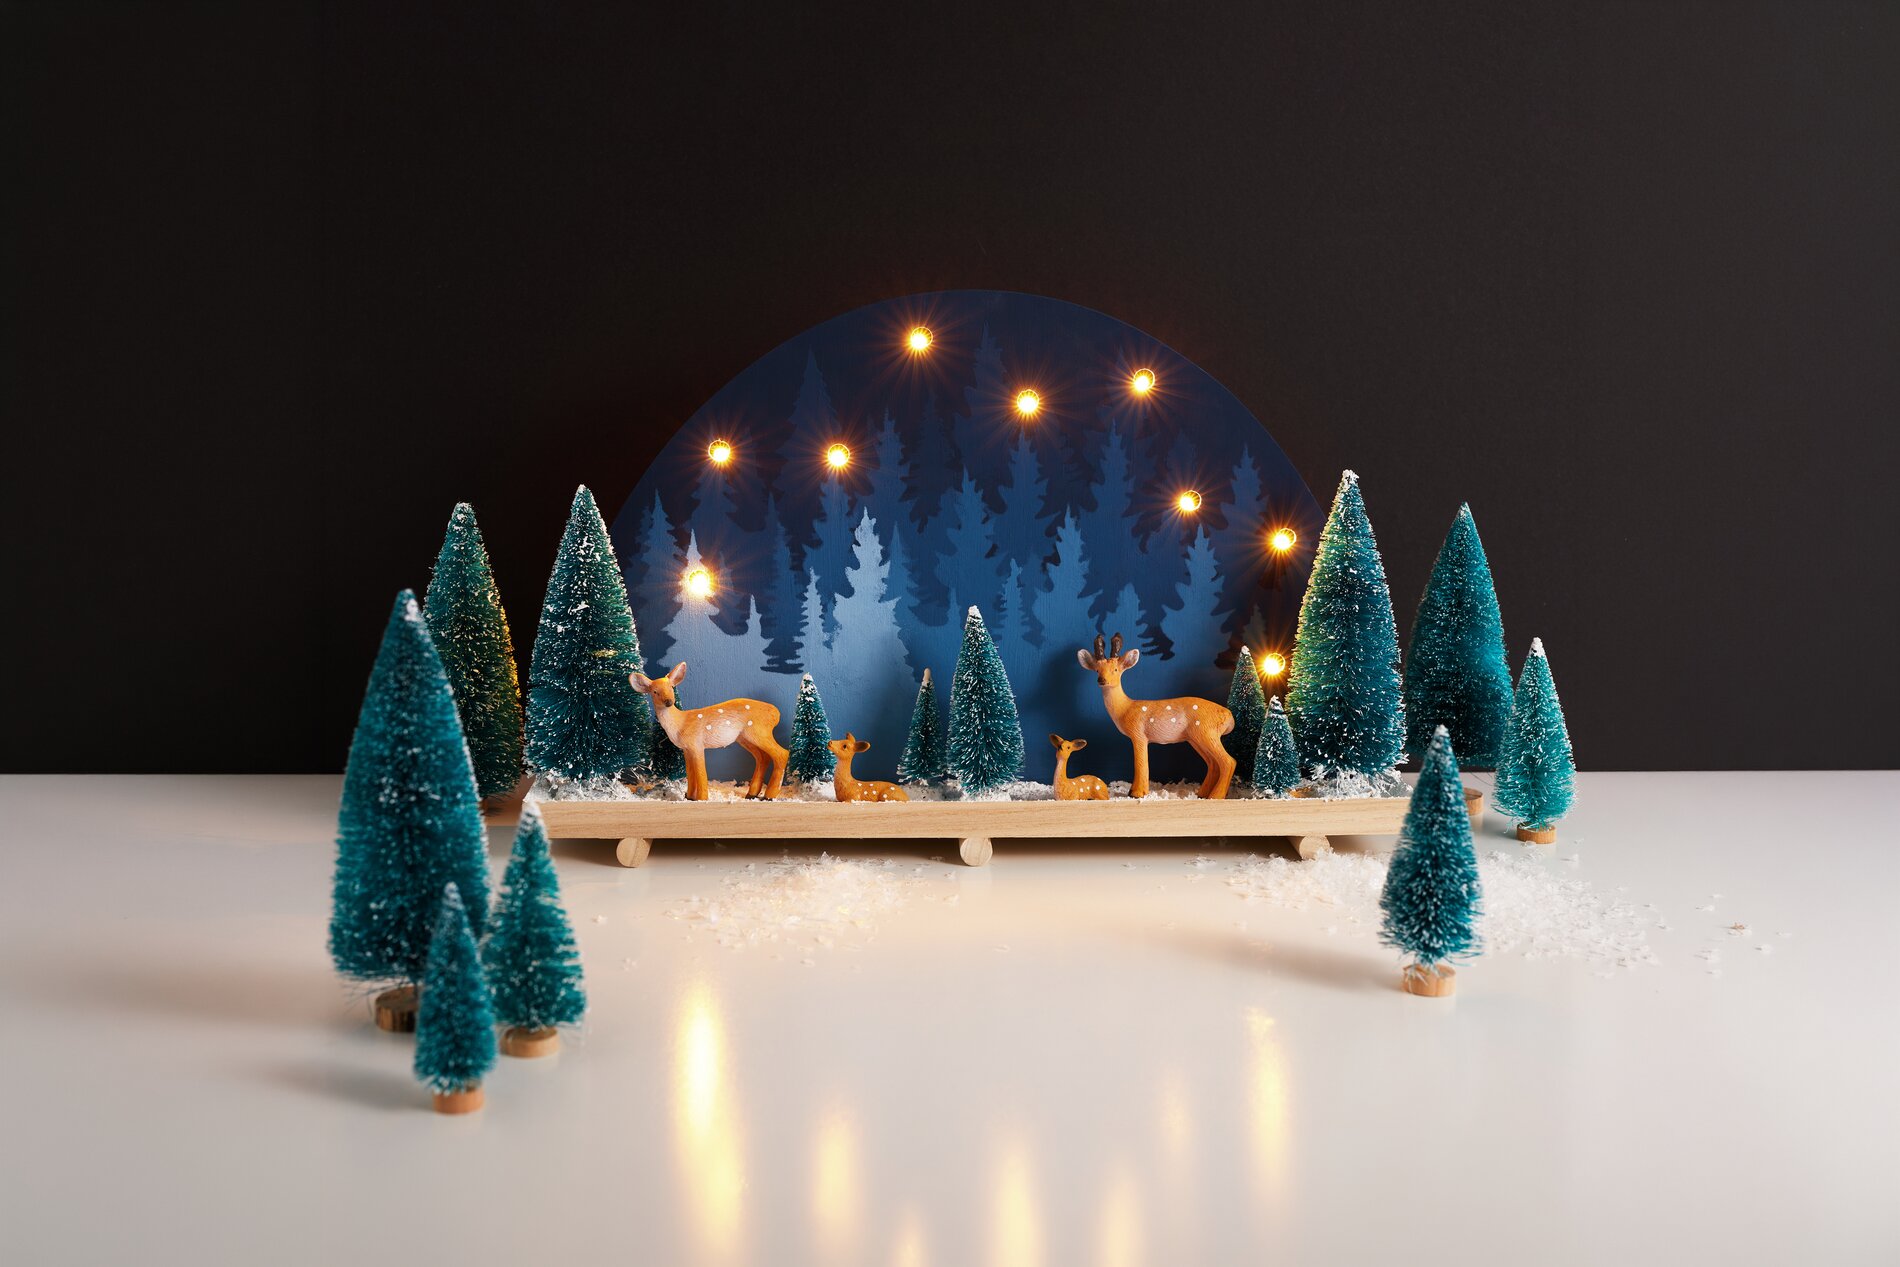
With a stencil set, you can create a winter-themed “ light arch ” featuring an atmospheric forest silhouette. “ stenciling ” and soft color gradients create a serene night sky that looks particularly elegant. “ decorative snow ” and small figures bring your scene to life and add depth. This project is ideal for beginners and is also perfect for decorating a windowsill, sideboard, or Advent table.
Gather everything you need for priming, stenciling , and decorating. It’s best to work on a wipeable surface and have a sponge or stencil brush as well as a soft cloth on hand. This ensures an even application of paint and allows you to wipe away small mistakes immediately before they dry.

1. Prime the “ light arch ”—the foundation for a deep night sky
First, completely prime the “ light arch ” with “ handicraft paint ” in “ navy blue ” and let the paint dry thoroughly. The opaque primer ensures that the blue tones applied later look clean and give the “Winterwald” a harmonious depth. Be sure to paint the edges and curves evenly so that the background looks smooth and seamless later on.

2. Mixing Blue Shades – for a Soft Color Gradient
Next, mix several shades of blue: Start with a light blue and work your way up to a very dark blue . The goal is to create a harmonious gradient that resembles a sky that gets lighter toward the bottom. Quickly test the shades on Paper or an inconspicuous area to ensure the transitions are clearly visible but not harsh.

3. stenciling: Building a Pine Forest Step by Step from the Top Down
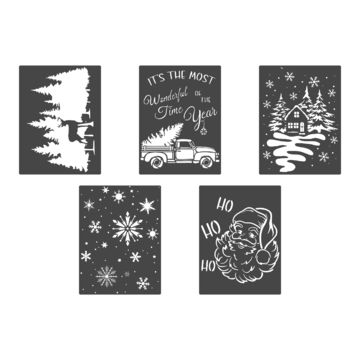
For the “ stenciling ,” we used a motif stencil from the VBS "Christmas Time" stencil set. Position the " stencil " along the top edge of the light arch. Using a sponge or brush, apply a shade of blue that’s slightly lighter than the navy blue background. It’s better to dab the paint on in several thin layers rather than applying too much at once. This prevents the paint from running under the “ stencil ” and keeps the fir tree outlines clean and crisp.

4. Create a color gradient—from dark to light
Once your first coat of paint has dried, move the “ stencil ” slightly downward and dab on the next coat using another, slightly lighter shade of blue. Continue working this way, layer by layer. With each new Position , use a lighter shade of blue than before. This creates a smooth transition: at the top, the forest appears darker and denser; at the bottom, lighter and airier. Take your time with the transitions and overlap the areas slightly so that the stenciled forest looks seamless and doesn’t appear divided into stripes.

Once the background and the stencil design are finished, let everything dry completely. This step is important so that you don’t leave fingerprints in the paint when you later place and press down the decorations, and so that the winter forest retains its clear silhouette.

5. Arranging the Fir Trees – Creating Depth and Perspective
Place the fir trees on the base plate as desired and glue them in place. For a natural look, place larger trees toward the back and smaller ones toward the front. This automatically creates a sense of depth, giving your “ light arch ” the classic winter landscape look.

6. Apply “ decorative snow ”—make the ground look like it’s freshly snow-covered
Next, generously coat the entire base with “ handicraft glue ” and spread “ decorative snow ” over it. Make sure no wood is visible and that the bases of the fir trees are completely covered by the snow. The solid blanket of snow visually ties all the elements together and gives the scene a calmer, more refined look.

7. Placing the deer—securing them without extra glue
Now place the deer directly into the still-wet glue or “ decorative snow. ” This will automatically secure them in place, so no additional glue is needed. Press them down gently so they stand firmly, then let the snow surface dry undisturbed.

If you’d like, you can enhance the snowy effect in certain spots by dabbing a little more glue here and there and adding more snow. This makes the winter decoration look lively without appearing cluttered.

8. Attaching the “ chain of light ” to the Arch
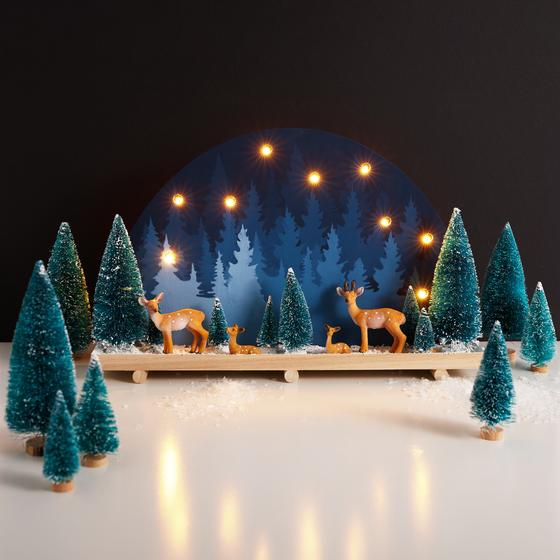
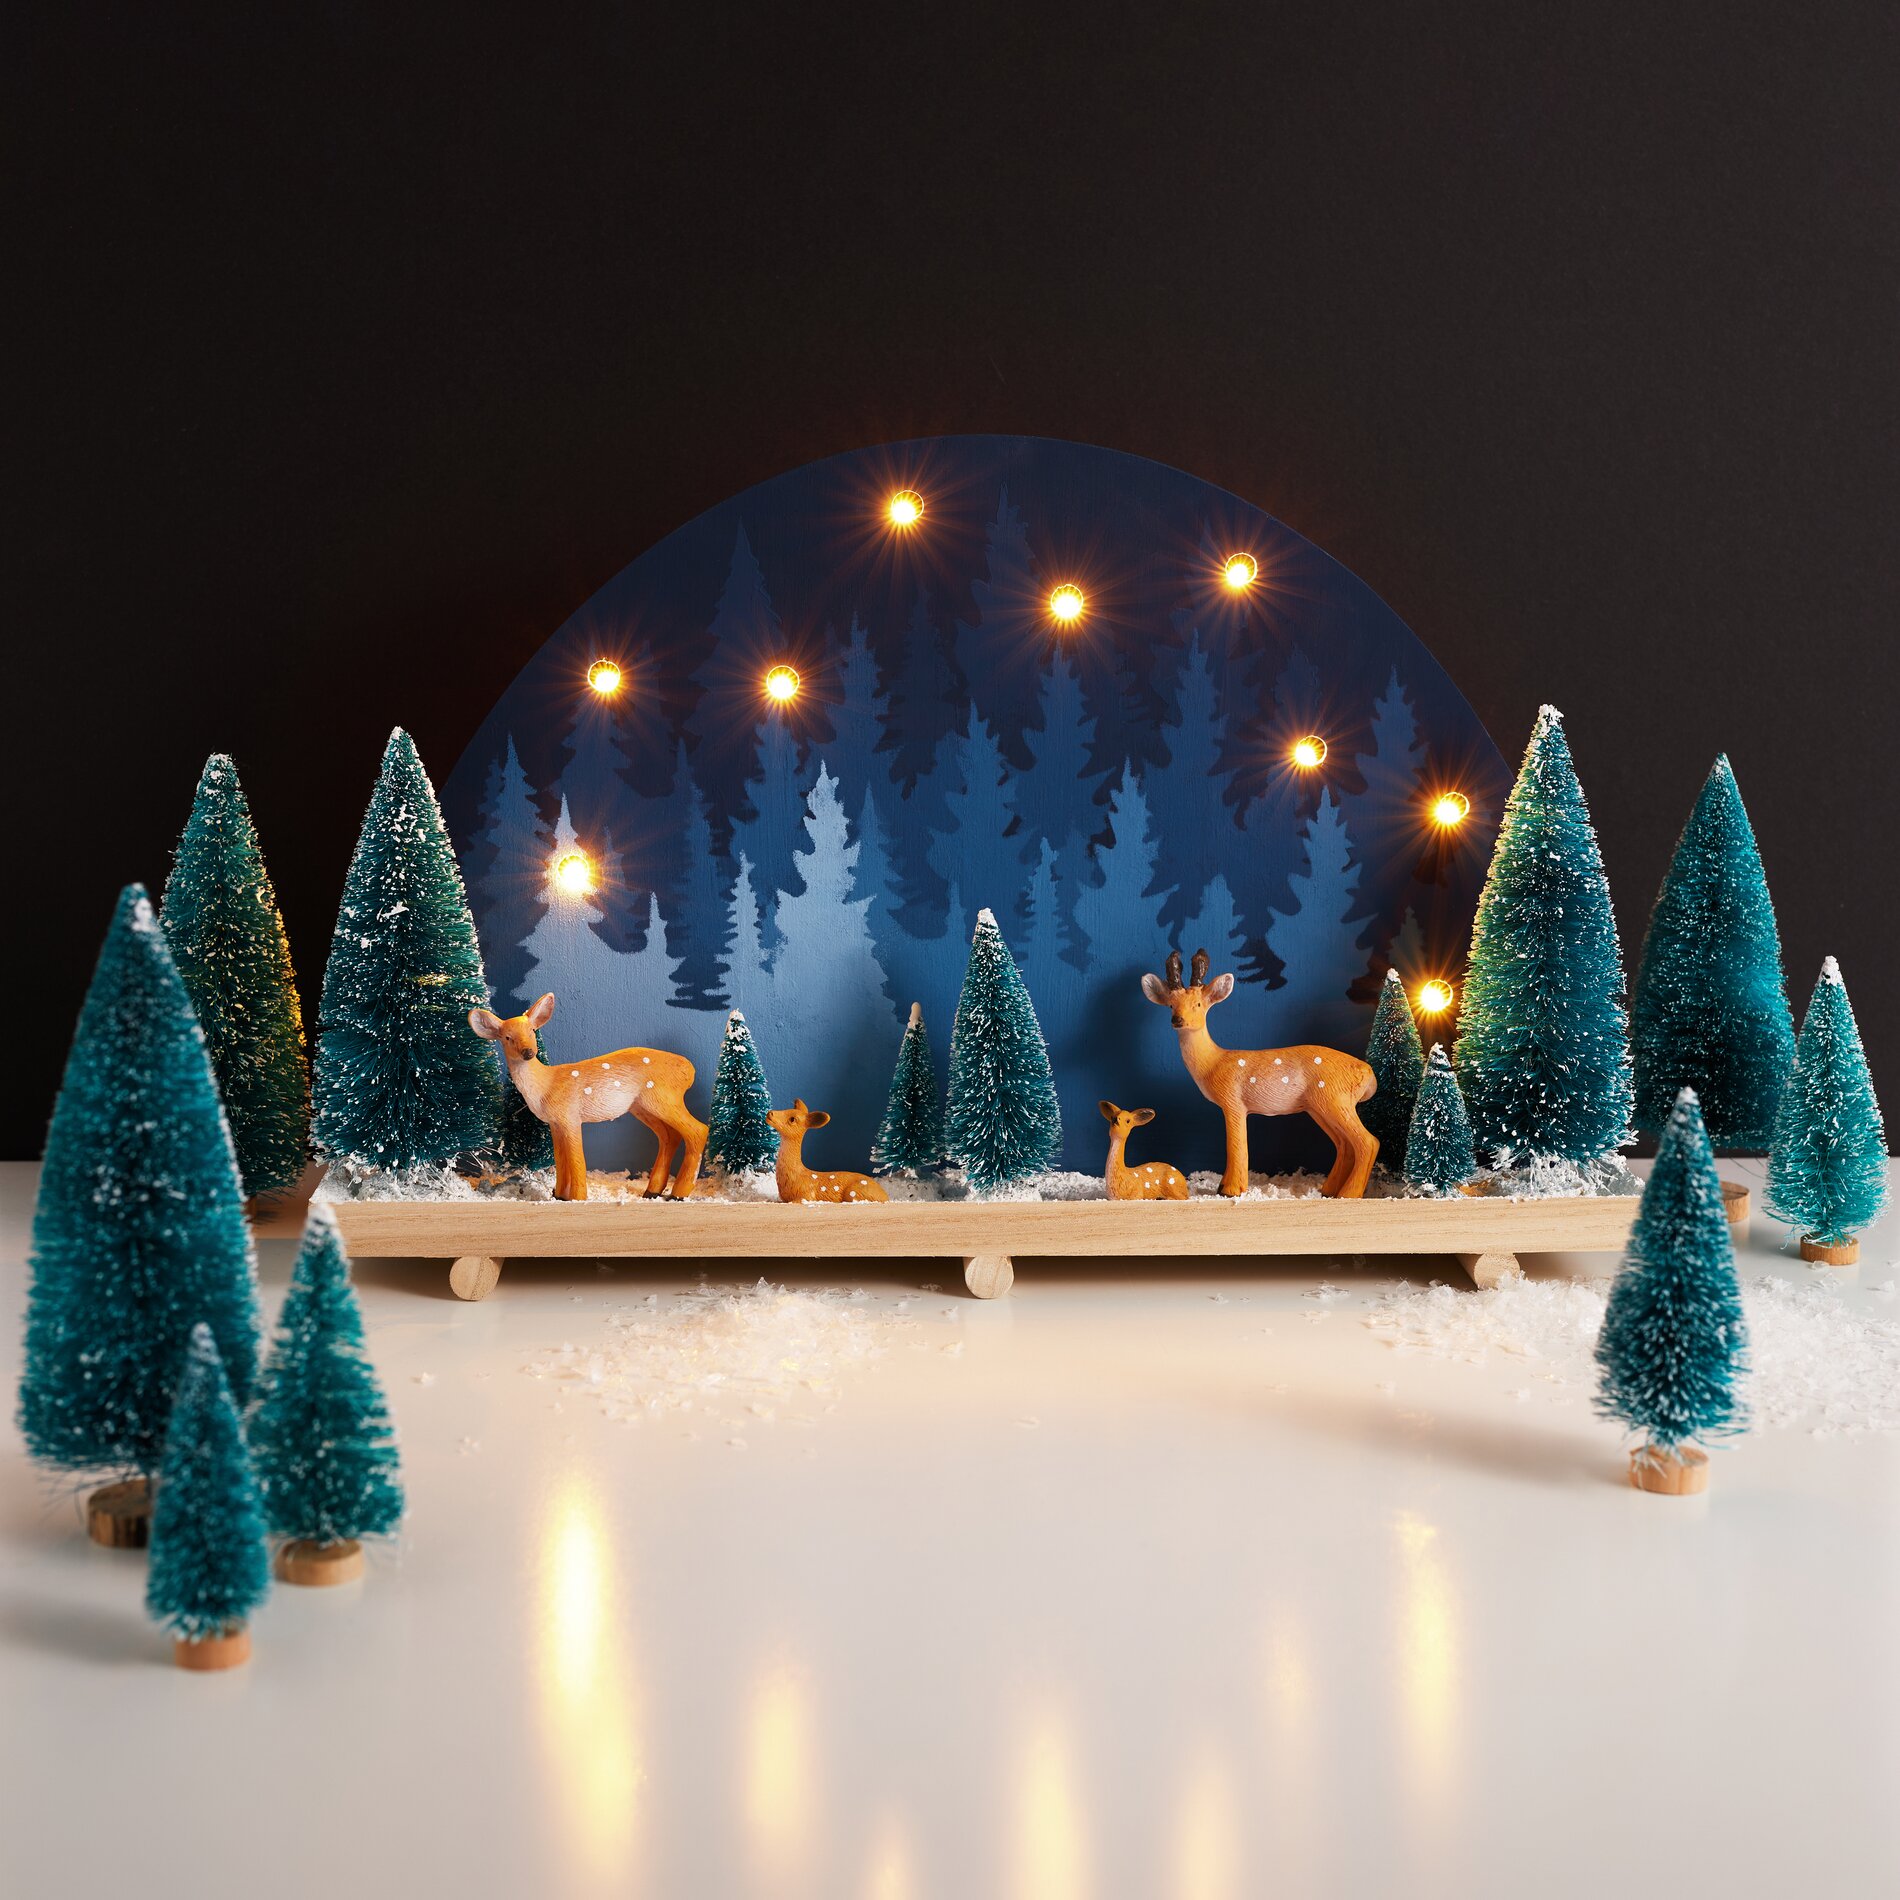
Attach the “ chain of light ” to the wooden arch by inserting the lights from the back through the holes provided. Secure them with a bit of hot glue to ensure the lights stay in place.

Your result: wintery decor with a stencil motif for the Christmas season Using “ stencil, ” in shades of blue and “ decorative snow ,” you’ll create an atmospheric “ light arch ” featuring a winter forest that perfectly complements the “ christmas decoration ” and is sure to be a success even for beginners. If you’re looking for more stencil ideas, paints, and supplies for winter craft projects, stop by the online shop and put together your next DIY-set.
Must Have

VBS Stencil set "Christmas Time"
Number of motifs: 5
Content: 5 pieces
Length: 28 cm
Width: 20 cm
Material: Plastic
4,99 €
Quantity:

Material list

VBS light arch for 10 light chain
Depth: 7.5 cm
Width: 42 cm
Height: 25.5 cm
Material: Raw wood
9,99 €
Quantity:
VBS Stencil set "Christmas Time"
Number of motifs: 5
Content: 5 pieces
Length: 28 cm
Width: 20 cm
Material: Plastic
4,99 €
Quantity:
VBS Miniature fir tree, set of 16, snowed
Content: 16 pieces
Material: Wood, Plastic
11,99 €
Quantity:
VBS Decorative snow, 230 ml
Fill volume: 230 ml
6,59 €
(1 l = 28,65 €)
Quantity:
Permanently reduced
VBS Craft paint, 50 ml, Navy blue
Fill volume: 50 ml
Suitable for kids
Solvent-free
2,99 €
(1 l = 59,80 €)
3,29 €
Quantity:
Permanently reduced
VBS Craft paint, 50 ml, White
Fill volume: 50 ml
Suitable for kids
Solvent-free
2,99 €
(1 l = 59,80 €)
3,29 €
Quantity:
VBS Micro LED chain of lights, with timer, 10 LEDs
Timer
Number of lamps: 10
Switch
Batteries included
Length: 110 cm
Material: Plastic, Copper wire
3,49 €
Quantity:

You need these articles in addition:

VBS Plastic spatula, 5 parts
Content: 5 pieces
Length: 19 cm
Material: Plastic
3,79 €
Quantity:
Pattex hot glue gun "Made@Home"
Number of parts: 7
Hz: 50 - 60
Material: Plastic
19,99 €
Quantity:
VBS Flat brush "BASIC", set of 6
Content: 6 pieces
Material: Wood, Metal
5,99 €
Quantity:
The item has been successfully added to your shopping cart.
Your Cart is still empty
Allow cookies and other technologies?

We process your user data by means of 16 cookies and other analysis and tracking technologies ("cookies") to optimise the website, create user profiles and display interest-based advertising. We also access or retrieve information on your end devices. We also pass on some of the data collected in this way to our partners, who may be based outside the European Union, for example in the USA (see „Data protection declaration“). It cannot be ruled out that your data will be linked to other data already stored about you. By clicking on the "Accept" button, you agree to the use of your data. You can refuse the use of your data by clicking on "Refuse". To revoke your consent for the future at any time, to change your settings or for further information, click "Privacy settings" in the footer of each page.

Further options
Settings
Cookies are small text files that are placed on your computer by your web browser to store certain information.
always active
Essential functionalities
Data collected through these services is required to provide basic shopping functions and to ensure the technical performance of the website. To this end, information is exchanged with reliable analysis partners.
Analysis cookies for a better service offering
We collect and store data that is used to analyse user behaviour and evaluate it in order to improve our services. This enables us, for example, to improve the user-friendliness of your customer account. To this end, information is exchanged with reliable analysis partners. This includes the following 3 Cookies and third-party providers:
- Google Analytics of Google Google Ireland Limited
- Mouseflow, a web analysis tool from Mouseflow ApS
- Microsoft Clarity, ein Webanalyse-Tool der Microsoft Corporation
Marketing cookies
We collect and store data for advertising purposes, which allows us to display ads that are relevant to you on partner sites, in apps & emails. For this purpose, information is shared with trusted advertising partners. These include the following 15 cookies and third parties:
- Google Customer Reviews by Google LLC
- Custom Audiences remarketing feature of Meta Platforms Ireland Limited.
- Google Conversion Tracking by Google Ireland Limited
- Remarketing or "Similar Audiences" function of Google Ireland Limited
- Microsoft Advertising of Microsoft Corporation
- Affiliate programme "Awin" of AWIN AG
- Facebook of Meta Platforms Ireland Limited
- Instagram of Meta Platforms Ireland Limited
- Pinterest of Pinterest Inc.
- Embedding of YouTube videos by Google Ireland Limited
- Live chat system of MessageBird B.V. (and this partner then Sentry of Sentry and Polyfill.io of The Financial Times Limited)
- Personalised recommendations from Optimizely Inc.
- Trustbadge of the Trusted Shops AG
- Google Tag Manager from Google Ireland Limited
- Remarketing by NextRoll Inc.