- Secure order
- Easy return shipment
- Service-Hotline +32 50 89 35 27
Instructions No. 3114
Difficulty: Beginner
Working time: 2 Hours 30 Minutes
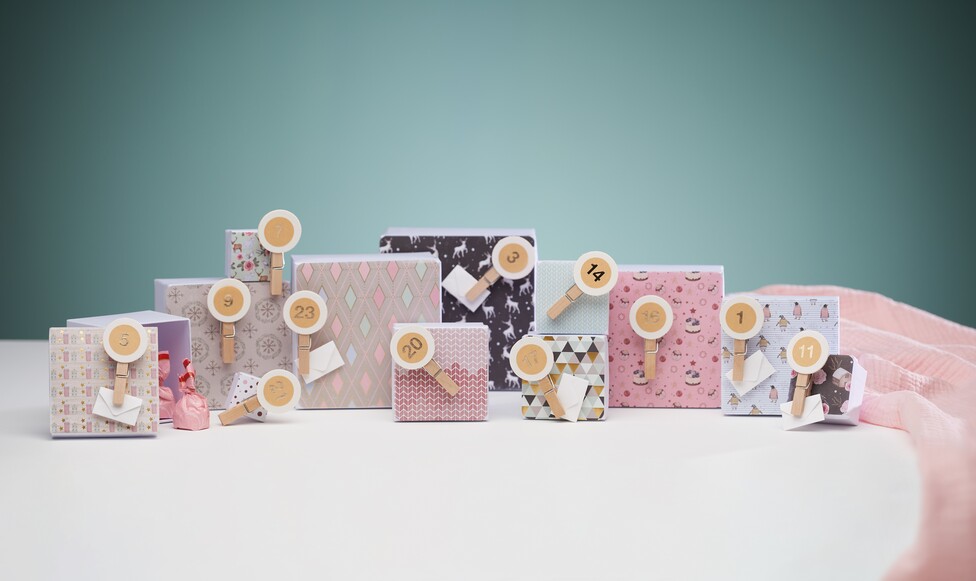
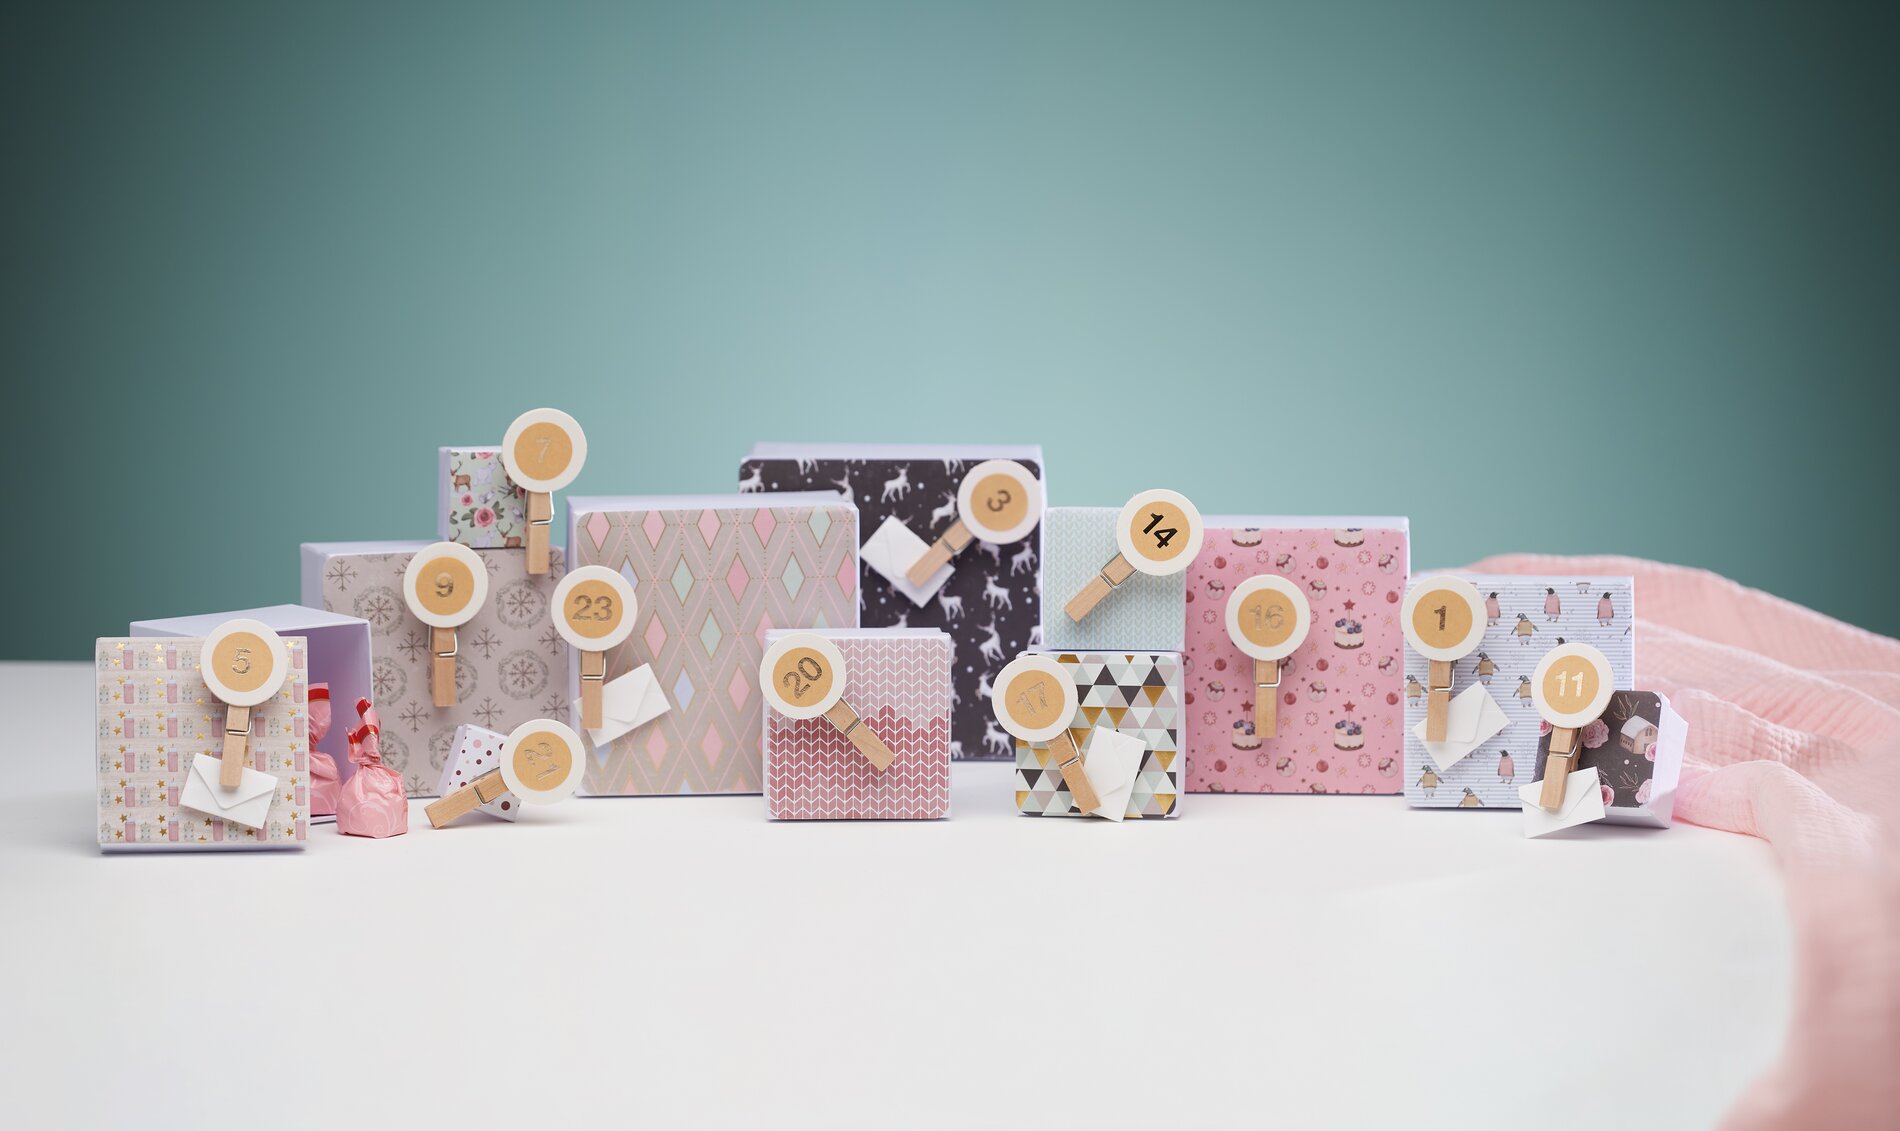
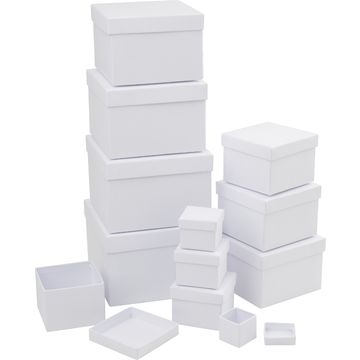
First, take the lids of the box and carefully cover them with pretty craft paper. Choose wintery or Christmassy motifs to create the right atmosphere. Cut the papers to fit the lids of the box and attach them using handicraft glue. Make sure to avoid air bubbles and smooth out the Paper .
Paint the wooden clips
Now it's time to embellish the wooden clips. Paint the circles on the wooden clips with white paint. This base ensures that the number stickers stand out well later on. Allow the paint to dry completely before continuing.
Stick on the number stickers
As soon as the paint has dried, stick the number stickers onto the painted circles on the wooden clips. These number stickers mark the individual days in advent calendar. Place the stickers in the middle and make sure they adhere well.
Attach the wooden clips
Now attach the prepared wooden clips to the box. Spread handicraft glue evenly on each clip and press firmly until the glue has dried and the clip is secure.
Insert messages
Write little messages, poems or loving notes on small pieces of paper or mini envelopes. These little surprises make the advent calendar particularly personal and unique. Insert the notes or envelopes into the wooden clips so that they are attached to the respective clip.