- Secure order
- Easy return shipment
- Service-Hotline +32 50 89 35 27
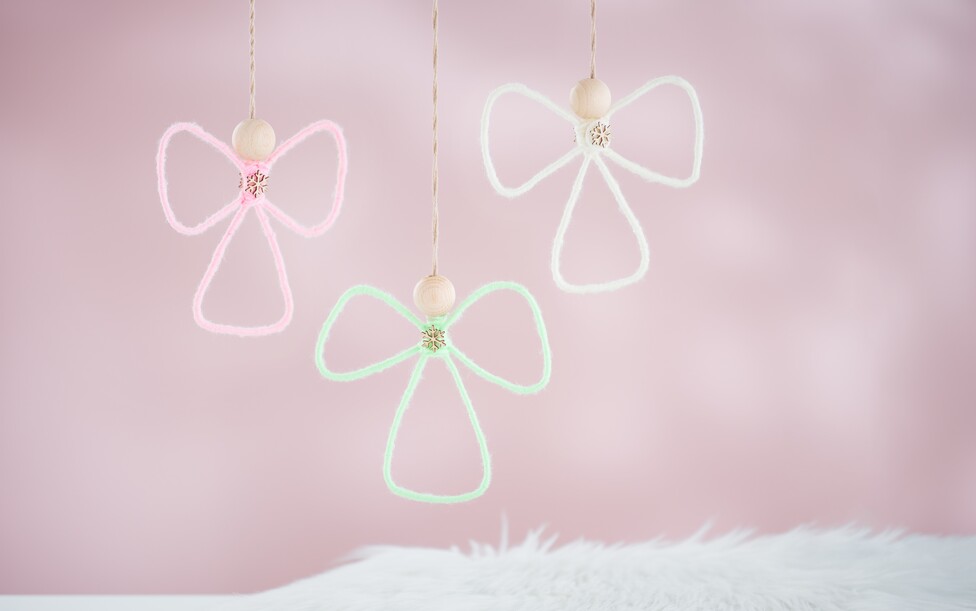
Instructions No. 3182
Difficulty: Beginner
Working time: 3 Hours 30 Minutes
Step 1: Shape the wire
Start by bending the wire on the template to form your angel. The wire forms the skeleton of your angel and determines its final shape and stability.
Step 2: Preparation for the suspension
Before you start winding the wool, place the cotton cord around the angel's neck for the suspension. This will make it easy to hang your angel later. Place the cord carefully so that it does not slip.
Step 3: Wrap the wool
Now it's time to start wrapping! Start at one of the wings and work your way slowly. Wrap the wool tightly around the wire and push it close together. This will give your angel a dense, even appearance. To ensure that the wool does not slip, tie a lark's head knot in between. This knot is formed by passing the ball of wool between the two strands of wool before wrapping further .
Step 4: Shape the body
Once you have reached the center of the angel's body, wrap the wool around the body several times. This not only only provides additional stability, but also gives your angel a beautiful appearance. The even and tight wrapping pays off particularly well here.
Step 5: Finishing at the neck
To finish the wrapping, wrap the wool around the angel's neck about three times and tie a tight knot. This secures the entire construction and prevents the wool from coming loose.
Step 6: Shape the head
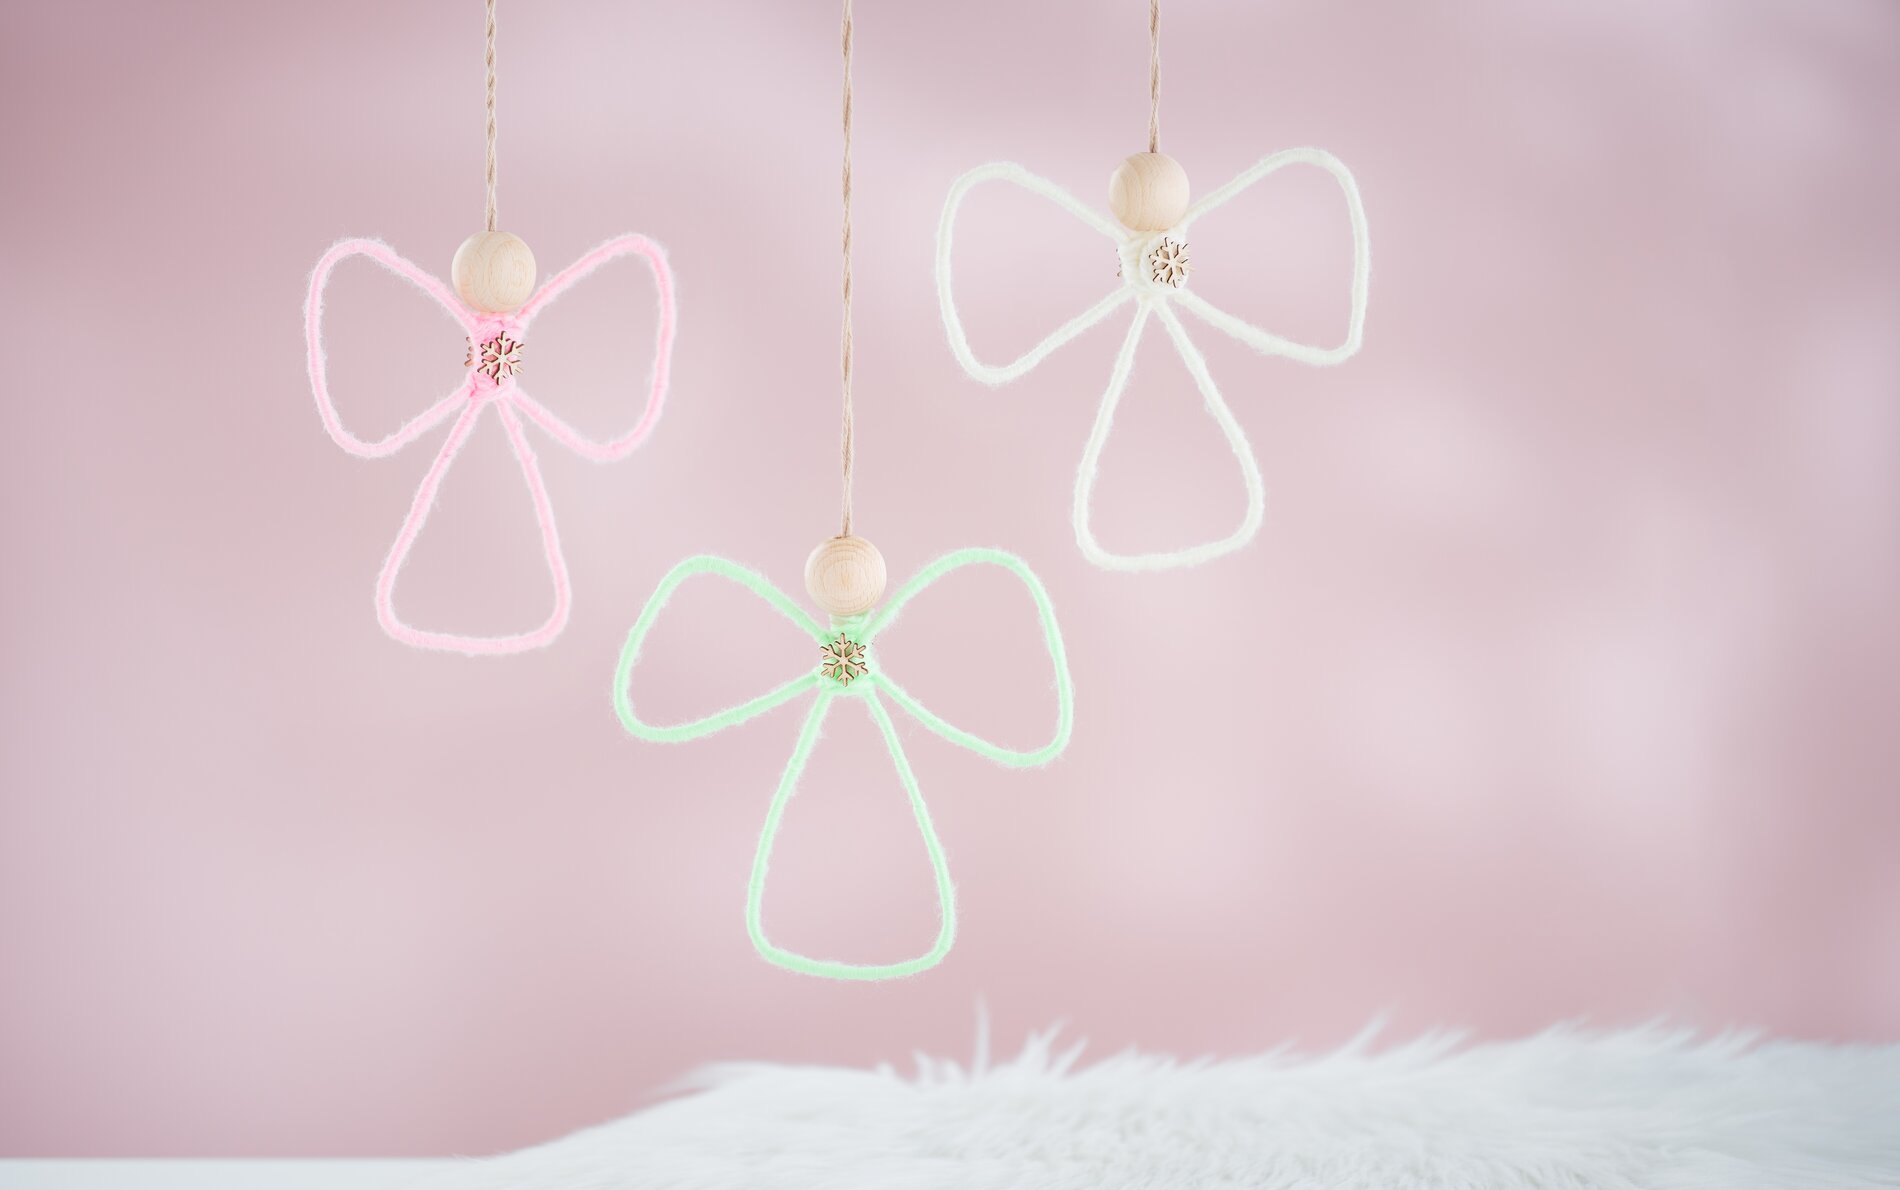
Pull the wooden ball onto the suspension and attach it to the body of your angel with a little hot glue. This ball serves as the head and rounds off the entire angel creation.
Step 7: Decorate the angel
As a final creative step, you can decorate your angel with decorative snowflakes. Let your imagination run wild and design your angel according to your personal taste.


