- Secure order
- Easy return shipment
- Service-Hotline +32 50 89 35 27
Instructions No. 3443
Difficulty: Beginner
Working time: 3 Hours
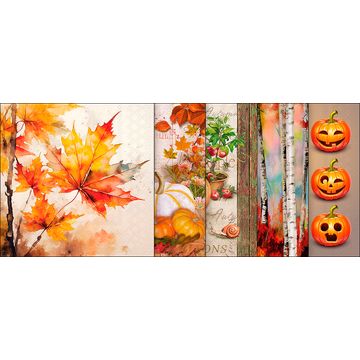
The basics of napkin technique
Before you dive into your creative projects, it's important to understand the basics of napkin technique . This technique is ideal for embellishing a variety of surfaces with decorative motifs.
Preparing the napkin: Start by carefully pulling apart the different layers of your napkin . You will need only the top, printed layer.Designing a light frame
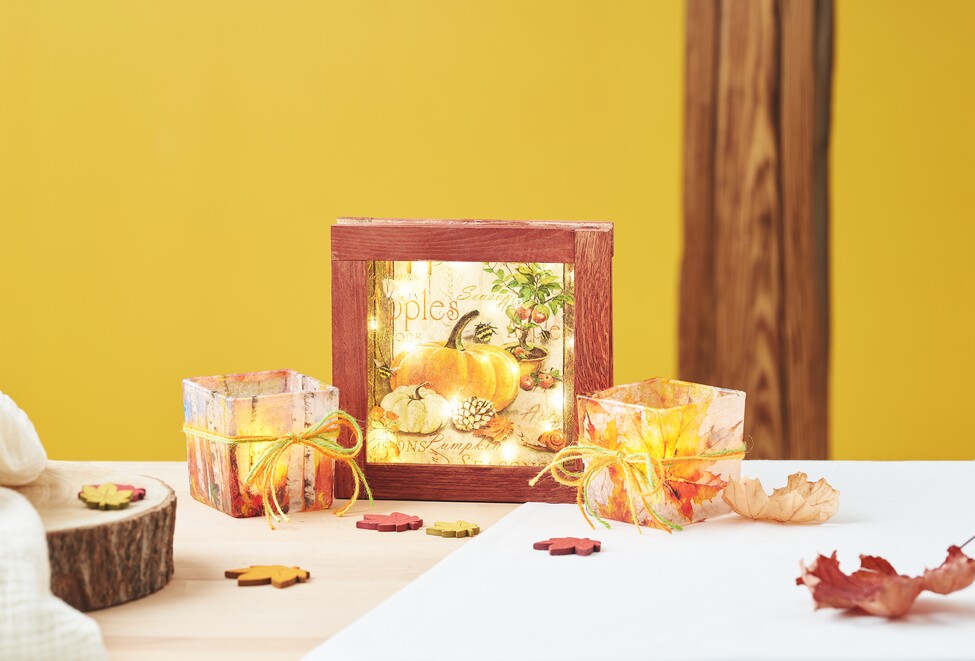
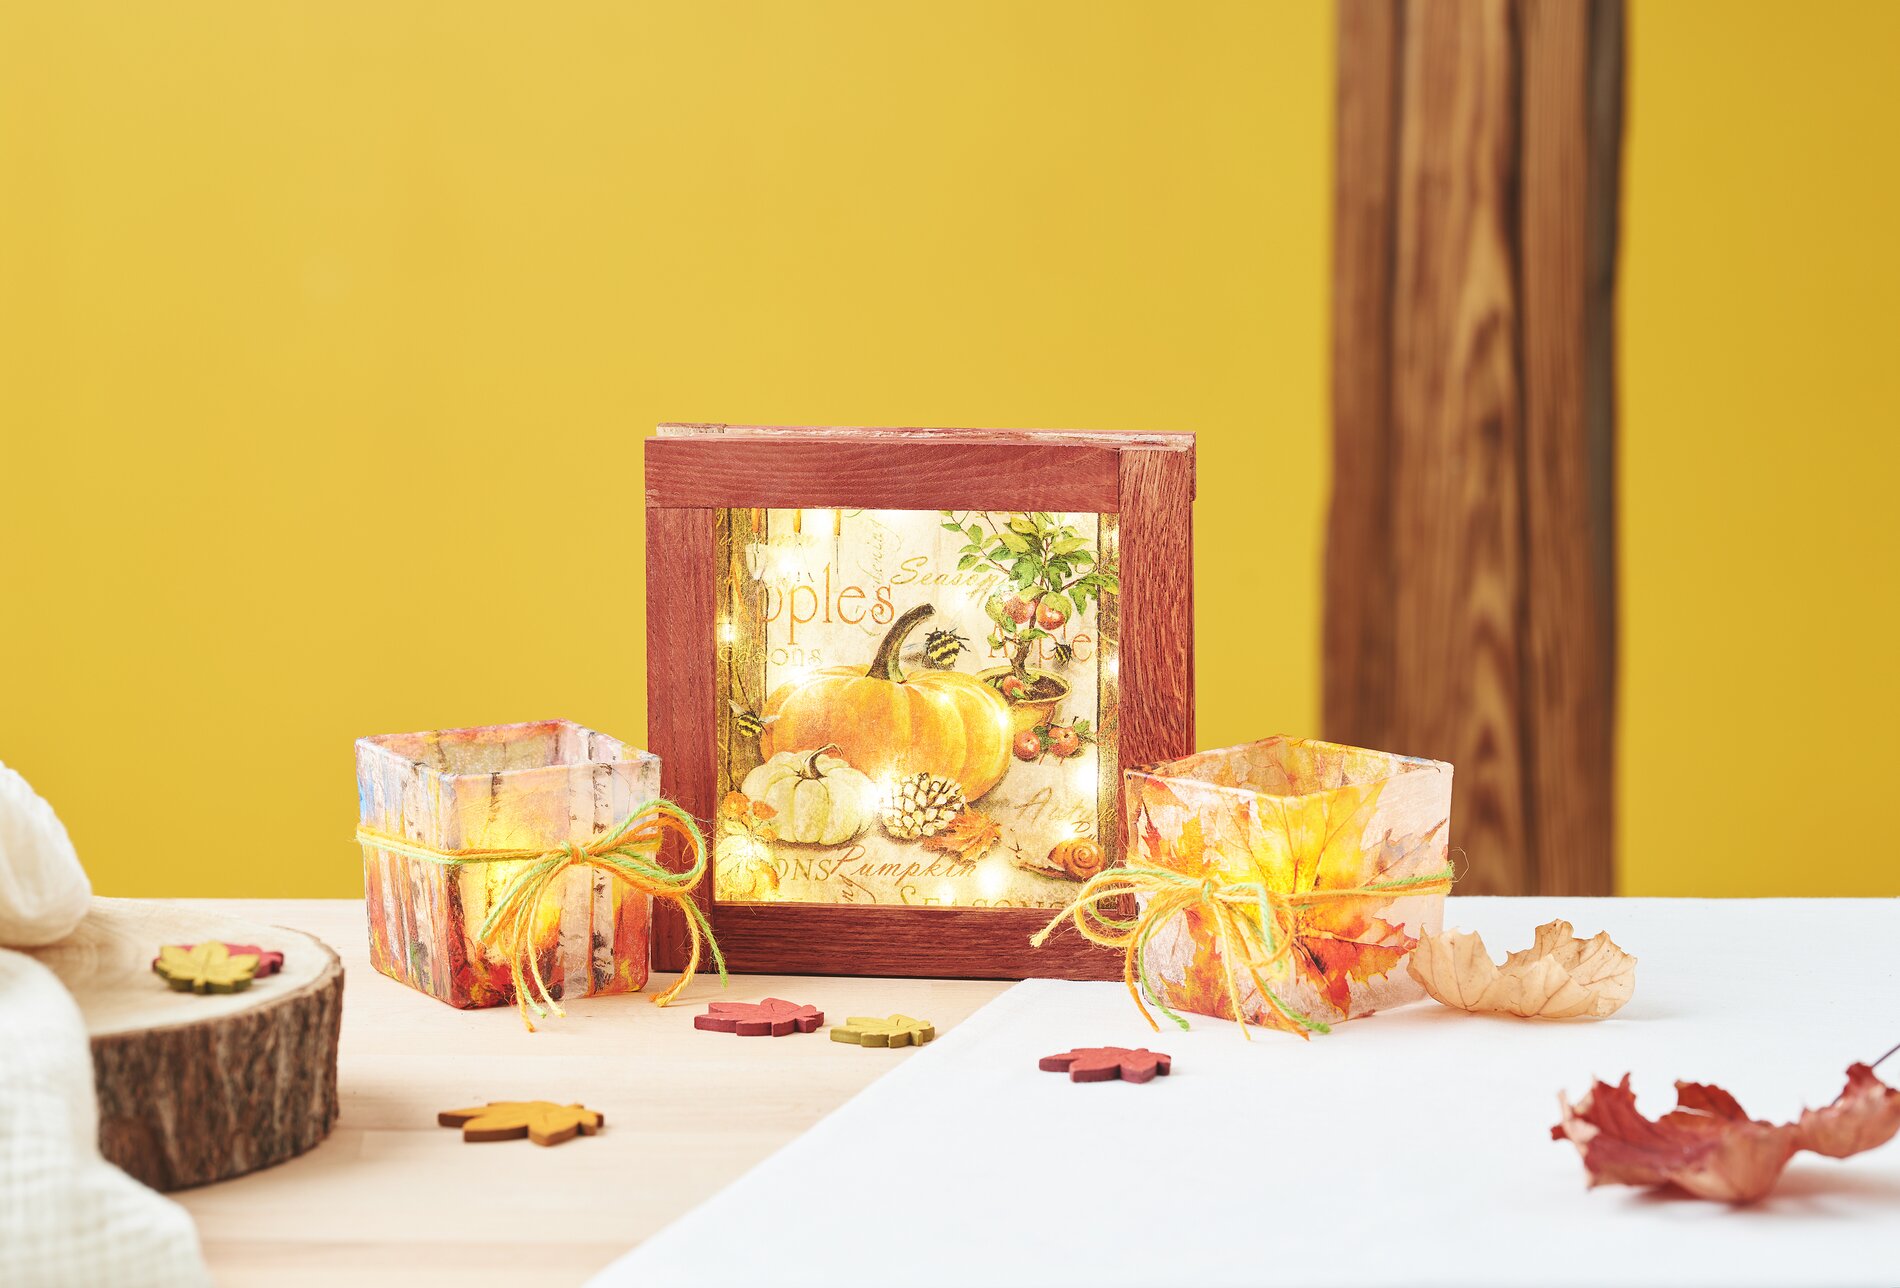
With a self-designed illuminated frame, you can create bright accents in any room. Find out how to do it here:
Set the frame: Glue together a sturdy frame from the craft blocks.
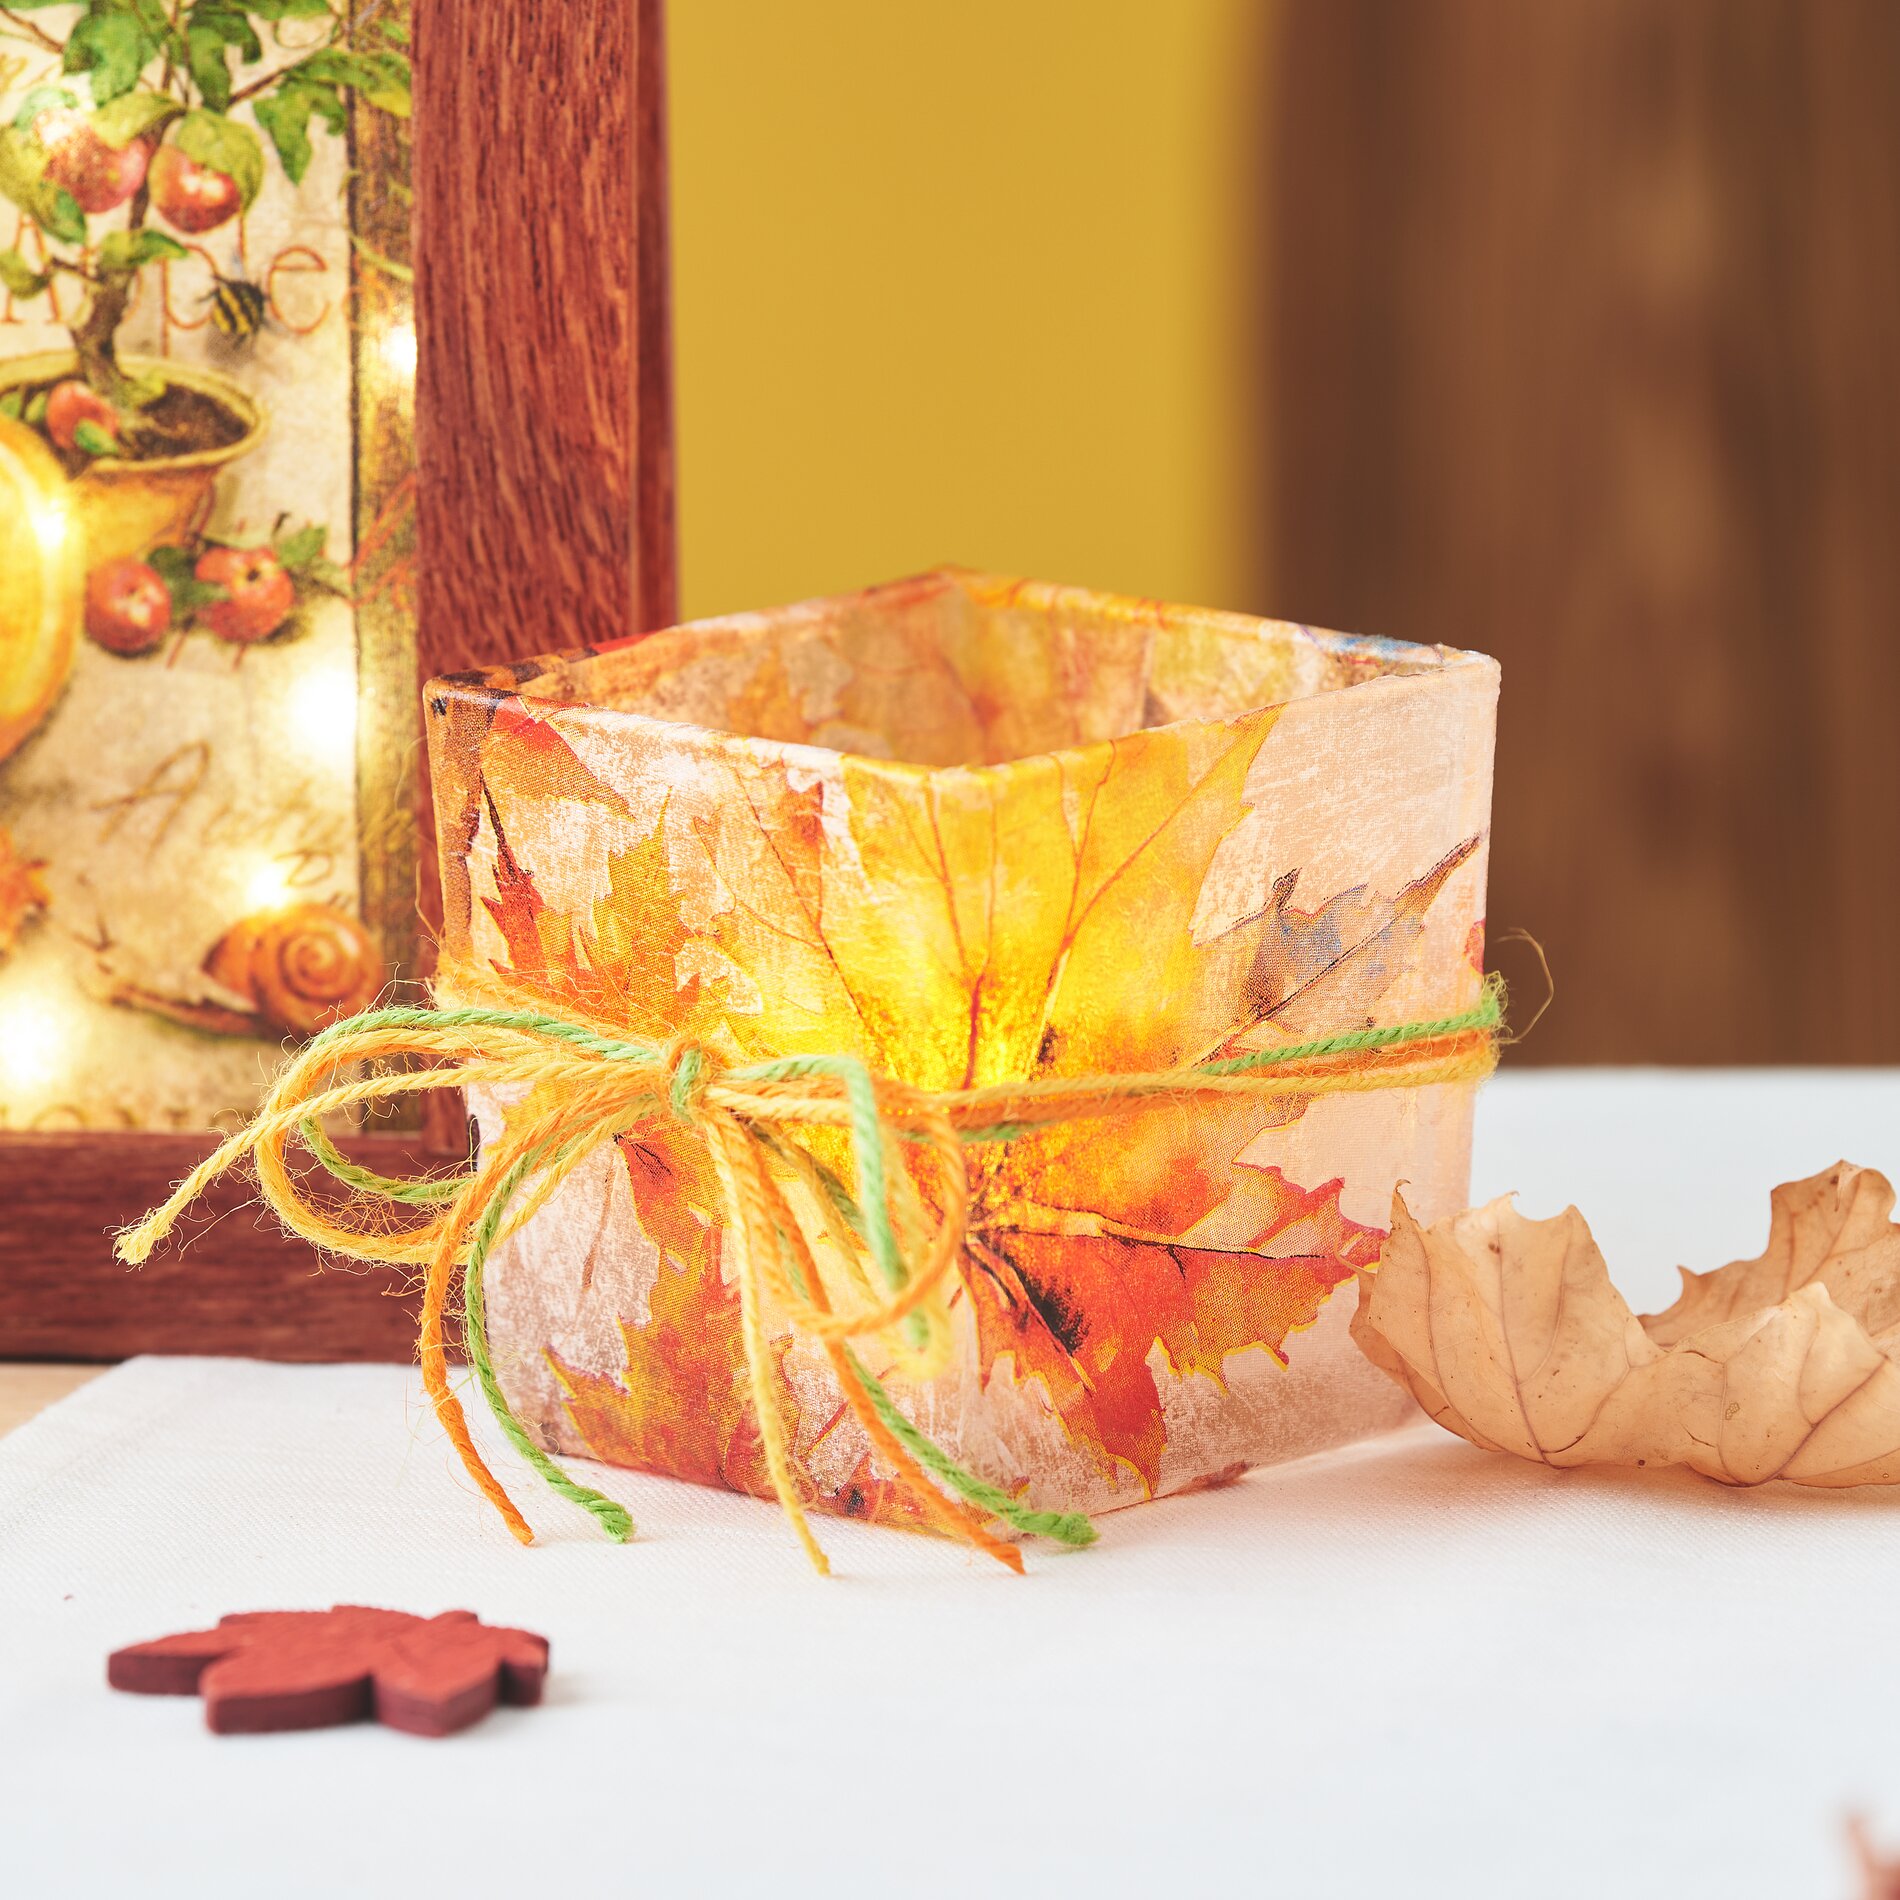
Cube tea light jars
Give your tea light jars a personal touch with napkin technique :
napkin technique to usethe technique on glass, you will need special napkin varnish for glass and porcelain. Apply it and the desired napkin motif in the same way as described above.Ready to get crafting?
Now that you know all the steps, it's time to get creative yourself! Visit our online store to discover all the materials you need for your projects DIY-Projects. Let your creativity run wild and design unique decorative pieces that will turn heads. Start your next crafting adventure today!