Basic instruction silk painting
Anleitung No. 2274Discover classic silk painting: with the right techniques, the special structure of precious silk can be used for fascinating paintings and color effects. Learn the typical techniques here and be inspired to new cutting-edge painting ideas.
Brief instructions for the window pictures shown
Transfer the stencil motif onto the large window picture using the Line-Ex pen. Trace the contours with colorless outline medium and let it dry thoroughly.Both window pictures are designed using the wet-on-wet technique, starting with the lighter shades when painting, then working with the darker colors. Sprinkle salt on the paint while it is still wet. You can remove this later after it dries through.
Fix the painted silk with the iron according to the instructions. Afterwards, you can wash them out and then iron them again. Decorate the window pictures with fine ribbons and attach a hanging chain to the pictures.
.
So funktioniert die Seidenmalerei
What is special about silk painting?
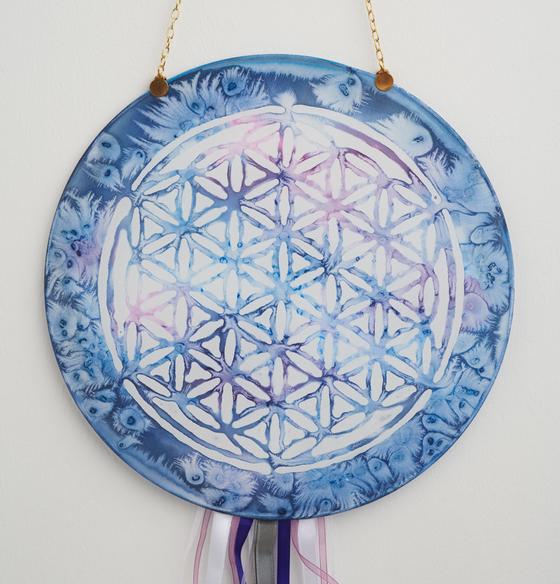
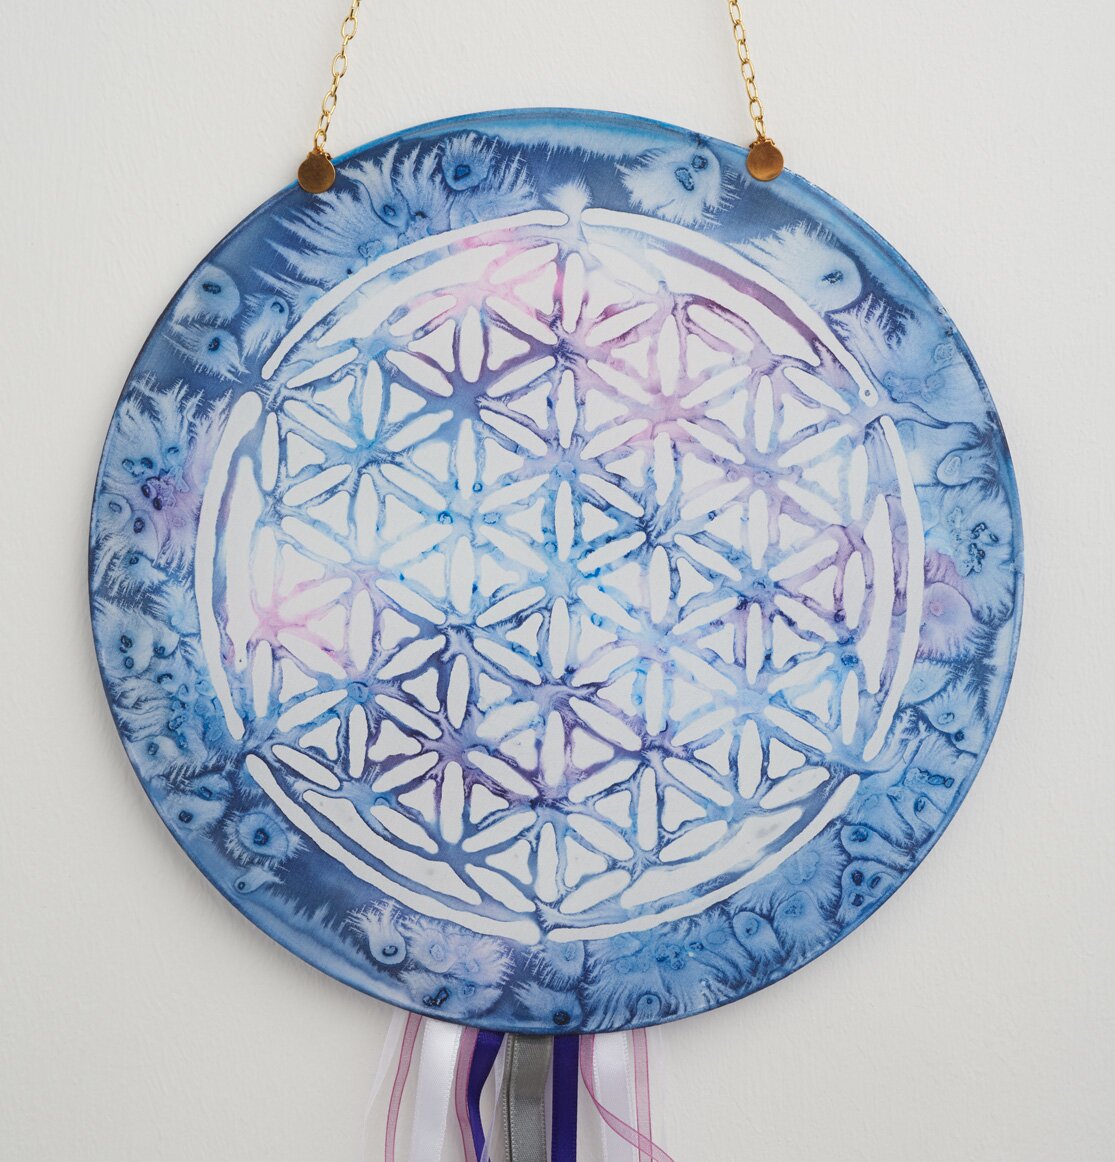
With its fine fibers, fine silk has a special surface structure. If you put a drop of silk paint on the material, it melts into a fascinating watercolor look. The paint dries to a colored surface that is light in the center and darker at the edges. Depending on which painting technique is used, this effect can be used or suppressed.Materials needed
Silk paint is a textile paint that penetrates directly into the silk fibers with particularly fine color particles. Depending on the product, the paint is fixed after painting with an iron (iron-fixable paint) or with steam (steam-fixable paint). The silk can be washed afterwards.To be able to paint silk, it is first stretched on a stretching frame with small needles or special trident pins. In our decoration example, the silk fabric of the silk window pictures is already stretched ready.
You paint with a special silk painting brush: this stores the color liquid particularly well in its fibers and releases it - if desired - only selectively over the tip.
Painting example for the wet-on-wet technique
In the wet-on-wet technique, you paint the entire image with color. Paint one or more colors into the still wet paint surface to create the typical "watercolor" effect.If you now sprinkle effect salt into the wet paint, it dries up especially dark in the areas that are covered with the salt.
In our example, we used a Posca Marker pen to write on the silk in the second step. The color of this pen can also be iron-fixed.
Painting with contouring agents
Contouring agents are used in silk painting to delineate the individual color areas from one another. Connoisseurs know silk contouring agents under the name "gutta". All contours or areas on the silk that are not to be designed with silk paint are covered with contour paint in the first step. After drying, the spaces in between can be filled with silk paint.Colored Gutta, like Silk Color, dries to permanent contours after a fixing process (ironing or steam fixing, depending on the product). Transparent Gutta can be washed out completely later.
Stenciling on silk
The contours of a painting stencil can be transferred particularly well with the Strich-Ex pen (the ink of this pen disappears after some time). This pen was originally developed specifically for this technique.Draw the contours directly from the liner bottle or with a brush and let the gutta dry. Now paint the rest of the surface according to personal taste.