Step 1: Preparing the castings
Start by mixing Raysin and water to a creamy mass. Make sure you choose a ratio of water to Raysin that results in an even and lump-free mixture. Then pour the finished mixture into the prepared molds. Avoid air bubbles by tapping the mold lightly.
Step 2: Drying the castings
For the origami boats, we recommend Time to dry: around 4 hours. This gives the mass enough time to harden and retain its shape. Other smaller castings are ready to be removed from the mold after about 30 minutes.
Step 3: Finishing - smoothing the edges
Once your castings are completely dry, carefully remove them from the molds. Use some sandpaper, to smooth the edges. This will give your castings a professional finish and ensure that they fit in well with the overall look of your table decoration.
Step 4: Designing the wooden tray
While your castings are drying, paint the edge of your wooden tray with sea green handicraft paint. This color adds a fresh touch and enhances the maritime flair of your decoration. Allow the paint to dry well before continuing.
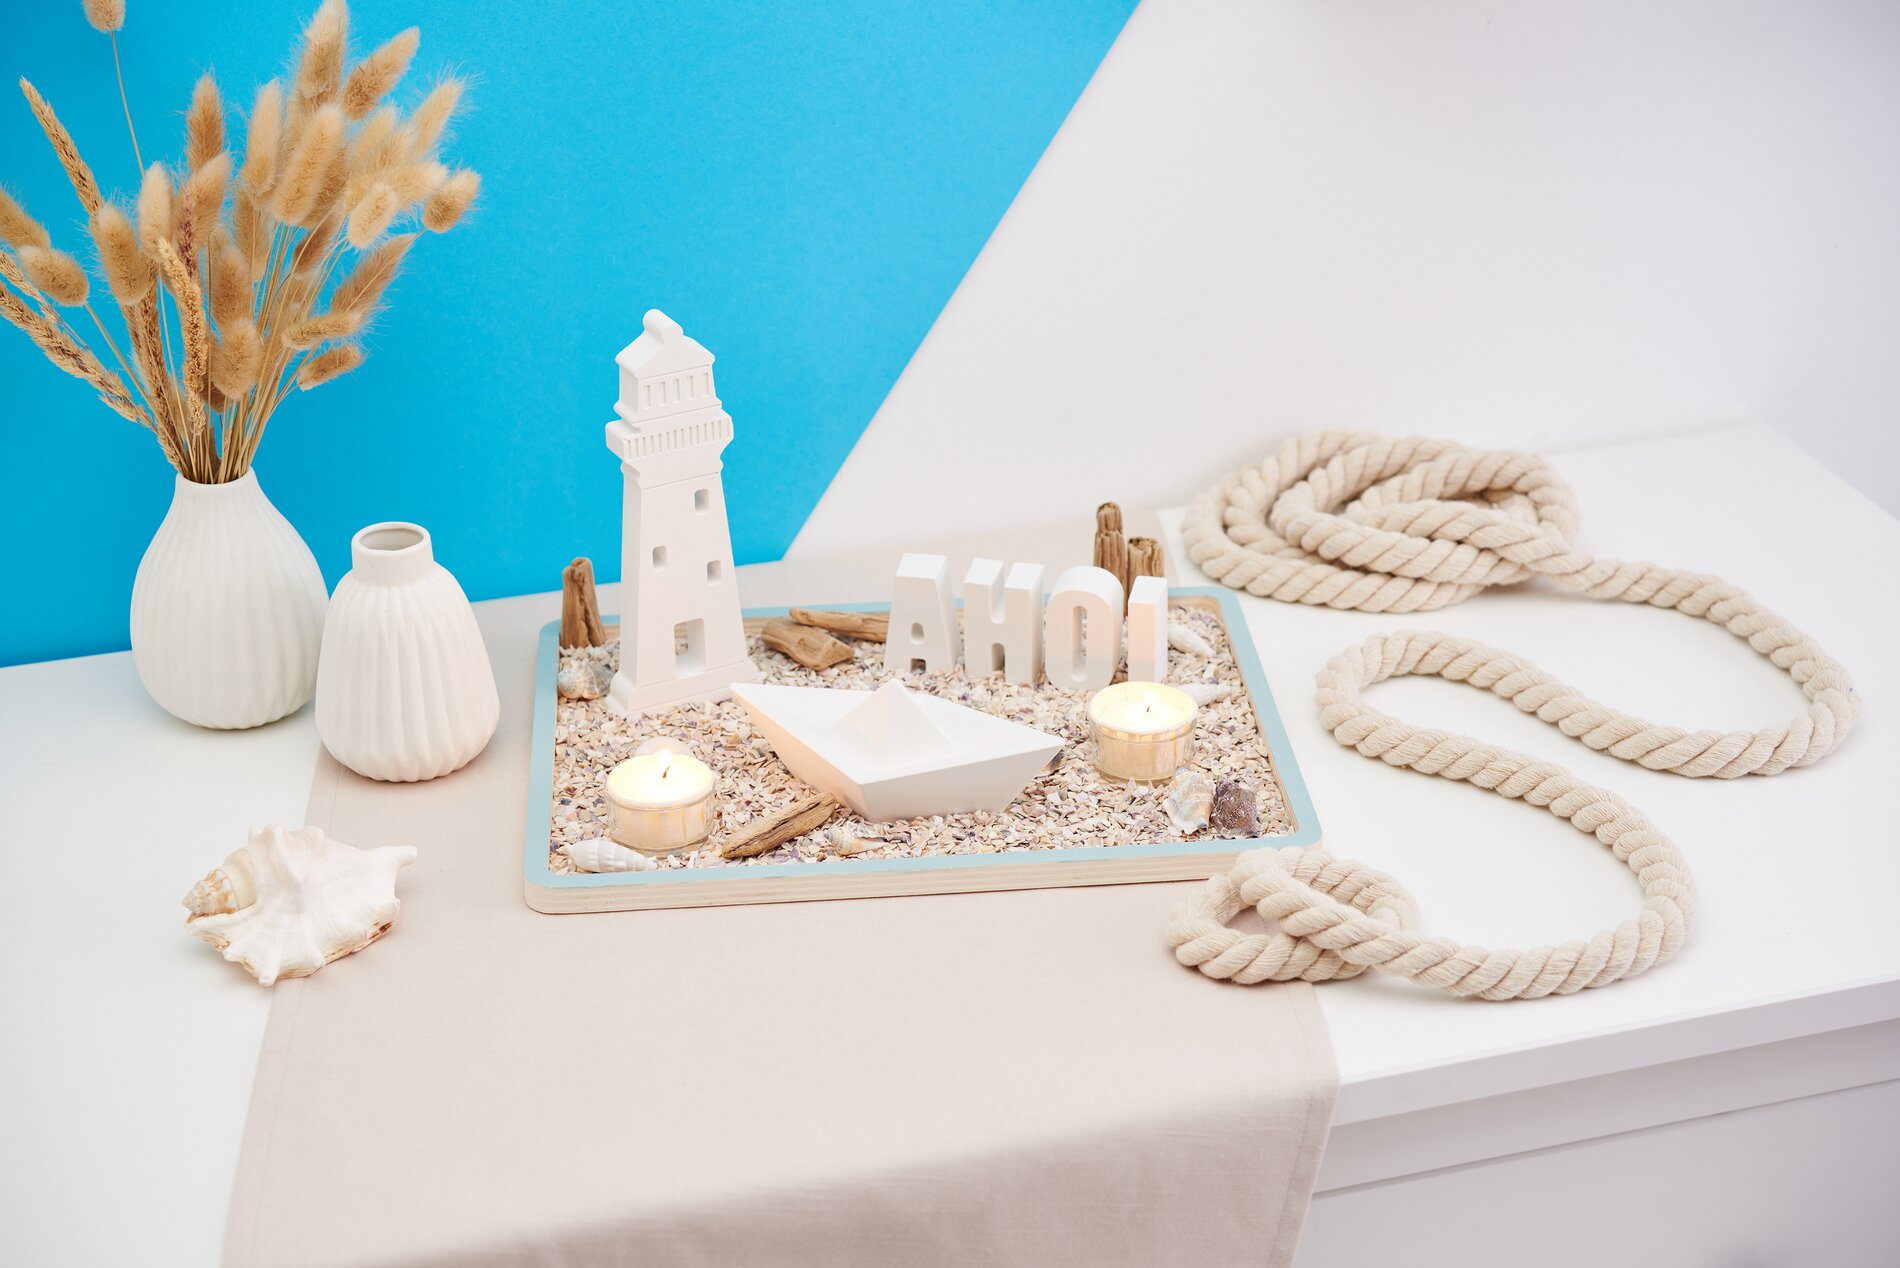
Step 5: Arranging the nautical table decoration
Place the dried castings decoratively on the tray. Sprinkle the bottom of the wooden tray with shell granules and complete the arrangement with real shells, driftwood and tea light jars. Let your imagination run wild and create a harmonious composition that evokes vacation feelings.
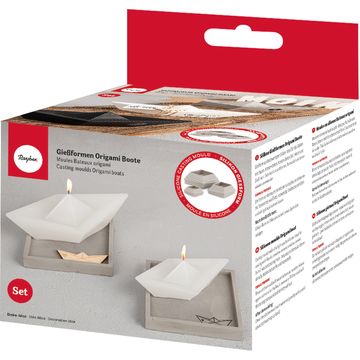
Use the products from our online store
Take the opportunity to realize your own creative projects by purchasing all the materials you need from our online store. From Raysin and matching casting molds to craft paints and decorative items - we offer everything you need for your maritime table creation. Get started today and bring a breath of fresh air into your home!