- Secure order
- Easy return shipment
- Service-Hotline +32 50 89 35 27
Instructions No. 3248
Difficulty: Beginner
Working time: 3 Hours
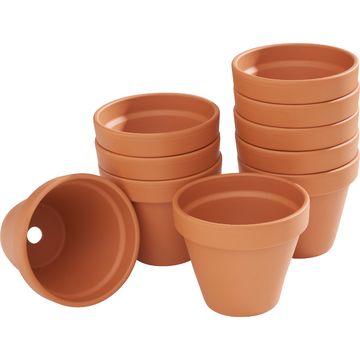
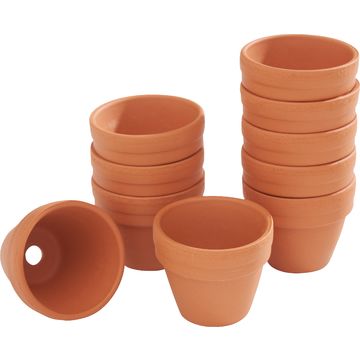
Start by painting your terracotta-pots yellow. Use the VBS handicraft paint in the fresh shade buttercup and apply it evenly to the large terracotta-pot and the four small pots. Don't forget to also paint the four wooden balls in the same vibrant shade. As soon as all the parts shine in cheerful yellow , leave them to dry completely. This colorful base forms the perfect foundation for your mobile.
Now it's time to give your creativity wings - or in this case, antennae. Cut four pieces of from chenille wire about 10 cm long. Press the center of each piece together and tie a perlon thread to the middle. This will give the antennae of your future bees the necessary support. Attach the antennae with a dab of hot glue in the small holes of the wooden balls. so that the antennae can later shine in all their glory.
For added cheerfulness and a playful look, glue pompoms to the ends of the antennae and to the bottom of the small pots.
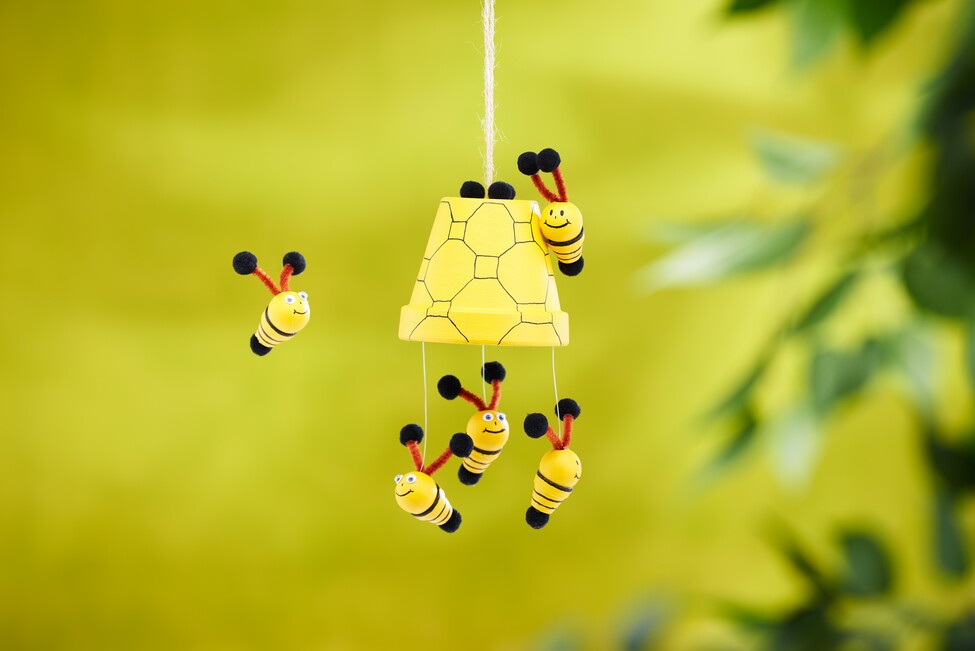
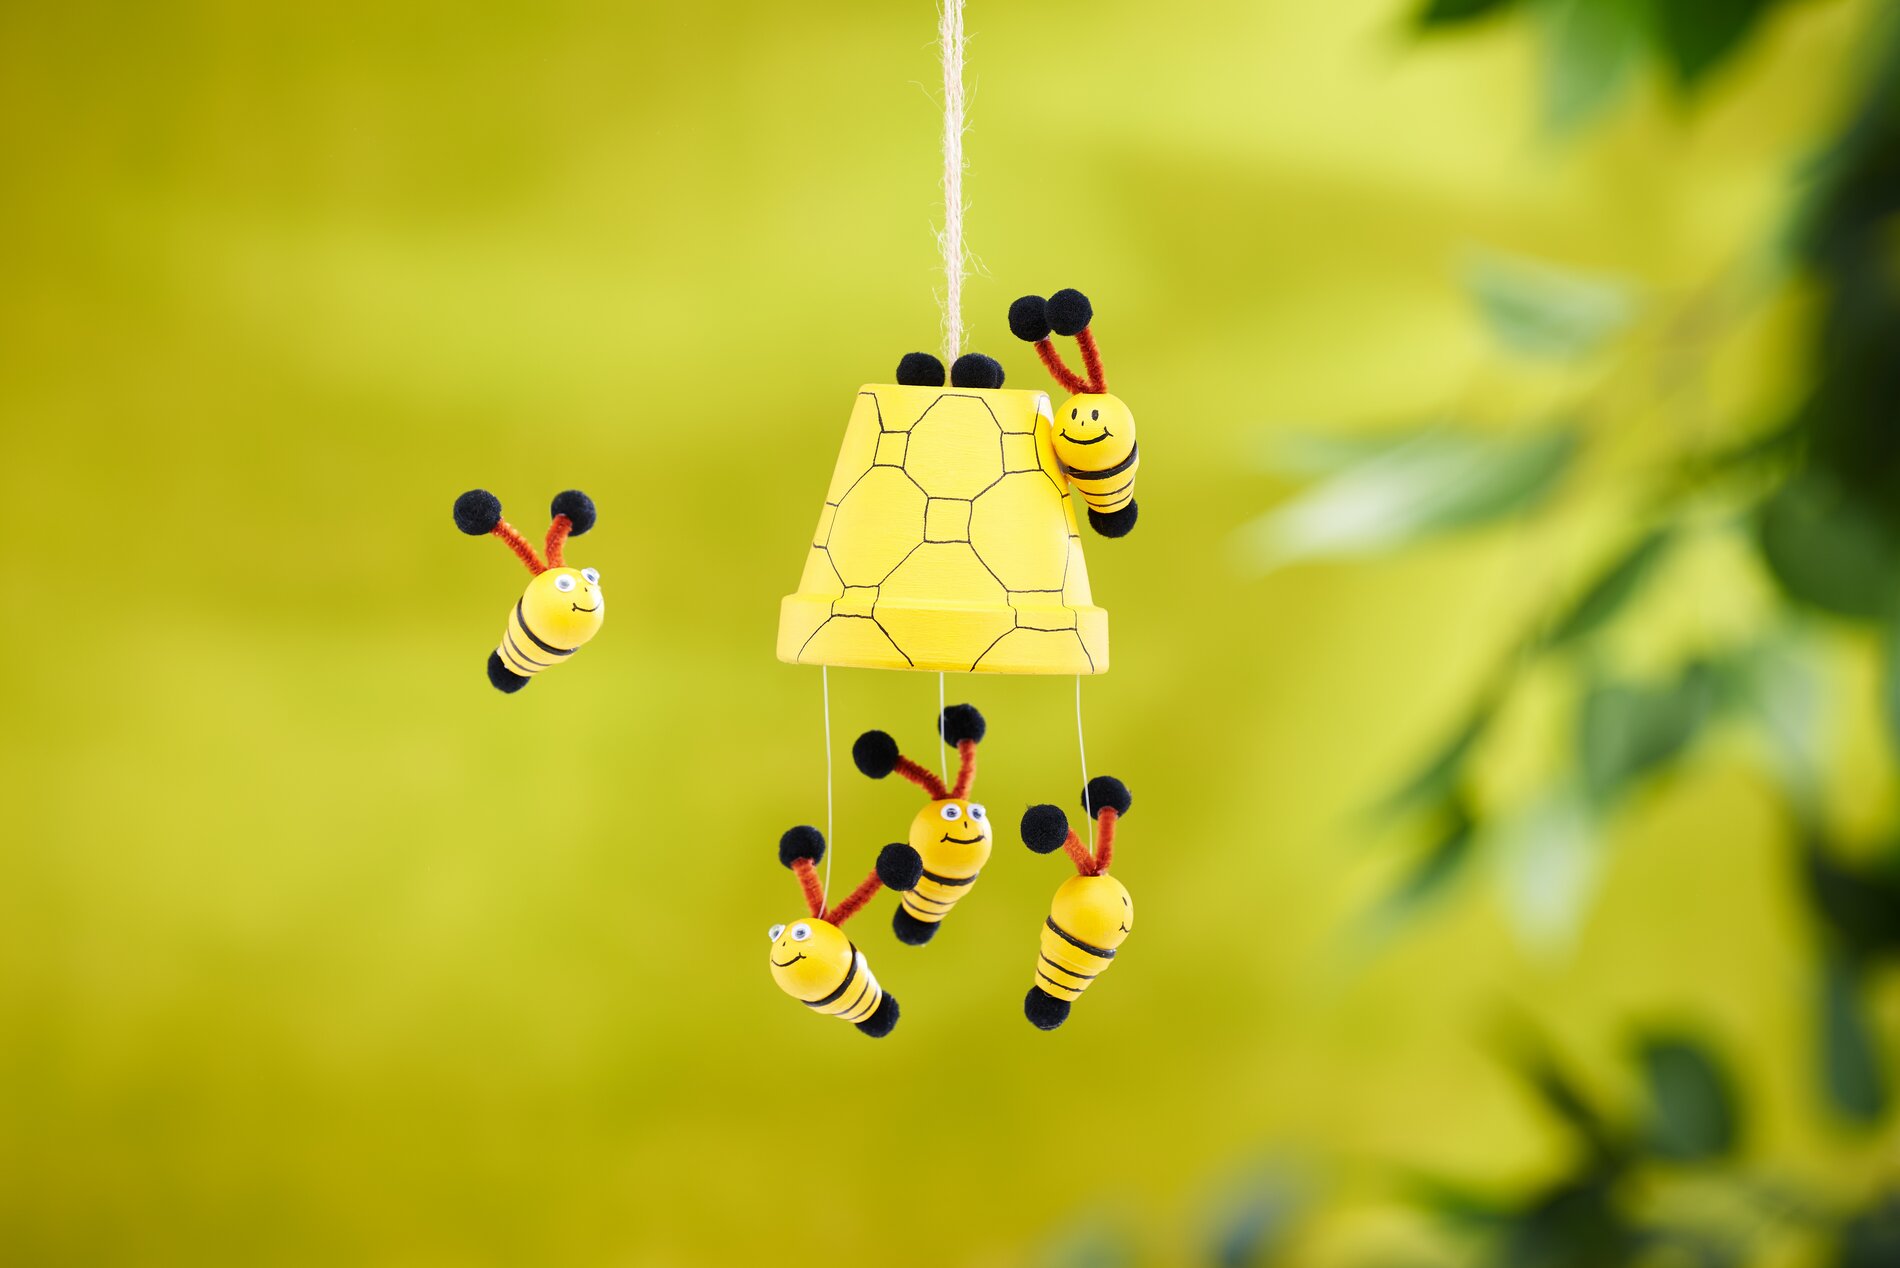
It's time to breathe life into your little bees! Use the Posca marker, to draw charming faces and characteristic stripes on the painted wooden balls . For the finishing touch, add wobbly eyes - your little creatures will look particularly lively and cheerful. The large terracotta-pot should also shine! Use the Posca marker, to give it a unique pattern.
Finally, cut a piece of jute ribbon , knot the ends and pull it through the hole in the terracotta-pot from the inside. Fix it with some hot glue so that it holds securely. Now it's time to assemble your mobile. Attach the Perlon threads of the small bees to the inside of the large terracotta-pot using hot glue. Make sure that the little bees can swing freely. As the icing on the cake, glue three more pompoms next to the suspended jute ribbon. Done!