- Secure order
- Easy return shipment
- Service-Hotline +32 50 89 35 27
Instructions No. 3456
Difficulty: Beginner
Working time: 2 Hours

modelling clay for creative details
Step 1: modelling clay Fimo Air
Take a sufficient amount of modelling clay "Fimo Air" to hand. Knead the mixture until it is soft and smooth. Kneading makes the mass malleable and easy to shape into the desired form. Carefully press the soft modelling clay into the silicone mould "feet" so that all the details are well defined. Allow the modelling clay to dry completely before you continue working with it.
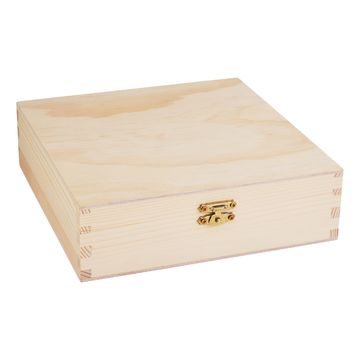
Preparing the napkin box
Step 2: Masking the hinge
Before you start painting the napkin box, you should carefully mask the hinge with crepe-adhesive tape . This protects the metal parts from unwanted paint and ensures a clean end result.
Step 3: Priming the lid
Apply a coat of white handicraft paint primer evenly to the lid of the napkin box. This primer enhances the colors of the napkins and provides a more intense color effect. Wait until the paint is completely dry before continuing.
napkin technique for embellishment
Step 4: Preparing the napkin motif
Tear out your desired motif from a napkin . Tearing out the edges will give you a smooth transition. Separate the printed layer of the napkin from the unprinted layers by sticking a strip of adhesive tape to the back and carefully peeling it off.
Step 5: Applying the napkin motif
Coat the lid of the box with a thin layer of napkin varnish. Place the prepared napkin motif on top and coat it from the center outwards with napkin varnish. Be careful and do not apply strong pressure to avoid tearing the napkin . Leave everything to dry thoroughly.
Adding decorations and accents
Step 6: Labeling the napkin box
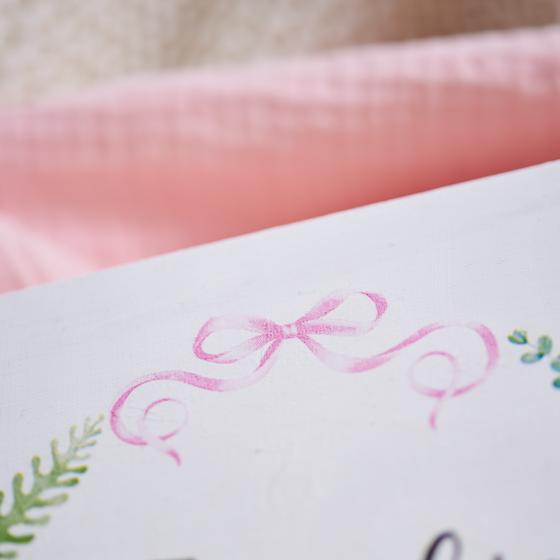
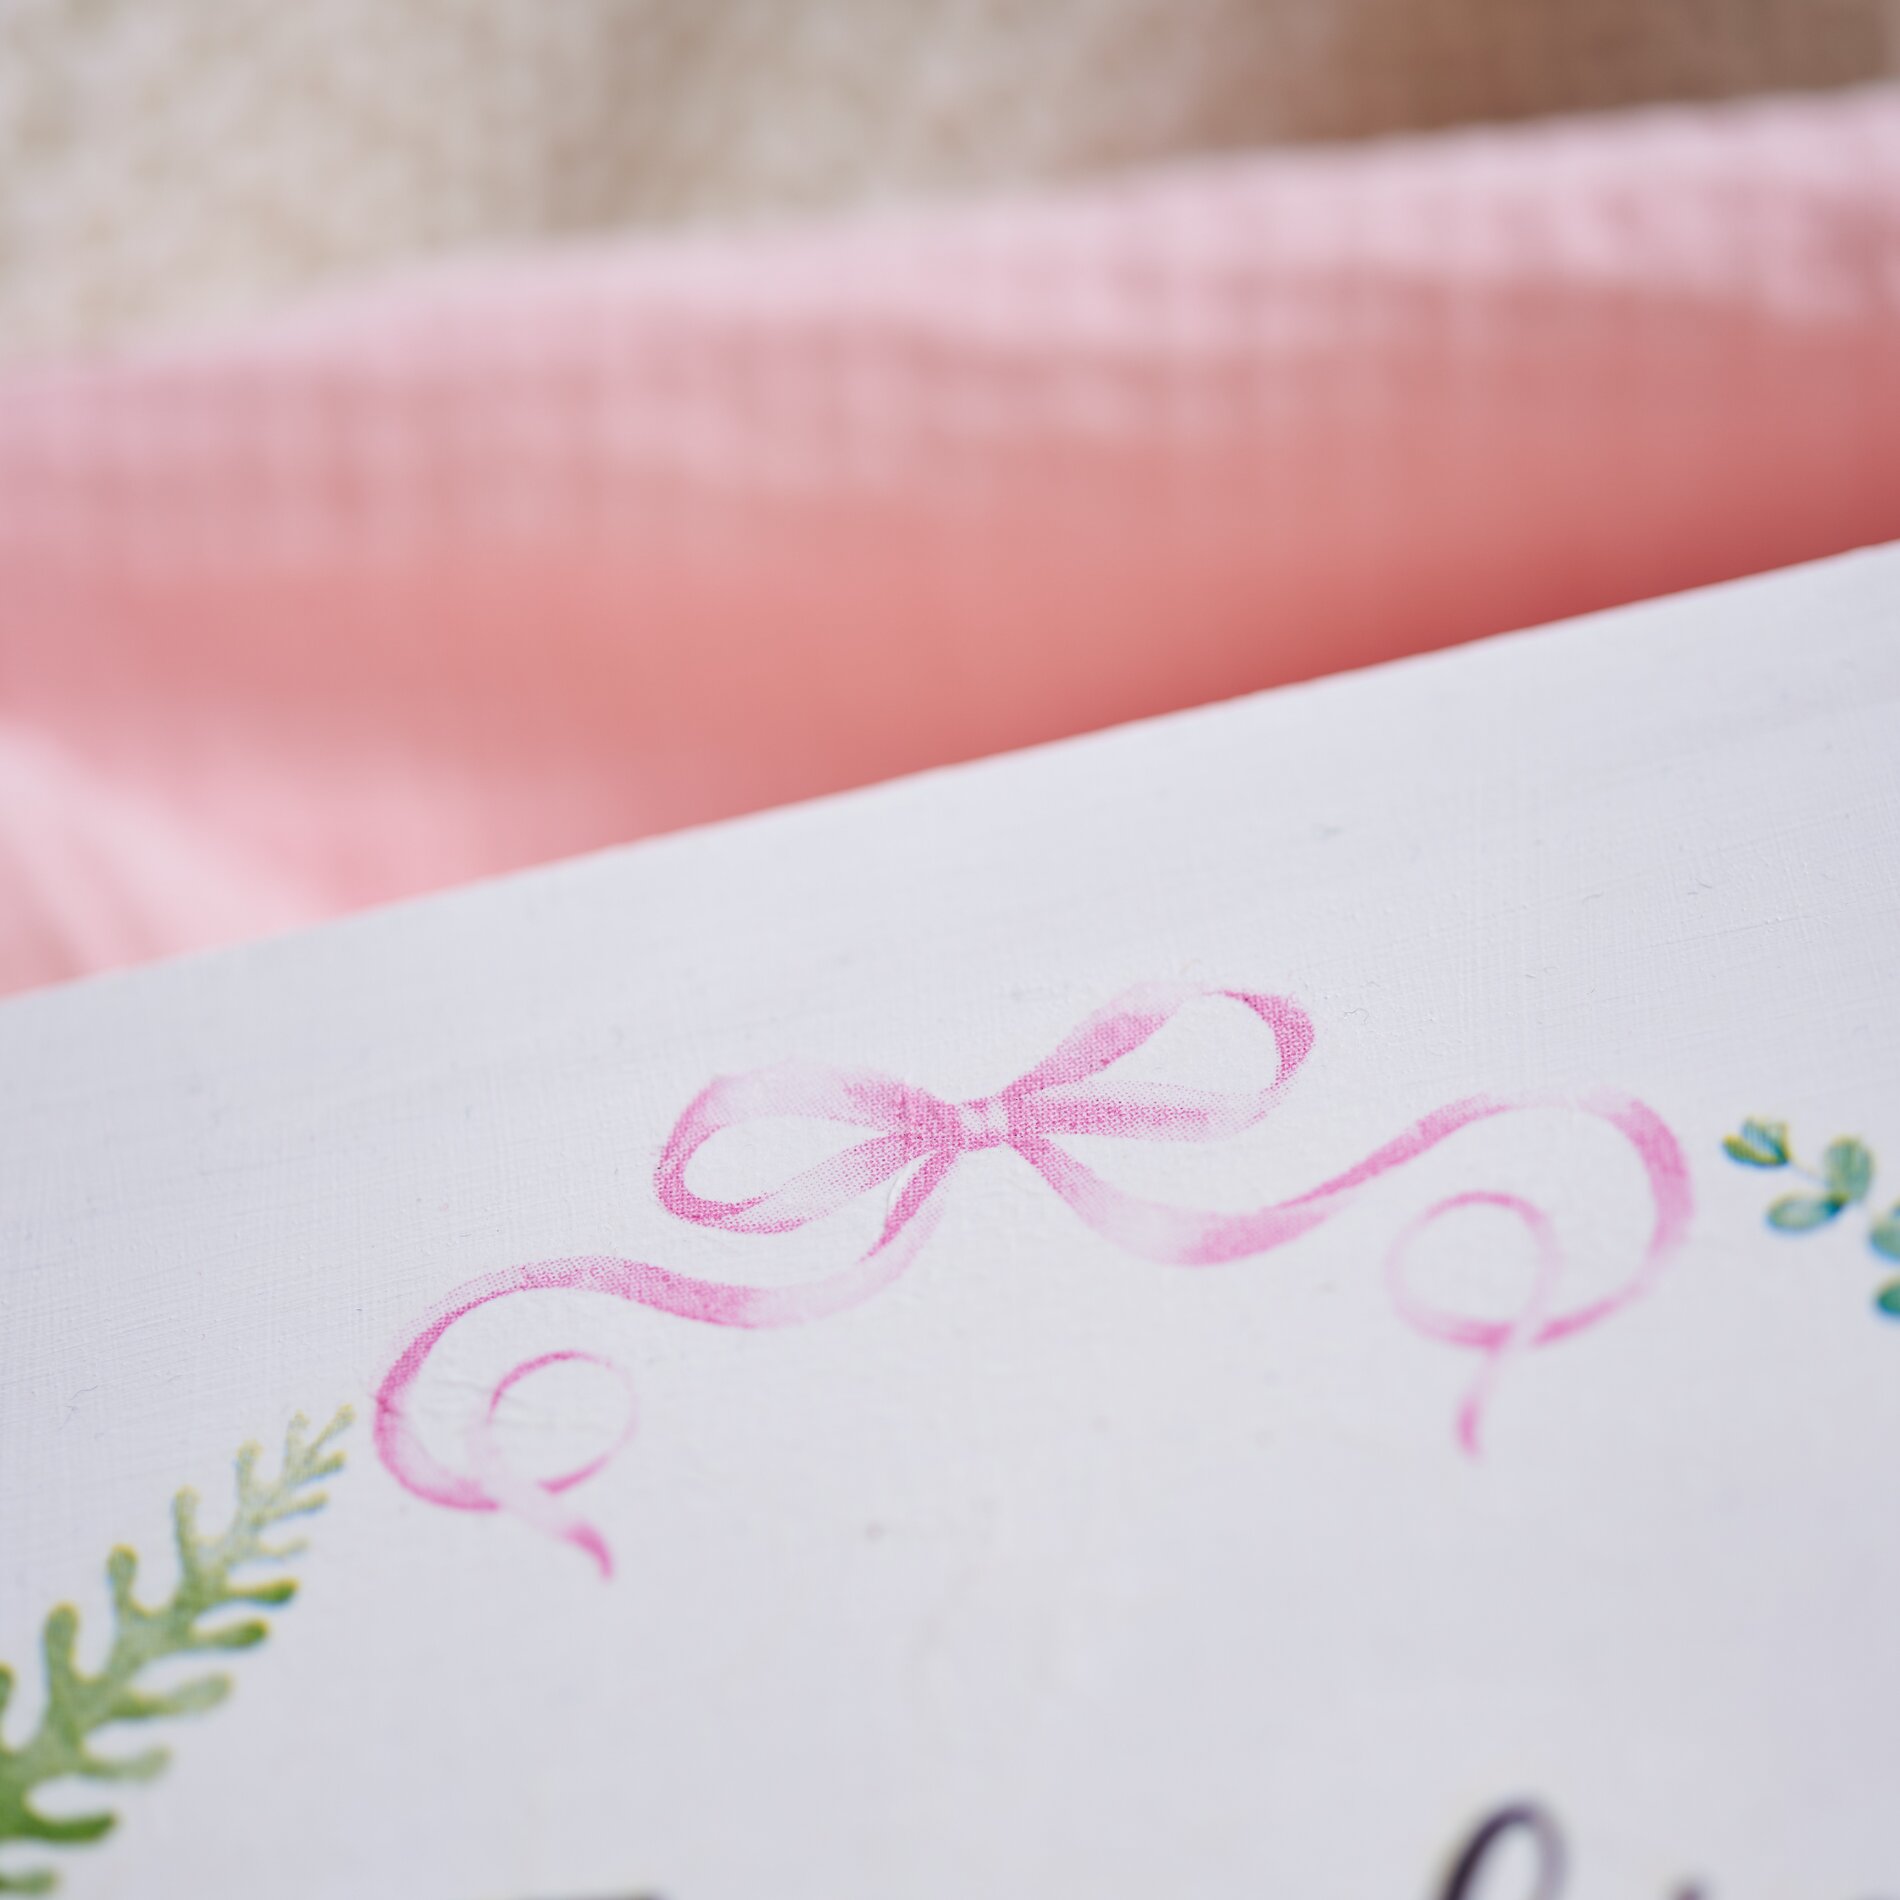
Decorate the napkin box with a Posca marker. If you want to make sure that your lettering is perfect, first draw it in with a sublimation pen - the purple dye is self-extinguishing. Alternatively, you can print out a font of your choice and transfer it to the box using graphite paper.
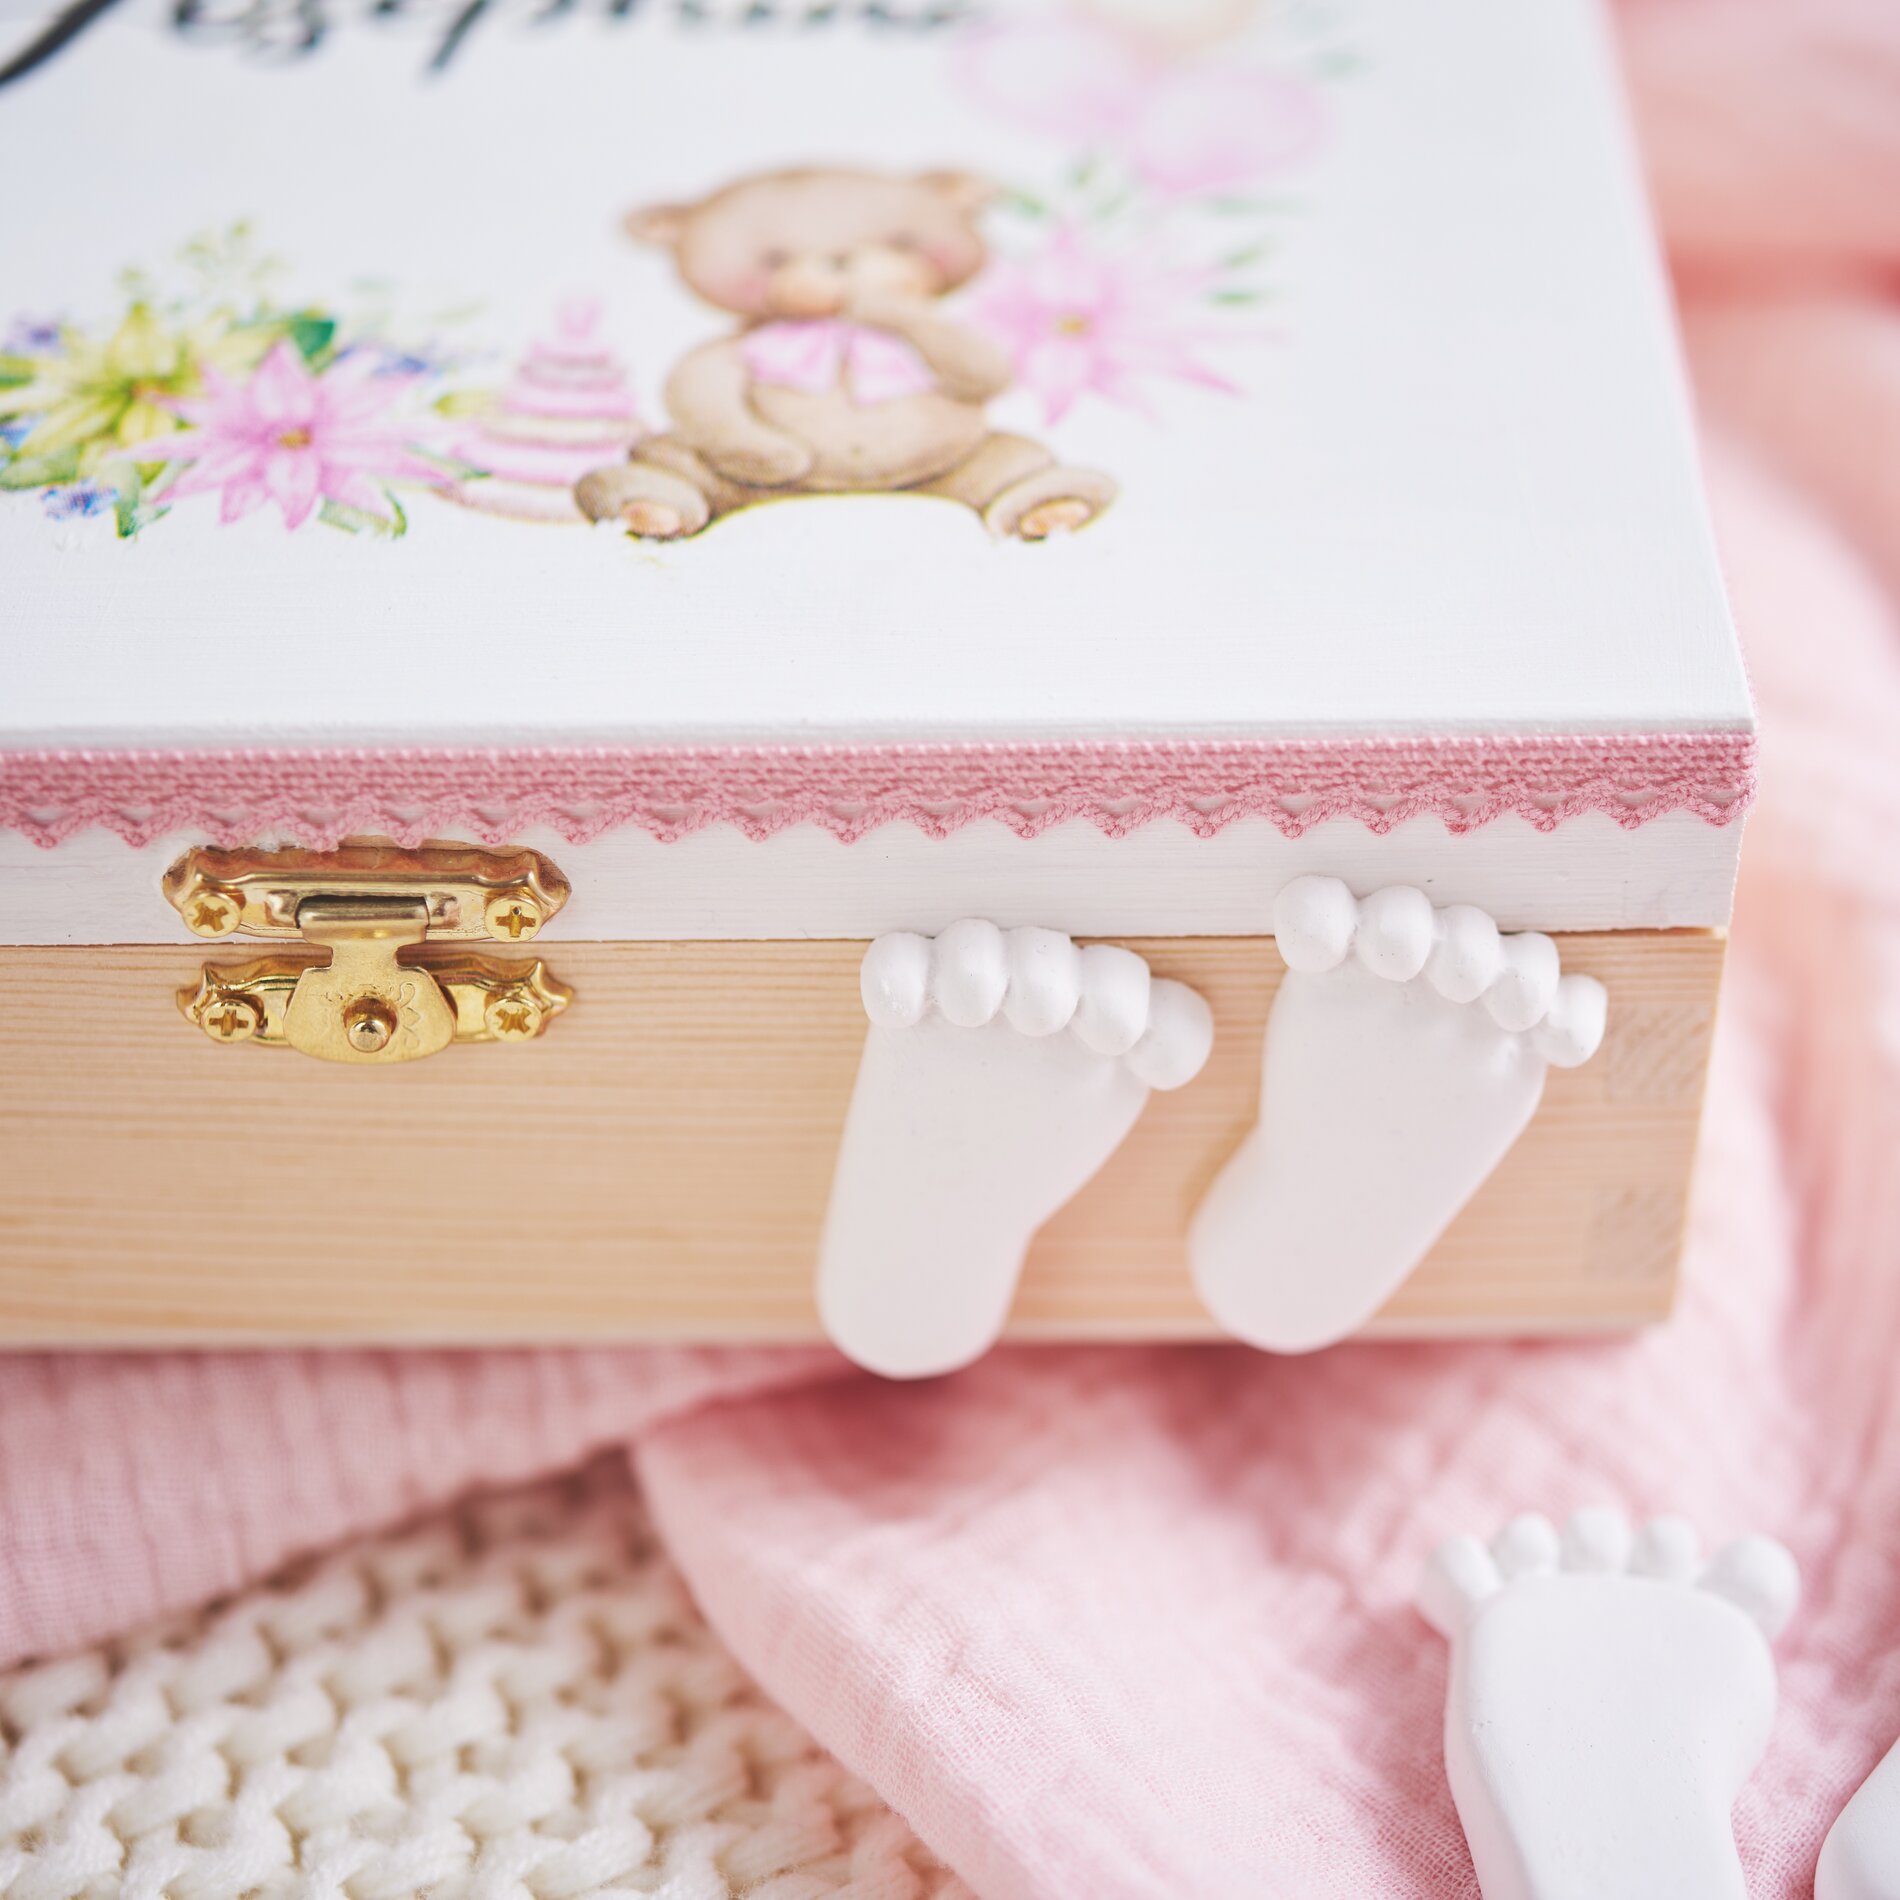
Step 7: Decorative crochet border
Apply a thin strip of handicraft glue along the edge of the lid. Carefully attach a crochet border and press it on to fix it securely.
Final assembly
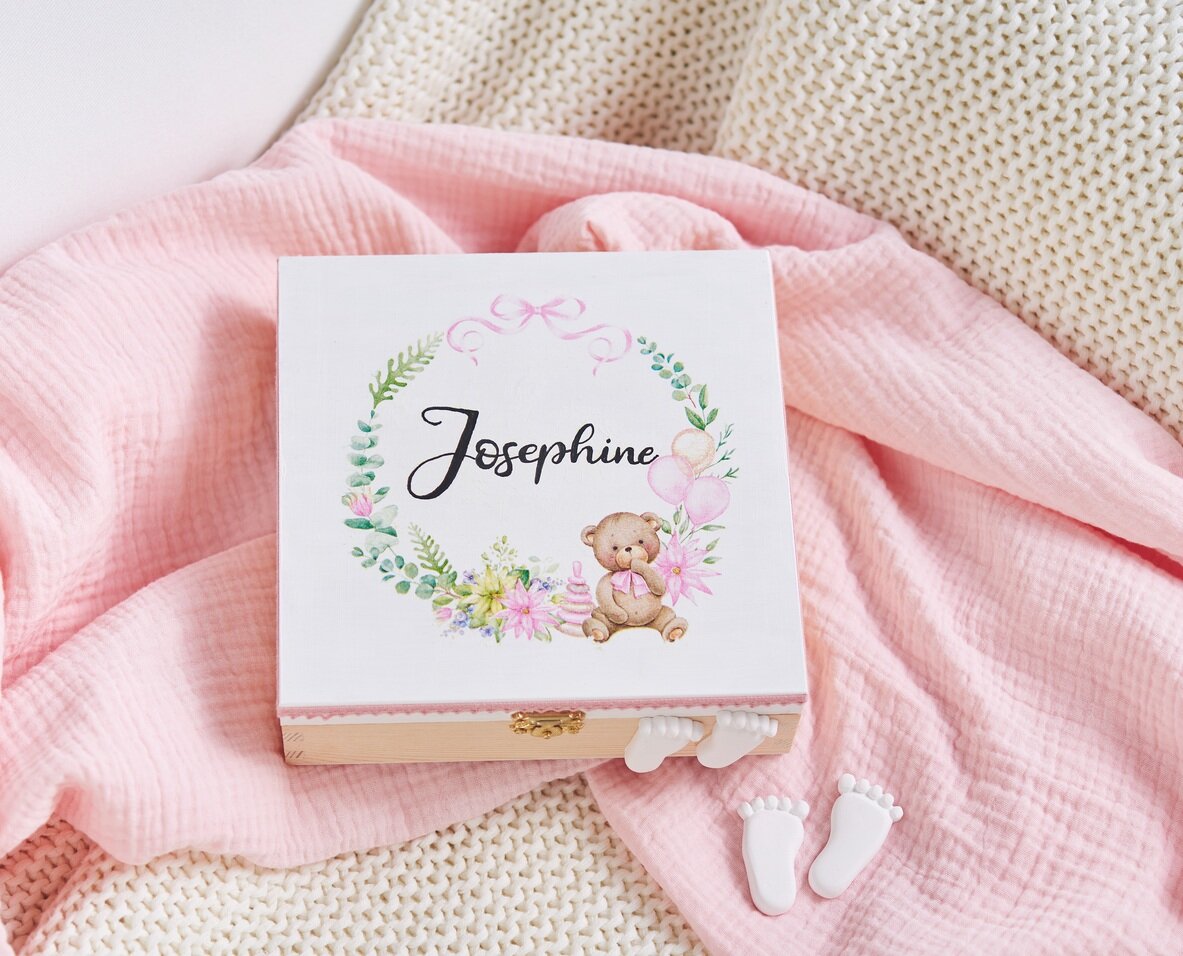
Step 8: Attaching the decoration
Carefully detach the modelling clay "feet" from the silicone mould and attach them to the napkin box using handicraft glue . Position them so that they look aesthetically pleasing.
Now you have a beautiful, personalized napkin box that will brighten up your home or make an exquisite homemade gift! Visit our online store to purchase all the materials you need.