- Secure order
- Easy return shipment
- Service-Hotline +32 50 89 35 27
Instructions No. 3200
Difficulty: Beginner
Working time: 2 Hours 30 Minutes

Step 1: Prepare the templates
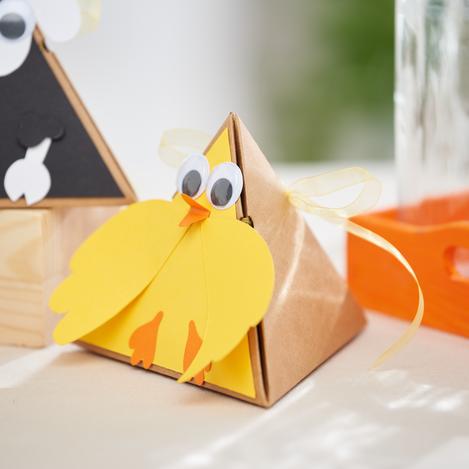
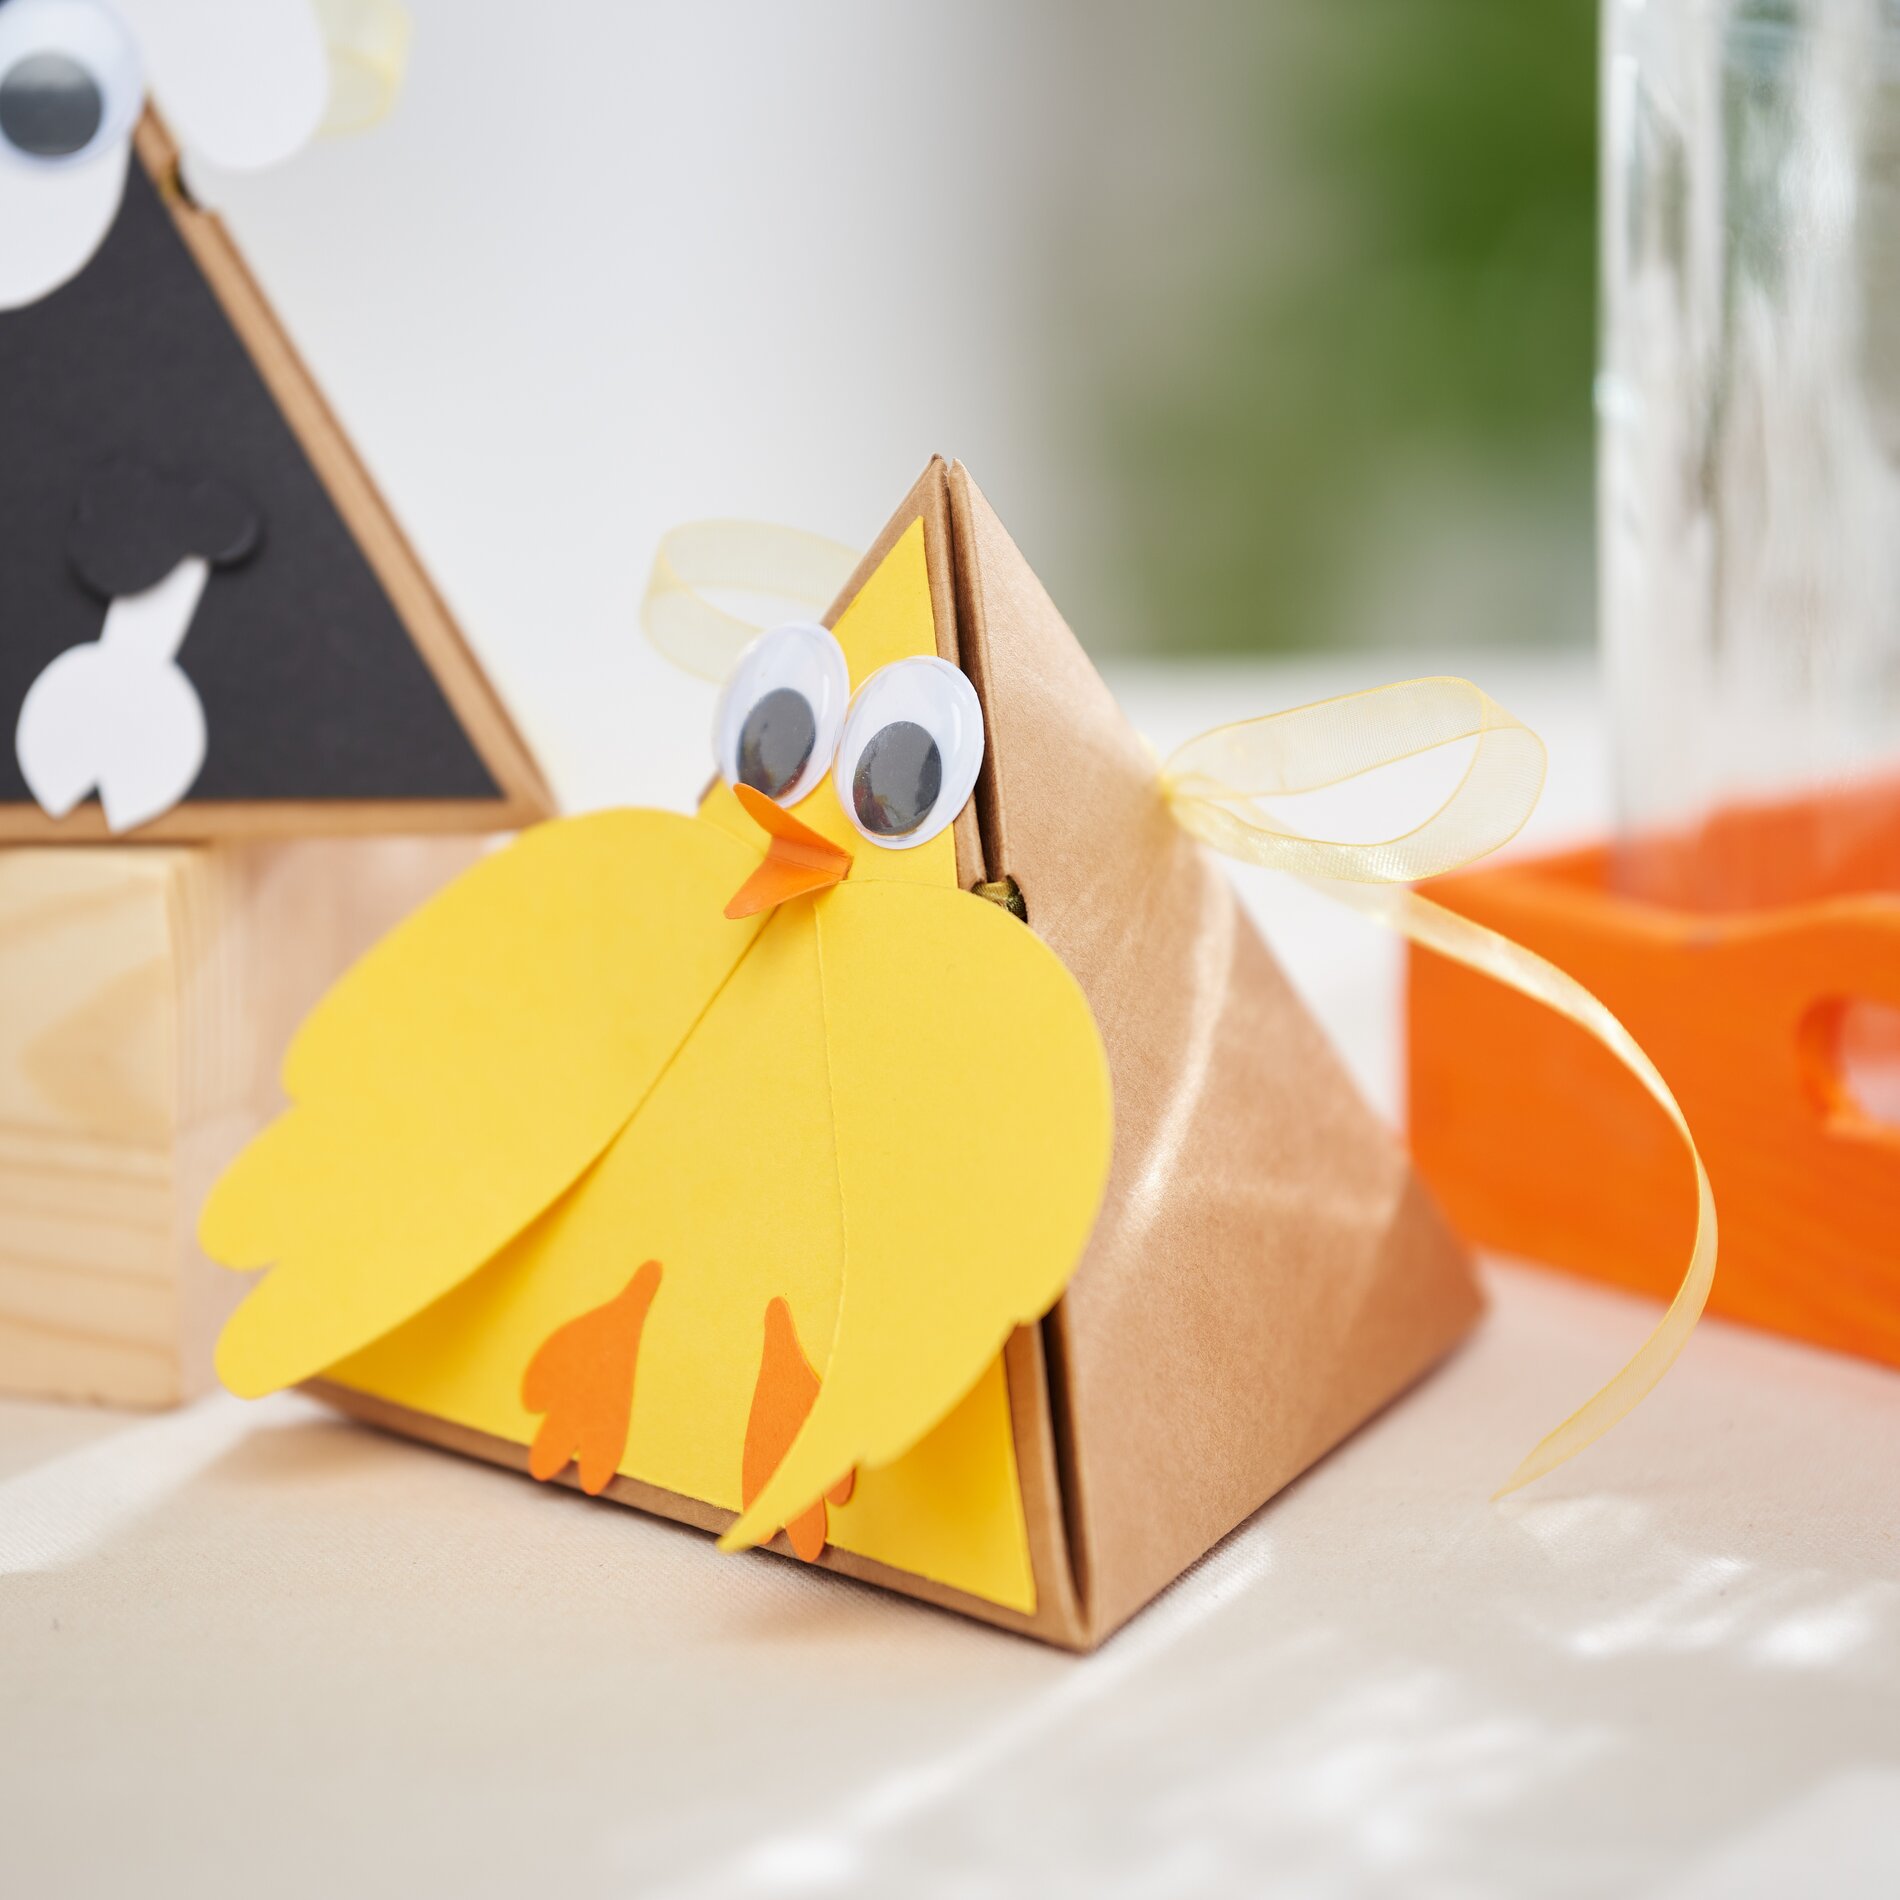
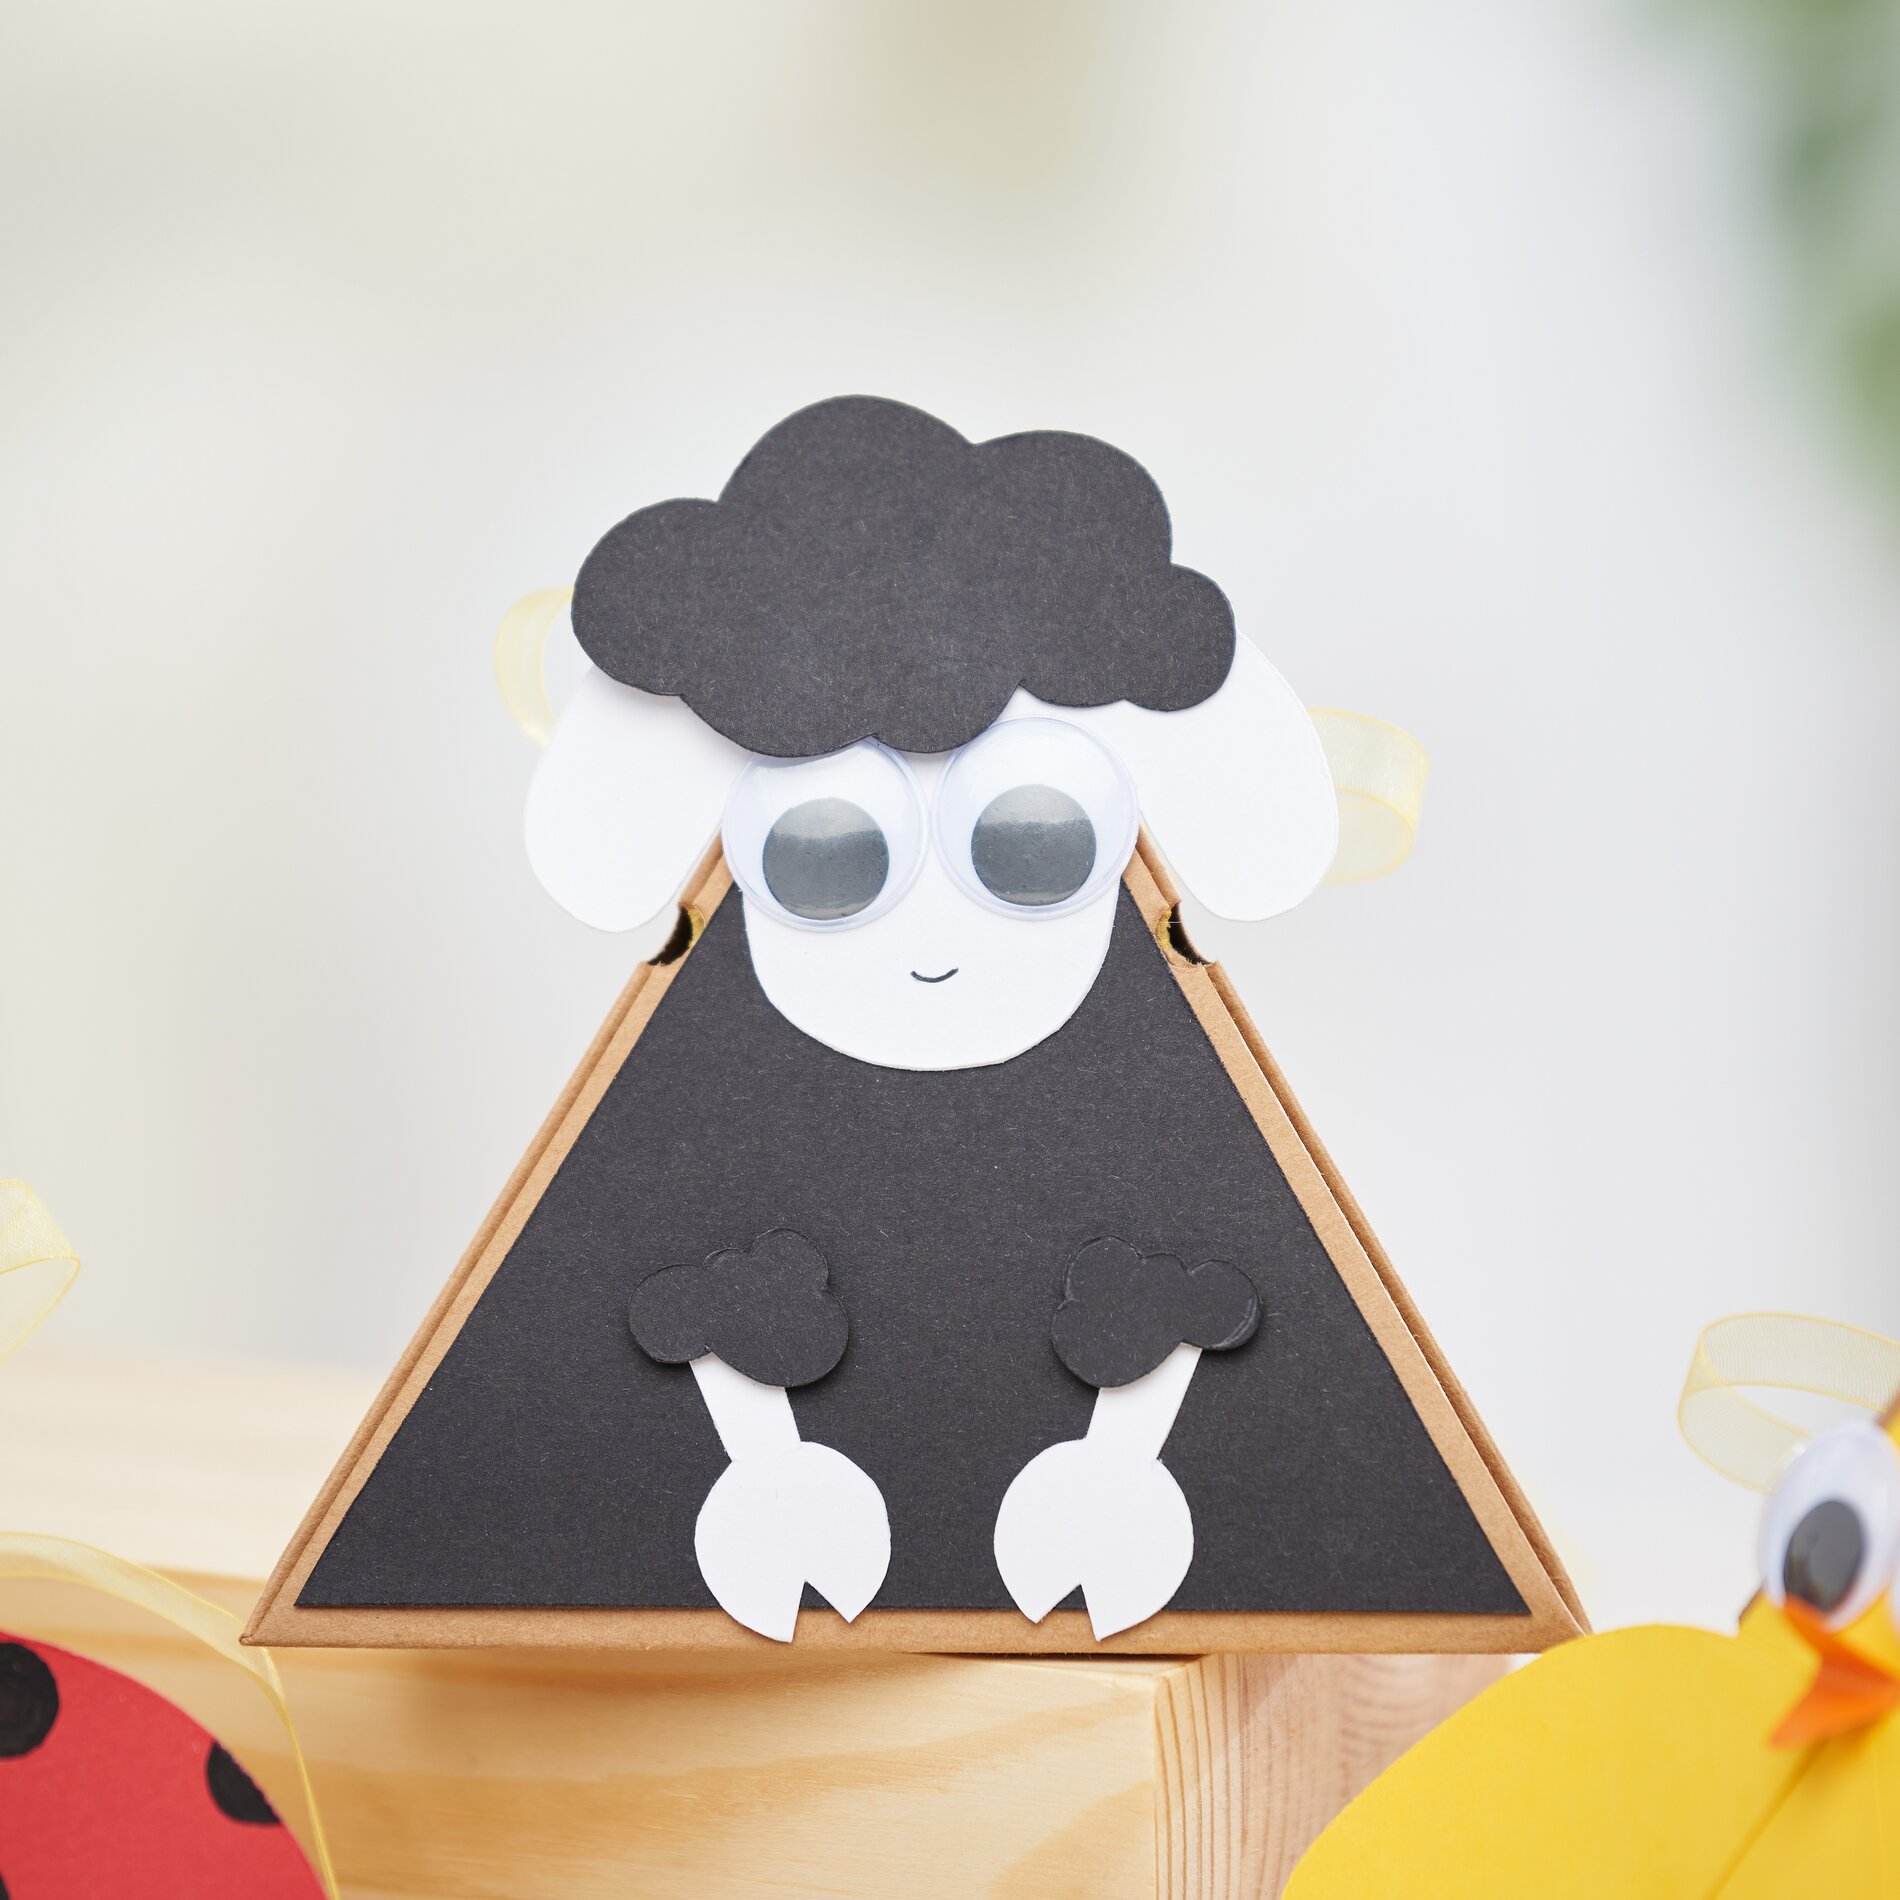
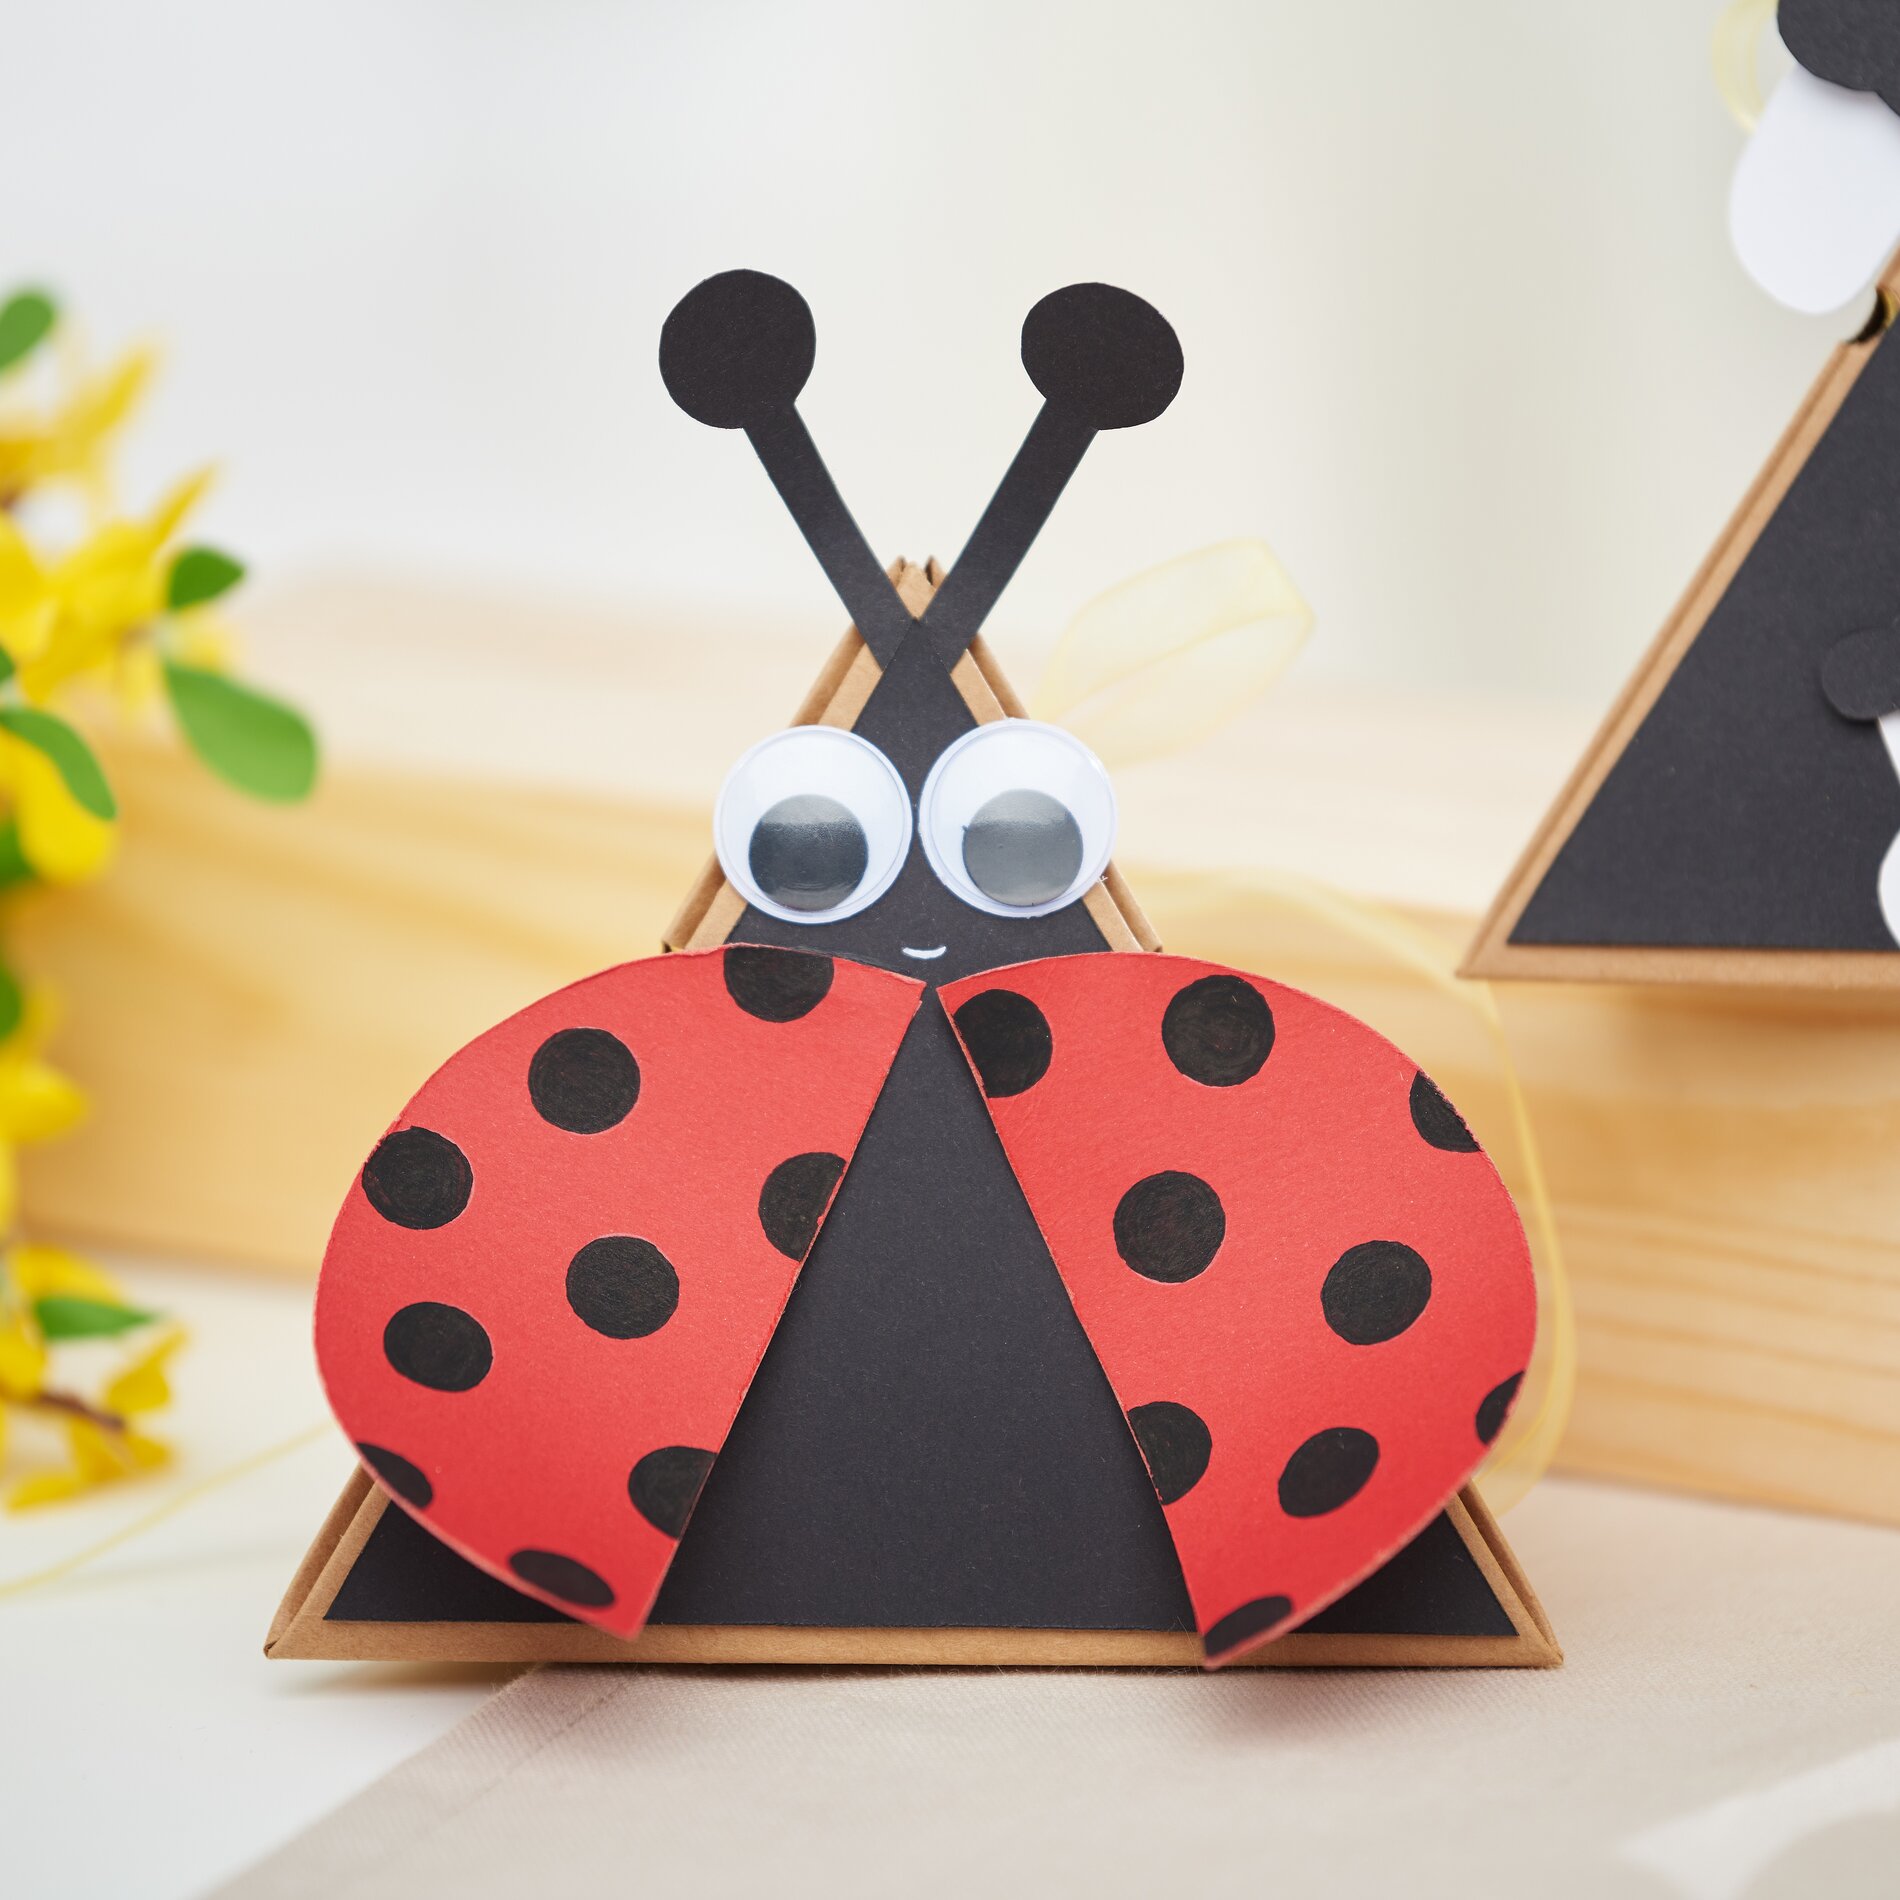
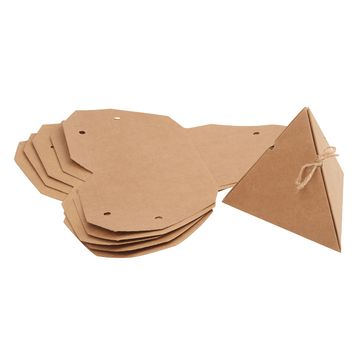
Start by transferring the templates for the gift boxes to craft cardboard sheet . Choose colors that you like and that match the animals. Make sure you work precisely so that your gift box looks perfect later on. Then carefully cut out all the parts.
Step 2: Glue the gift box
The next step is to glue one side of the gift box. Make sure that the perforations remain free, as this is where you will thread the organza ribbon through. think about how best to combine the colors and patterns to make the box visually appealing.
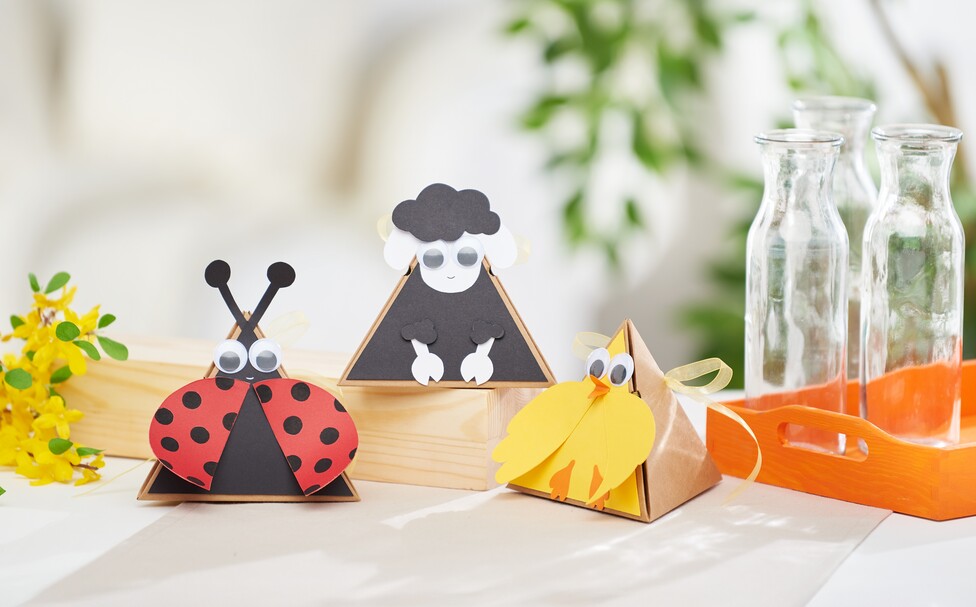
Step 3: Design the ladybug wings
You can cut out the dots on the wings and stick them on or simply paint them on, depending on your taste and skill. Both options give the box a personal touch and make it something very special.
Step 4: Attach the eyes
Now the eyes are missing. You can easily stick these on. Allow the glued areas to dry thoroughly before continuing with the next step.
Step 5: Fold the box
Once everything is dry, you can fold the gift box. Be careful not to create any creases and to keep the box in a nice shape.
Step 6: Thread organza ribbon
Finally, thread the organza ribbon through the holes and close the gift box on the back with a pretty bow. These little details make your gift box look even more elegant and are the crowning glory of your crafting work.