Step-by-step instructions: Design light arch with gnome door
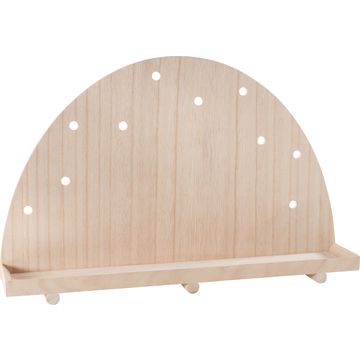
1. Pre-drawing and burning in the wood texture
Draw vertical lines about 1.5 cm apart on your light arch . Use a pencil to lightly sketch out the lines. Now comes the exciting part: burn the lines with a branding pen. Don't worry if the lines aren't dead straight - this will give your light arch an authentic wooden look, just like boards would have.
2. Coloring the surface
Once the wood texture has been baked on, color the surface with a red wood stain . Apply the stain evenly and allow it to dry thoroughly. If you don't have red wood stain , acrylic paint also works wonderfully. Then paint the front strip of the light arch white.
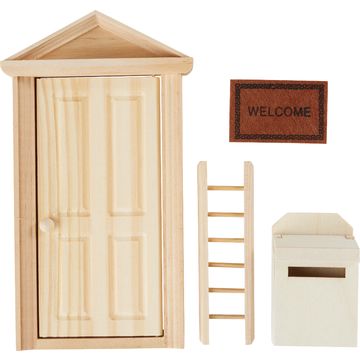
3. Painting and attaching the door, letterbox and sleigh
Now comes the small details: paint the Secret Santa door, the letterbox and the sleigh as you wish. We recommend Christmas colors such as red, green and white. As soon as the paint has dried, attach the painted parts to the intended places on your light arch. using handicraft glue . Make sure that everything sticks well.
4. Decorating the tree
To decorate your tree festively, first double the chain of light and twist them together. Then thread small balls onto the chain of light to create a pretty garland. Now wrap this garland decoratively around the tree.
5. Attaching the decorations
Glue the decorated tree, the door wreath and the doormat to the designated places on your light arch. Use hot glue to ensure that everything stays securely in place.
6. Fastening the chain of light in the arch
Finally, attach the rest of the chain of light to the arch. Insert the lights from behind through the holes provided. To ensure that the lights are secure, fix them in place with a little hot glue.
Completion
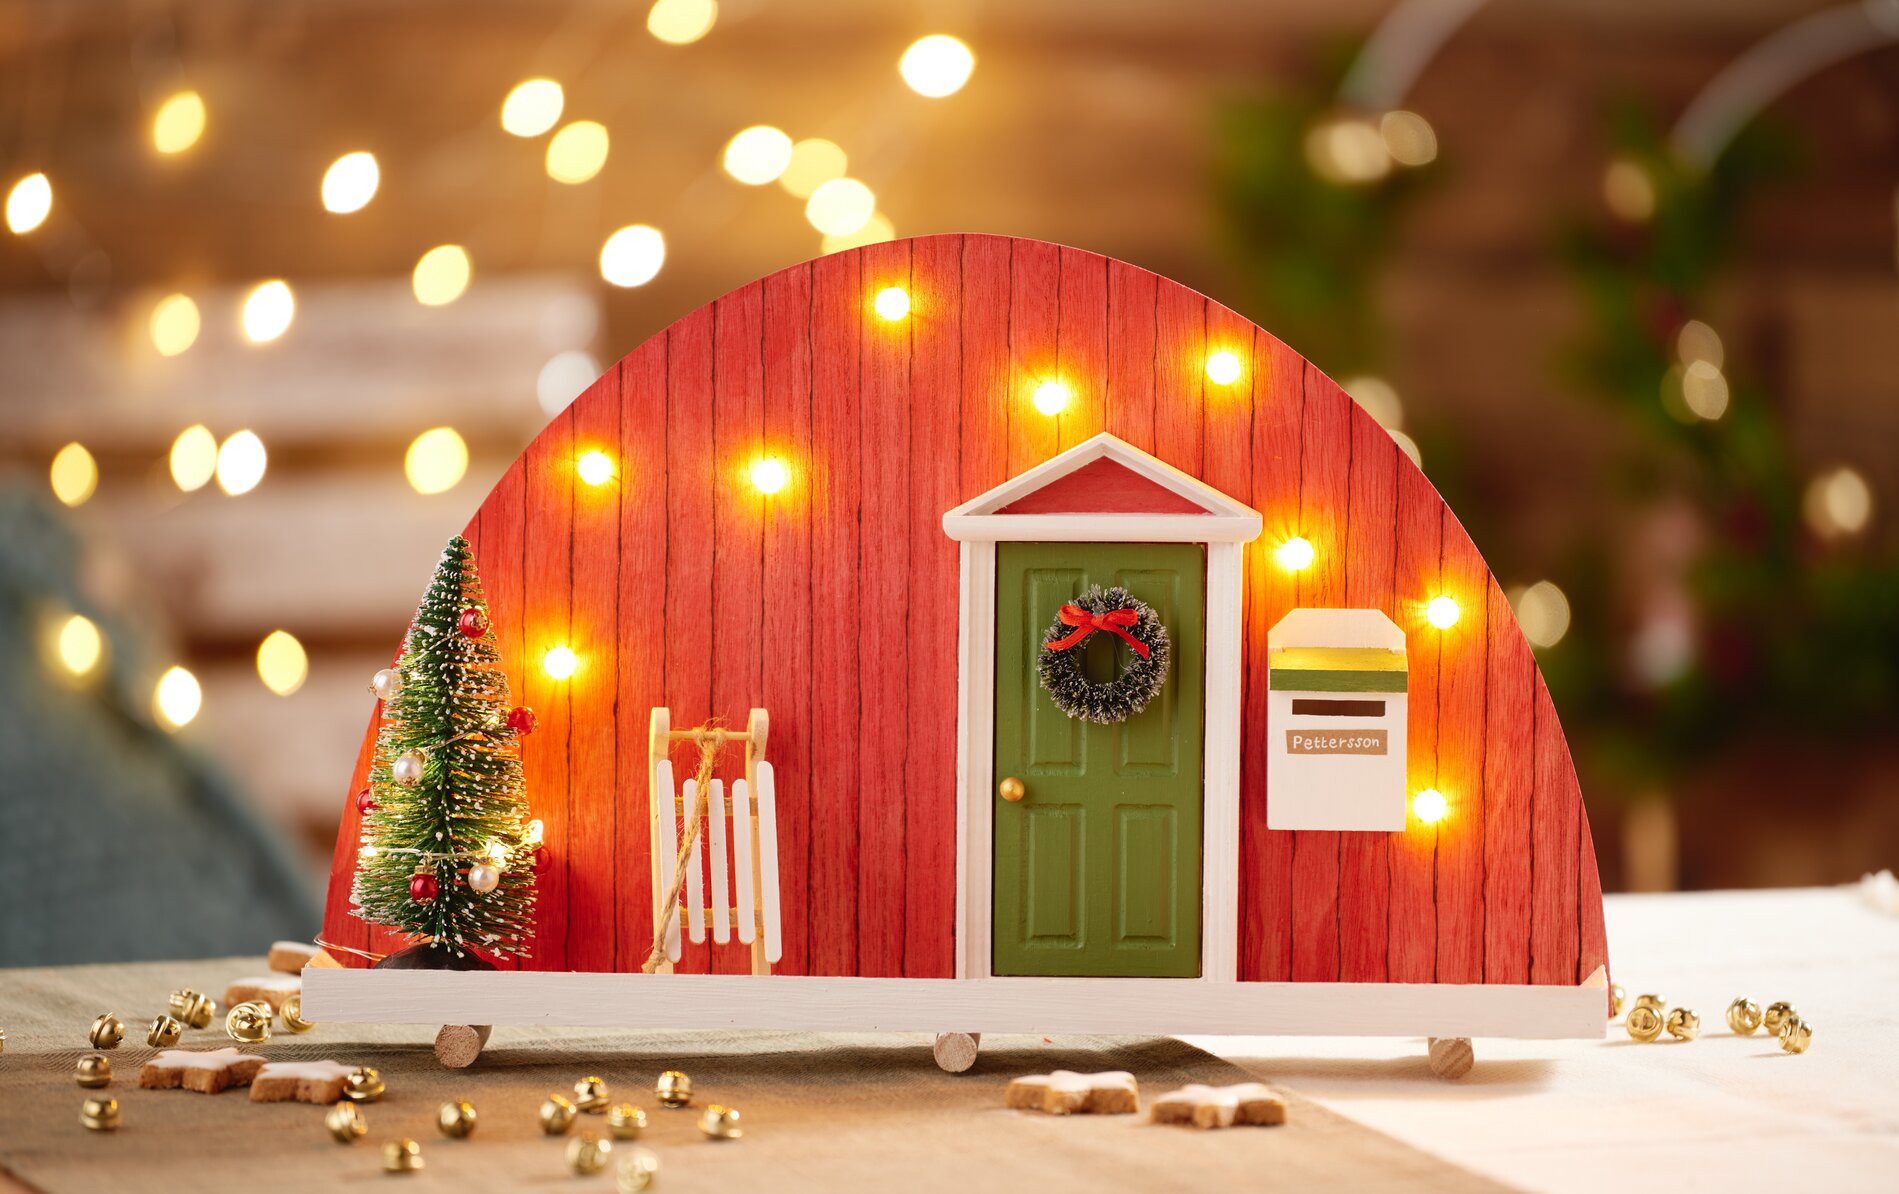
You've done it! Your individual light arch with gnome door is now finished and ready to light up your home. This arch is not only only a great eye-catcher, but also a wonderful way to bring a little bit of magic into the pre-Christmas season.
Visit our online store today and get all the materials you need for this enchanting idea DIY-Idea. We hope you have fun crafting and wish you a festive and bright Advent season!