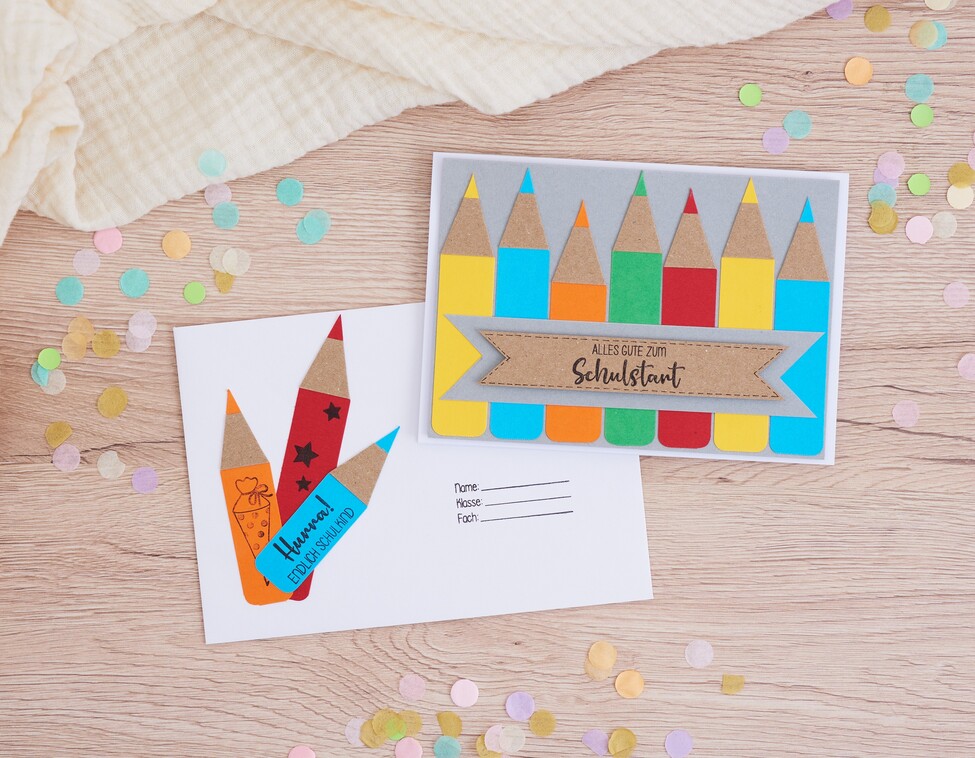
1. Creëer de basis: De kaart voorbereiden
Kies eerst een papierkleur die de basis van je kaart zal vormen. Knip het Papier iets kleiner dan de kaart zelf en plak het op de kaart met 3D-zelfklevende pads . Zo ziet de kaart er bijzonder driedimensionaal uit.
2. Designpennen van Papier
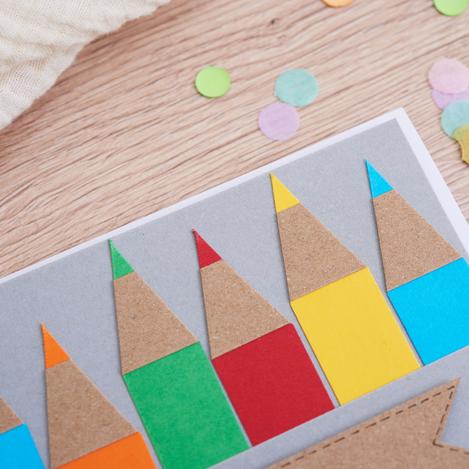
Met de VBS Contour cutter kun je gemakkelijk en nauwkeurig stroken van 2 cm breed uit gekleurde gekleurd papier en bruine kraftpapier snijden.
De gekleurde stroken vormen de potloden die je hebt gemaakt: Leg ze naast elkaar op verschillende lengtes, zodat de randen een lijn vormen aan één uiteinde van de strook. Bevestig de strook kraftpapier 1 cm onder deze (denkbeeldige) lijn overdwars. Dit vormt het "houten omhulsel" van de individuele pinnen.
Knip de afzonderlijke stroken weer uit elkaar en knip een punt af aan het uiteinde van elke strook die bedekt is met kraftpapier . Rond de tegenoverliggende hoeken af en je hebt een potloodvorm. Plak de potloden die je hebt gemaakt op de kaart.
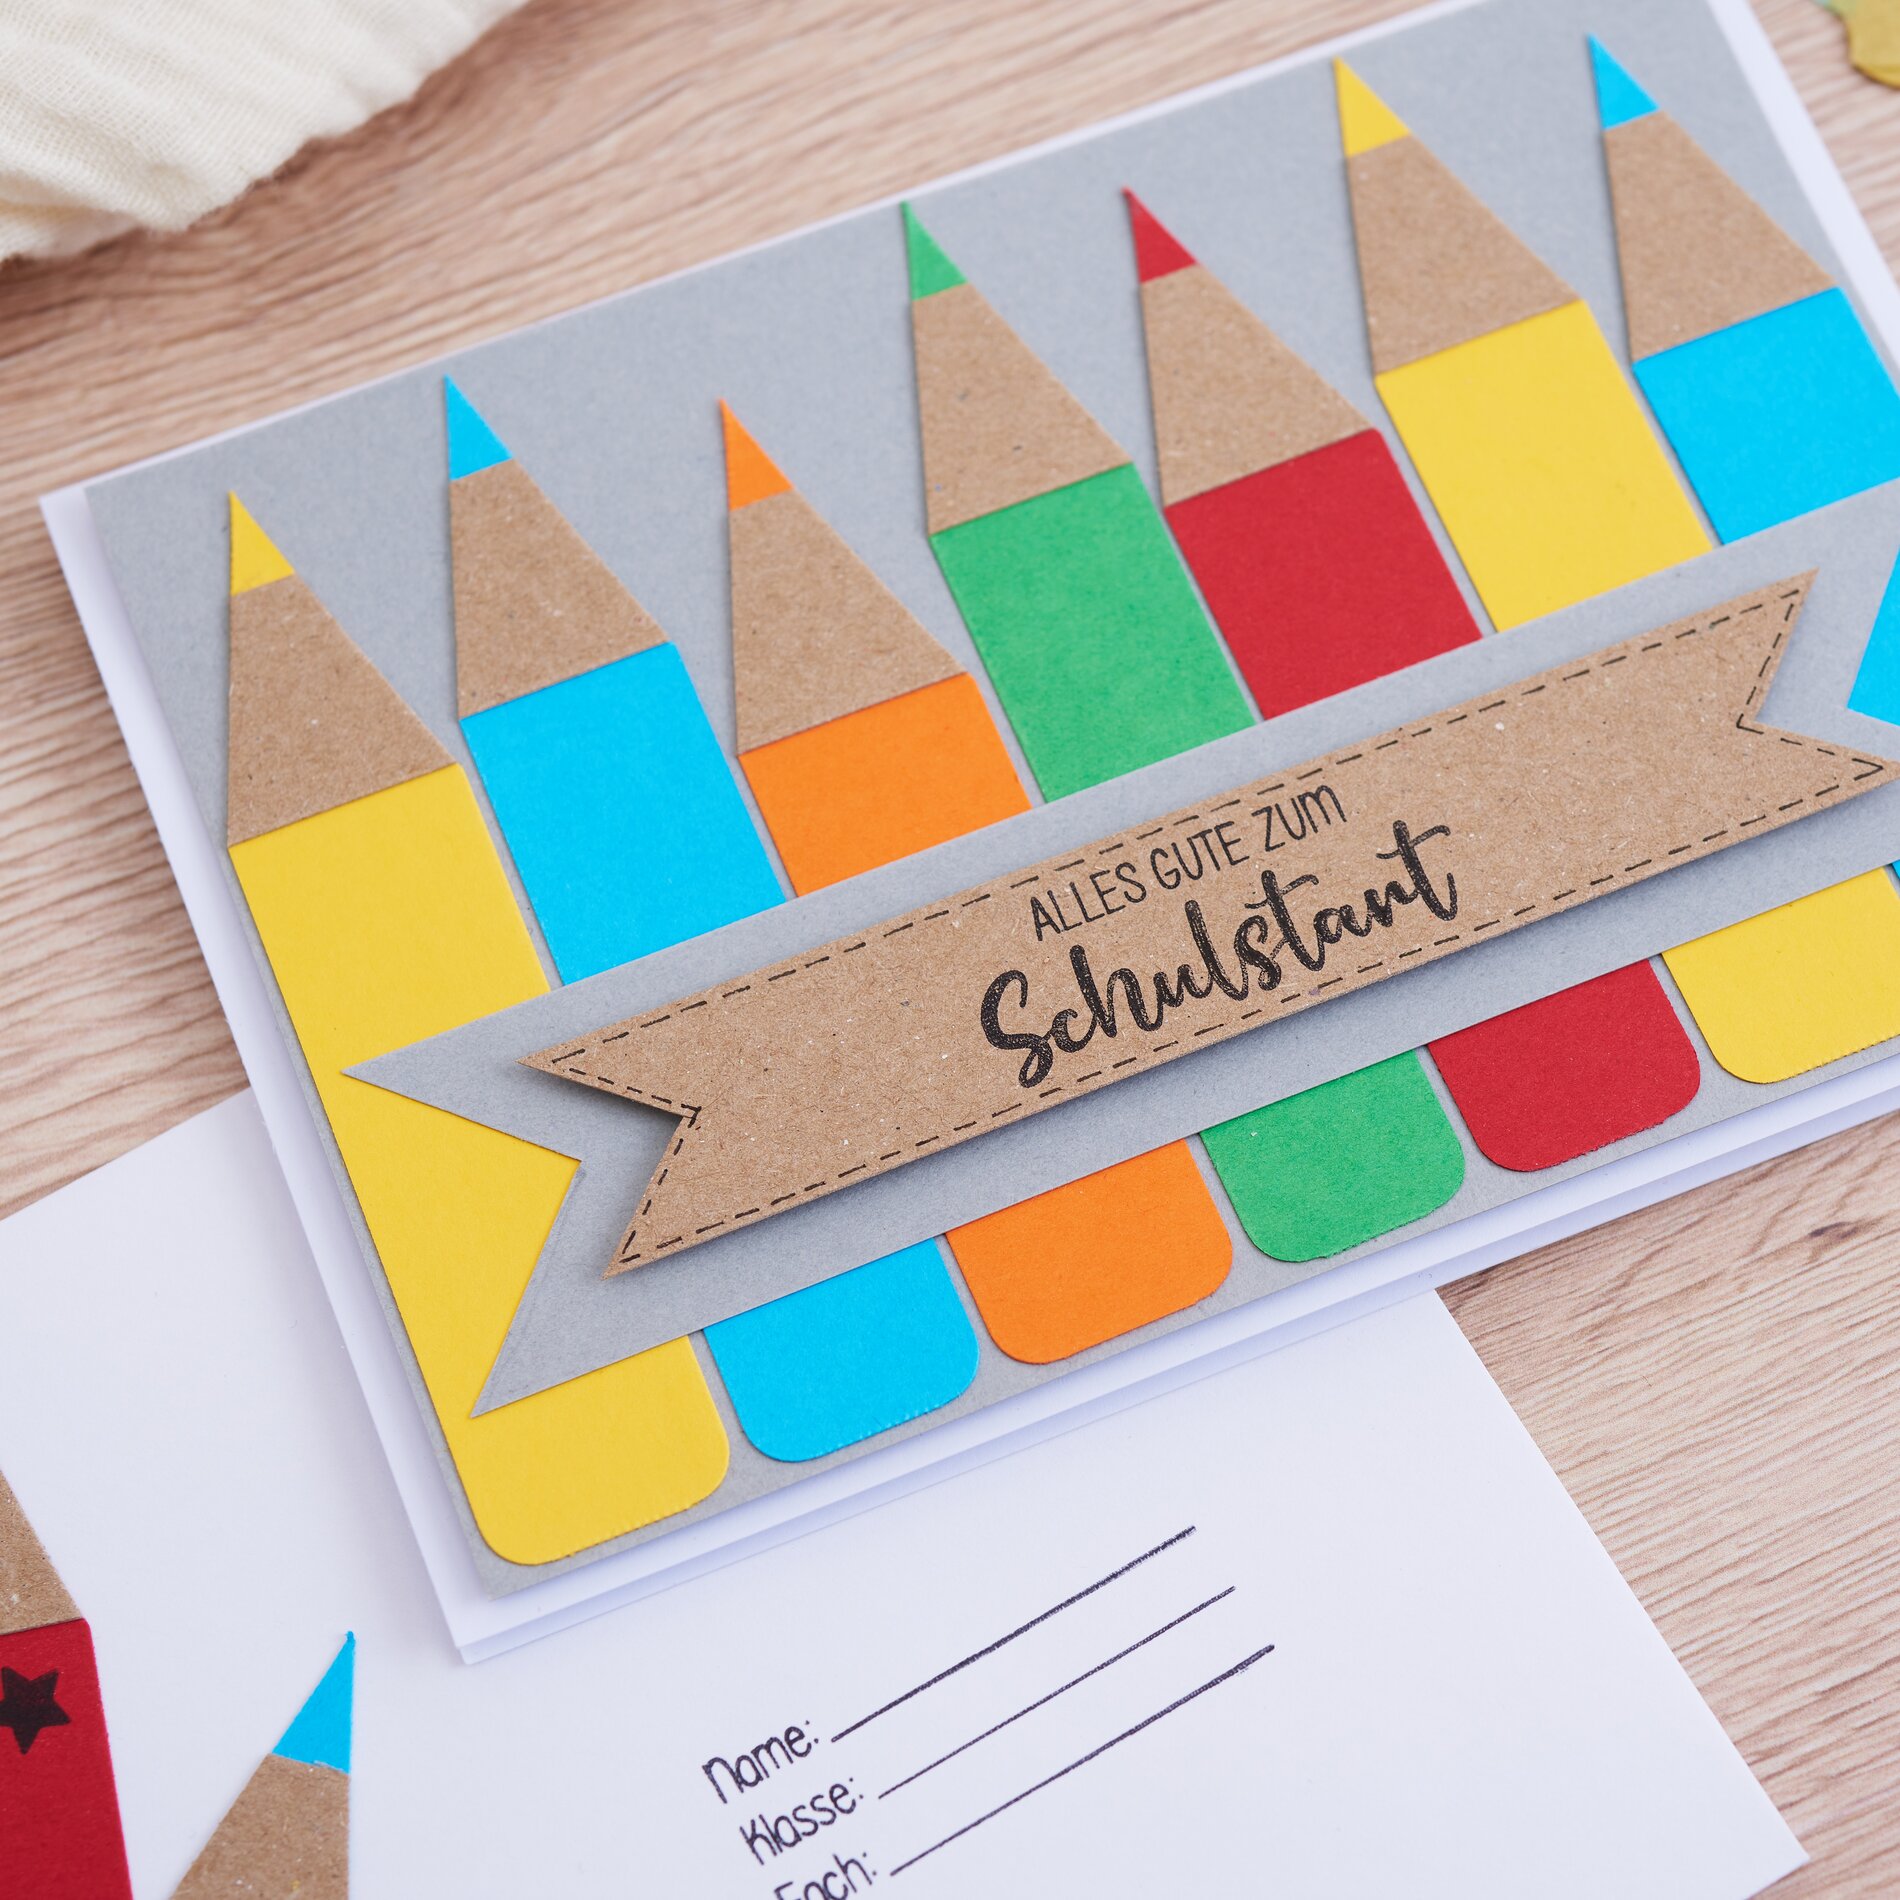
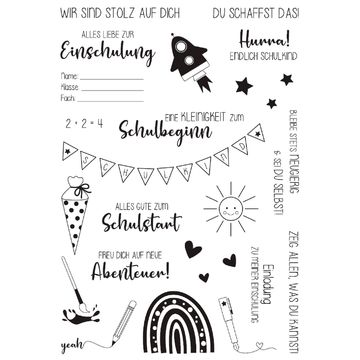
3. Stempel boodschappen en zet de scène neer
Kies een siliconen stempel naar keuze en plaats deze op een doorzichtige stempelhouder. Druk de stempel stevig in de stempelinkt en stempel vervolgens met stevige druk een strook kraftpapier.
Extra tip: Na het stempelen moet je de stempel schoonmaken met een speciale stempelreiniger zodat hij klaar is voor je volgende knutselproject.
Snijd de gestempelde papieren strips in een interessante vorm en bevestig hem op je kaart met 3D-zelfklevende pads .
4. Envelop ontwerpen
Versier de envelop van je DIY Kaart met dezelfde technieken. Versier hem met papierstiften en stempels die je zelf hebt gemaakt. Zo zien de kaart en de envelop er harmonieus uit.
Conclusie: Ga creatief aan de slag en bestel je materialen vandaag nog!
Je vindt alle materialen die je nodig hebt hier of in onze online shop, dus ga je gang - bestel nu, geniet van de knutseltijd en de vreugde van je voltooide kaarten later!