- Secure order
- Easy return shipment
- Service-Hotline +32 50 89 35 27
Instructions No. 4026
Difficulty: Beginner
Working time: 1 hour
Design Casting Ornaments (Angel Wings & Dove of Peace)
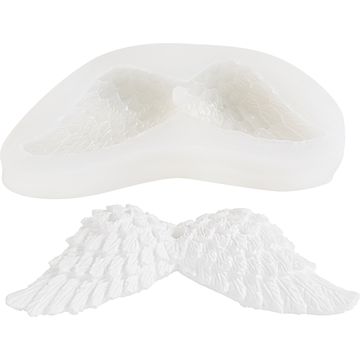
Get your silicone molds ready and make sure you have a clean, flat surface. This will ensure that the contours remain crisp and the surface of the pendants looks smooth—perfect for Christmas gifts, cards, and small boxes with a stylish X-Mas Soul look.
1. Mix the casting mixture: creamy, not runny
Put about one tablespoon of casting mix into a mixing bowl and gradually stir in water until a creamy consistency forms. The consistency is important: If the mixture is too runny, details won’t show up as well and the edges will be more fragile. If it’s nice and creamy, the fine details in angel wings and doves of peace will fill out cleanly.
2. Optional glitter effect
If you want a subtle sparkle, sprinkle some glitter directly into the “ silicone mould. ” before pouring. The advantage: The glitter will later sit on the surface like a delicate highlight, without requiring any additional painting or gluing. Especially at Christmas, this looks elegant and not overdone.
3. Filling the Molds: Securing Details, Avoiding Air Bubbles
Pour the mixed mixture into both silicone molds. Then gently tap the mold a few times on the tabletop. This helps bring small air bubbles to the surface so the designs look smooth later and don’t develop “craters.” Smooth the mixture off so the back of the castings is as flat as possible.
4. Initial drying and unmolding: Be patient
Let the molds dry for about 30 minutes. Then carefully remove the castings by gently pulling the “ silicone mould ” apart and loosening the design piece by piece. This prevents indentations on delicate areas such as the tips of the wings or the outline of the dove.
5. Smoothing the Edges: A Clean Look for Gift Decorations
Lightly sand down any rough edges with sandpaper . This step makes all the difference: it gives the tags a higher-quality look, helps them lie flatter on cards, and ensures they hang neatly from ribbon.
6. Let them dry completely: Stability for use as tags
Even if the pieces feel firm after demolding, they need time to dry completely. Let the castings dry thoroughly for another 8 hours. This makes them more durable and ensures they retain their shape when tied to or transported with gifts.
7. Decorating Christmas packaging: Ribbon placement with impact
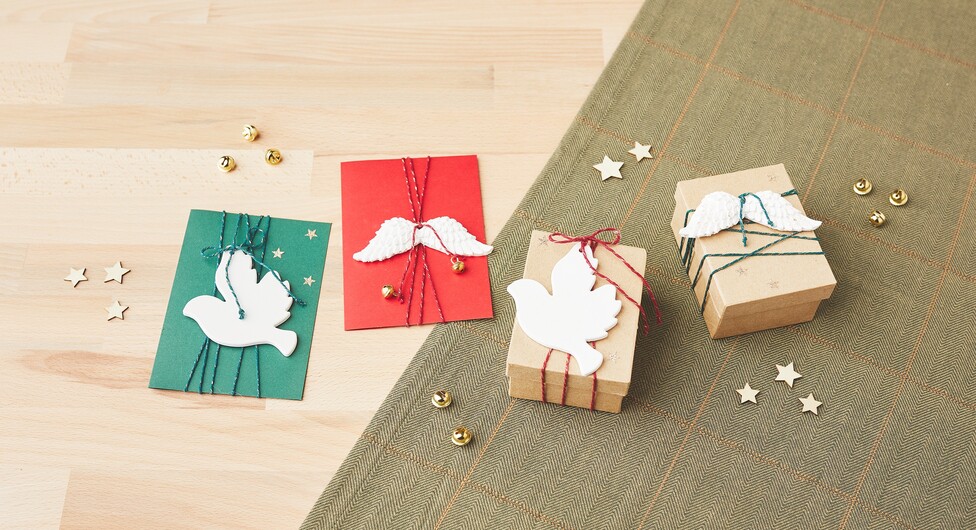
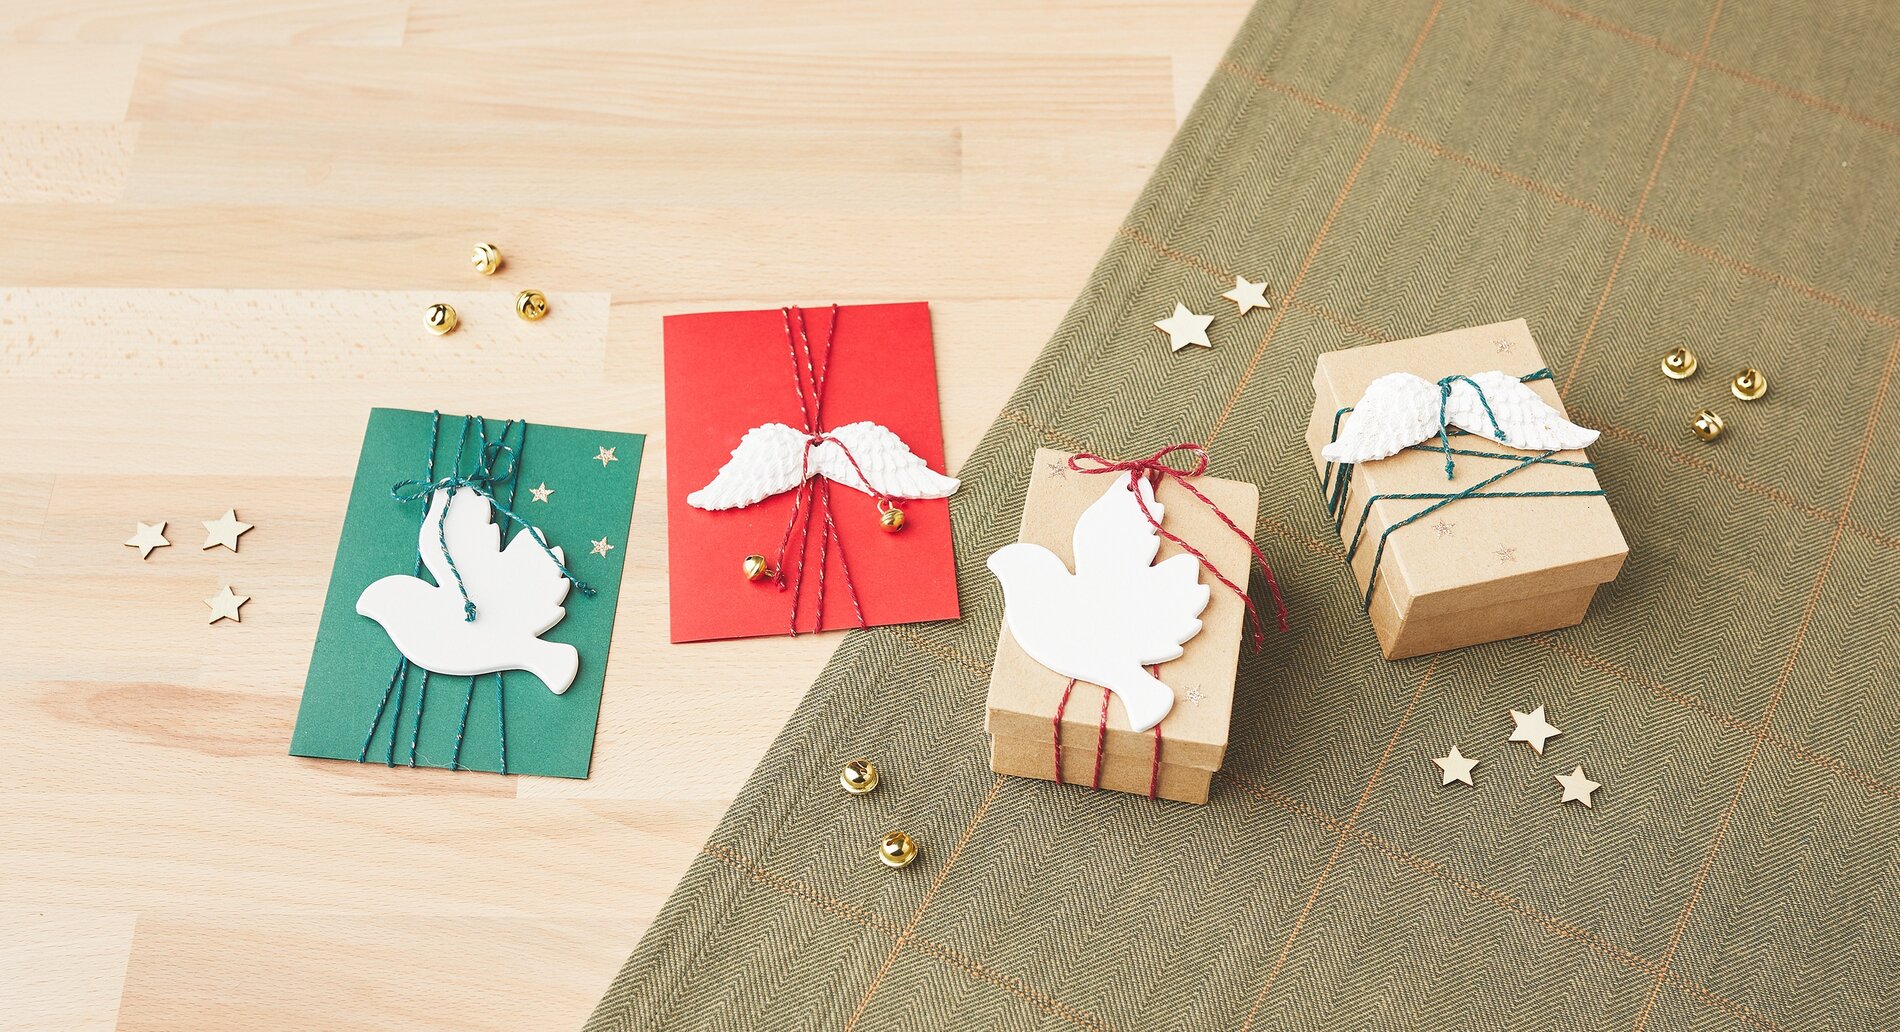
Tie a ribbon around your cards and boxes and securely knot the cast pendants to it. The ribbon creates a clean frame and draws the eye to the design. You can close the end with a bow, secure it with a simple knot, or tie small jingles to the ends of the ribbon—this creates a harmonious, Christmassy accent.
8. Final Details: Stars as Subtle Highlights
Finally, glue small stars onto the card or gift wrapping. A few carefully placed stars look elegant and complement the motif without overshadowing it. It looks especially nice when you arrange the stars in a small “trail” around the tag.
Now it’s your turn: Browse our online shop for matching casting materials, silicone molds, ribbons, and decorative sprinkles, and put together your own set for stylish Christmas pendants made from casting compound.