- Secure order
- Easy return shipment
- Service-Hotline +32 50 89 35 27
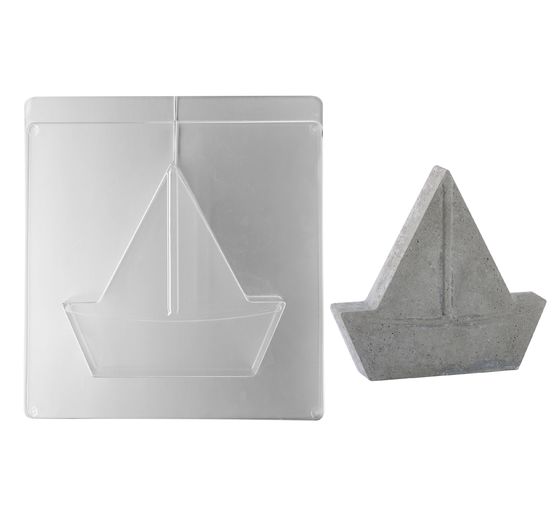


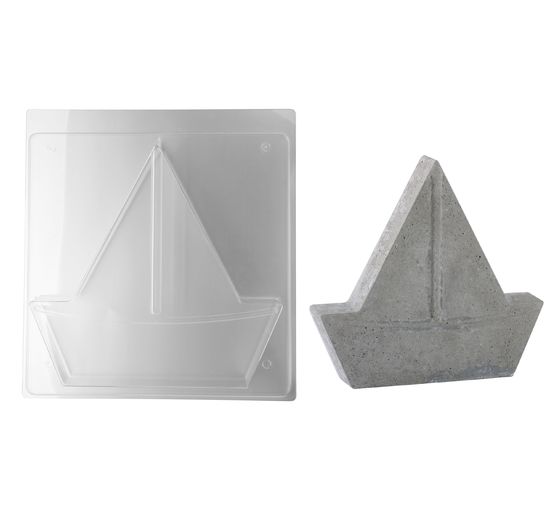

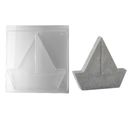
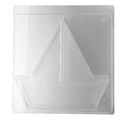

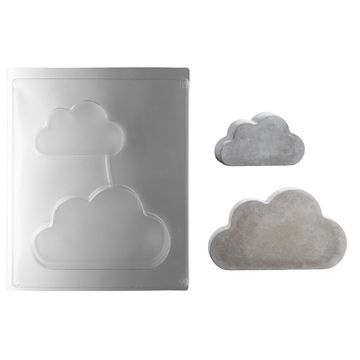
Create your own little sailboat and let your creative side take to the water! With the Casting mould "Sailboat" made of PET, you can create dreamy maritime decorations and reinterpret the trendy theme at home time and time again. The 4 cm deep mould made of heat-resistant material is perfect for pouring concrete or creative casting compound. Measuring 19 x 18 cm or 28 x 26.5 cm, there are two different sizes available, which can also be perfectly combined with each other.
What you like is beautiful - this also applies to the design of the sailboats. You can color, paint or decorate the cast elements with gold paint as you wish. This makes each boat unique and can be an absolute eye-catcher as a table or living room decoration.
So that you can get started right away, we have put together the right tips on material consumption for you. This will give you the right orientation straight away and help you to complete your projects in a relaxed manner.
Sailing boat, 19 x 18 cm, depth 4 cm, material consumption: concrete max. 1300 g, creative casting compound max. 900 g, filling quantity 650 ml
Sailing boat, 28 x 26.5 cm, depth 4 cm, material consumption: concrete max. 3000 g, creative casting compound max. 2000 g, filling quantity 1450 ml
Let your creativity drive you and create your own personal dream sailboat!
Tips to use:
Preparations:
Mix the desired casting compound according to the instructions. If you wish, you can color it with color pigment powder.
Application:
Slowly pour the mixed casting compound into the casting mould. Leave a rim of at least 2 mm free to make it easier to demould your casting later.
Gently tap the casting mould so that the mixture is evenly distributed and any air bubbles come to the surface. You can then prick these with a lace object.
Time to dry:
Allow the casting compound to harden well. Follow the drying times specified in the instructions for the casting compound.
Work to finish:
You can now demould your casting. If the casting does not come off simply by dropping it, you can carefully loosen the mould all around with your fingers and tap it against the mould.
Good to know:
For detailed moulds, we recommend using a mould release agent or release wax to protect the mould.