- Secure order
- Easy return shipment
- Service-Hotline +32 50 89 35 27
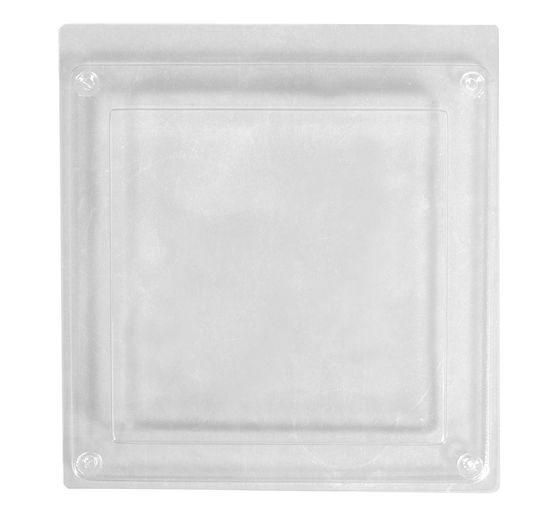
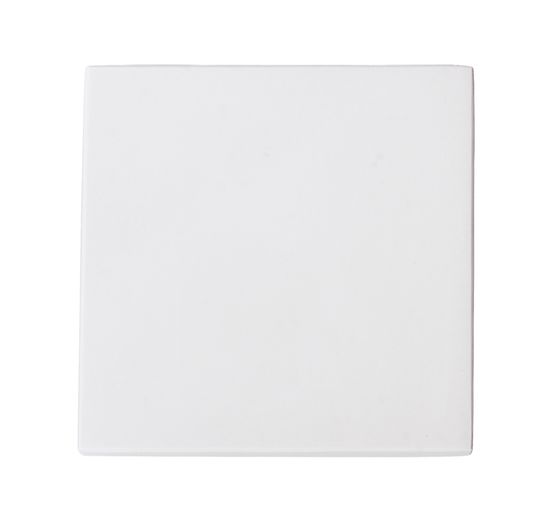


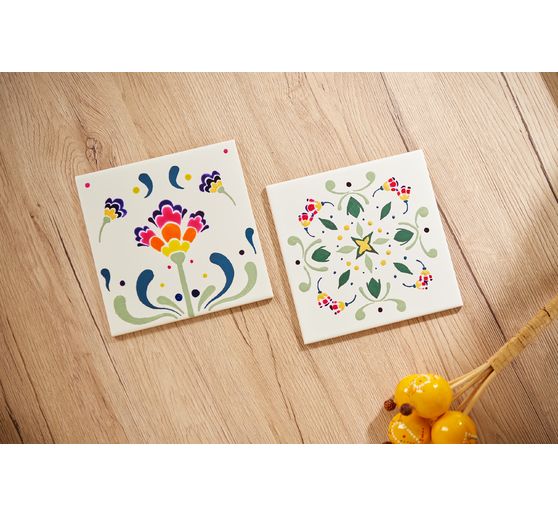
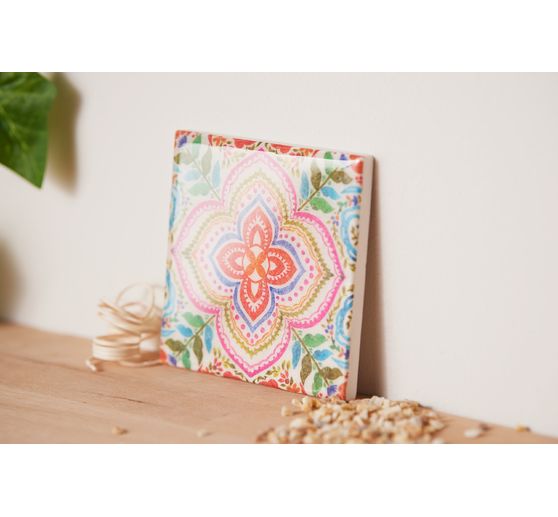


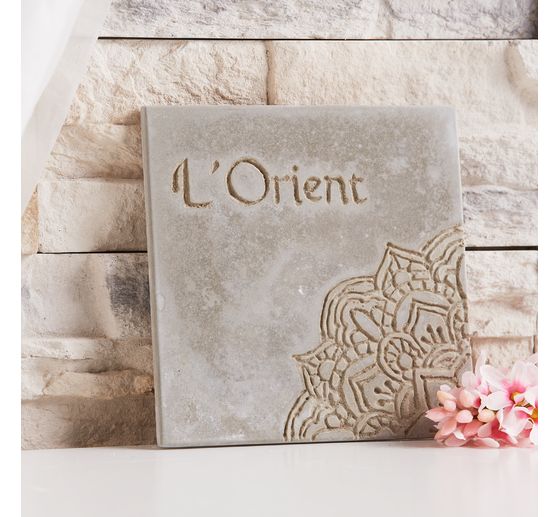
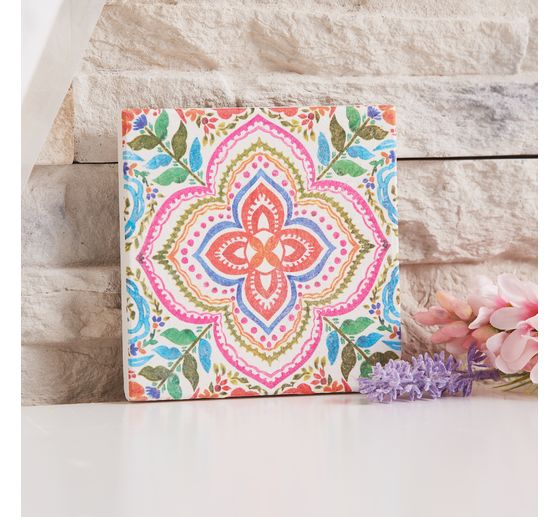
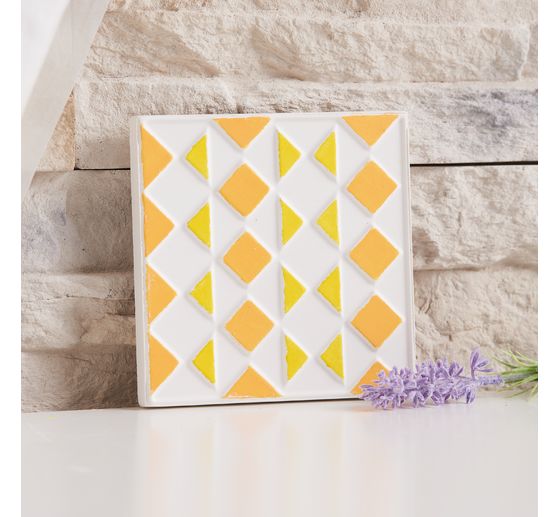
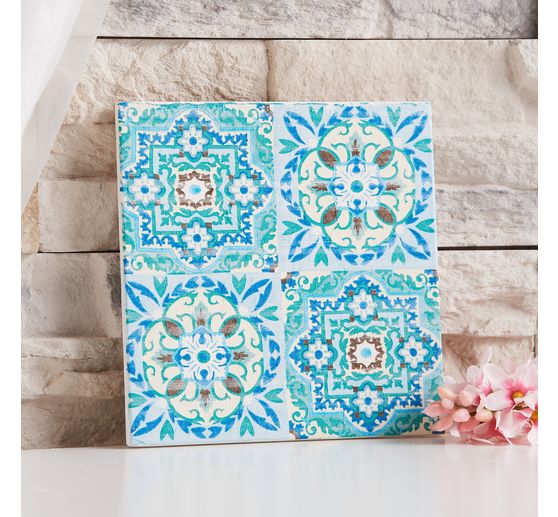
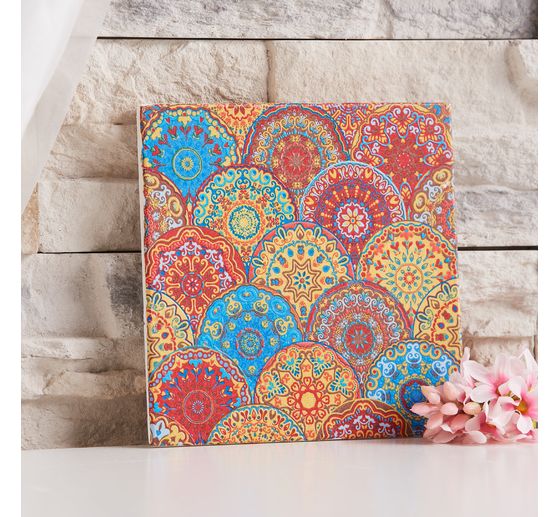
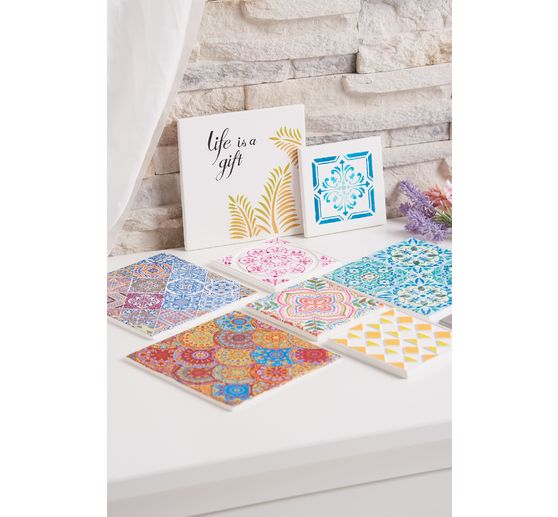


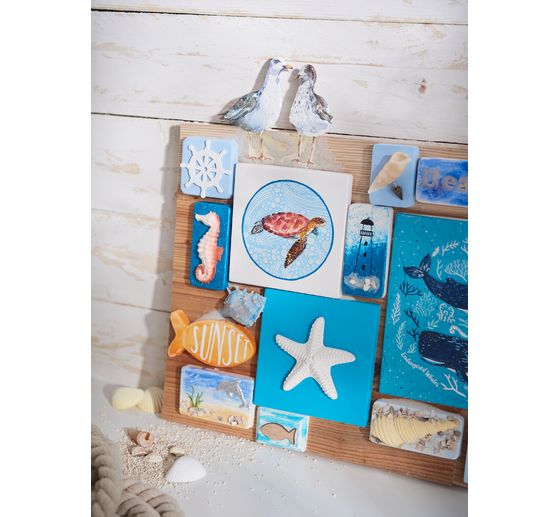


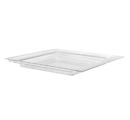


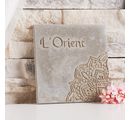
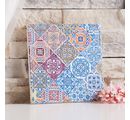

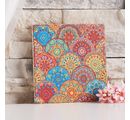
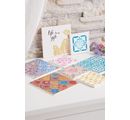
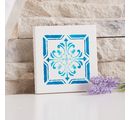


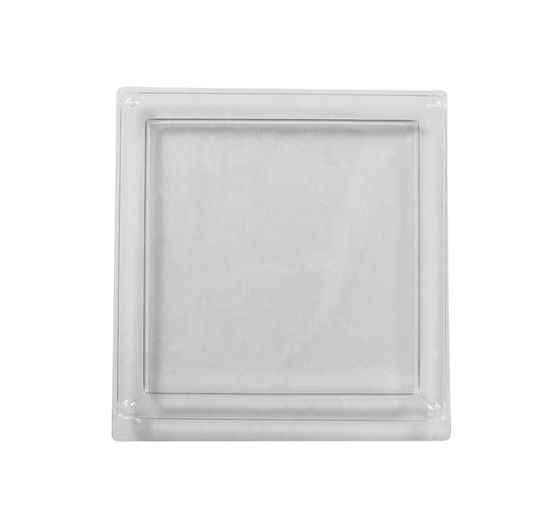

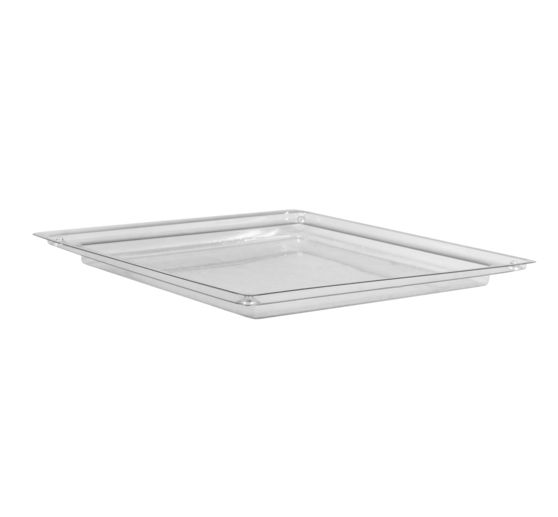
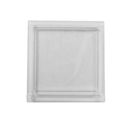
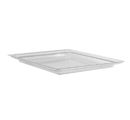

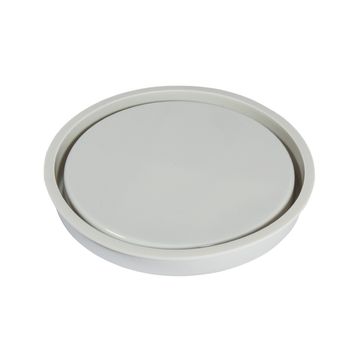
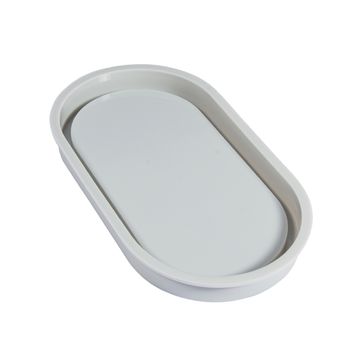
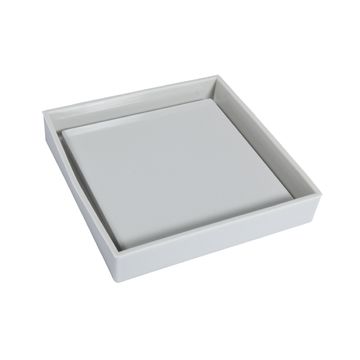
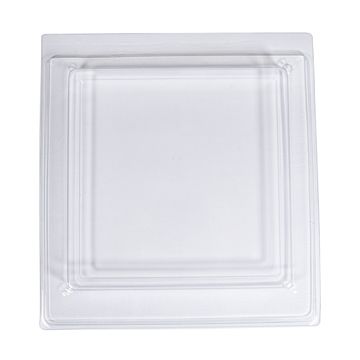
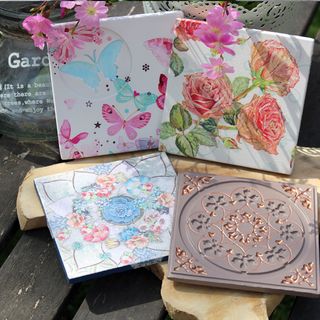
Personalize your living area with the Casting mould "Tile". Whether as a coaster or to embellish trays and the like, you can easily make your own tiles with this reusable casting mould. The mold is 1 cm thick, making it perfect for concrete and creative casting compounds. A special relief inlay creates great patterns on your tiles.
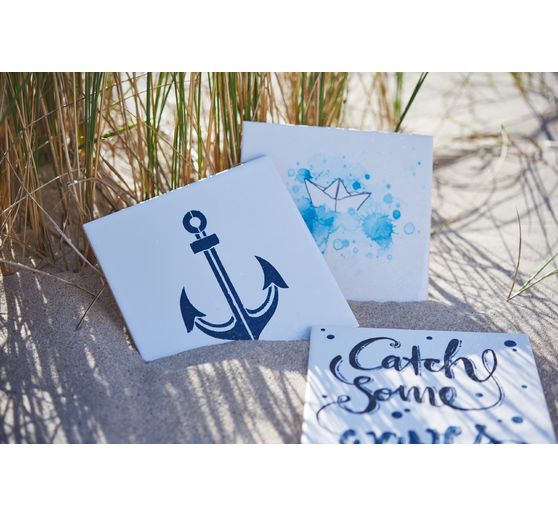
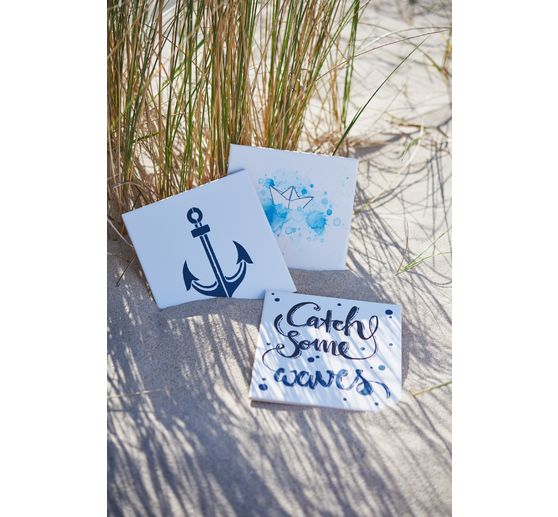
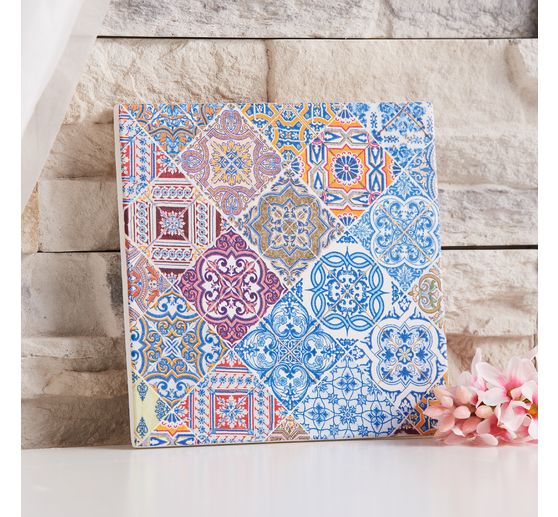
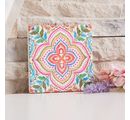
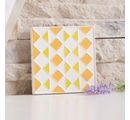
The advantages of the Casting mould "Tile" are obvious: it is easy to use, weighs little and is durable thanks to the robust plastic. But the most important thing is that you can use this mould to create unique accents in your home. Whether with bright colors, simple tones or different patterns - the design options are wonderful.
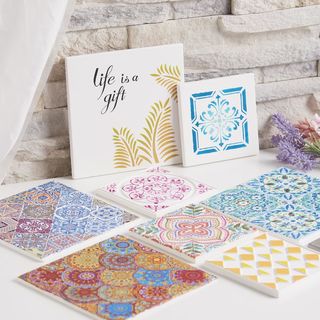
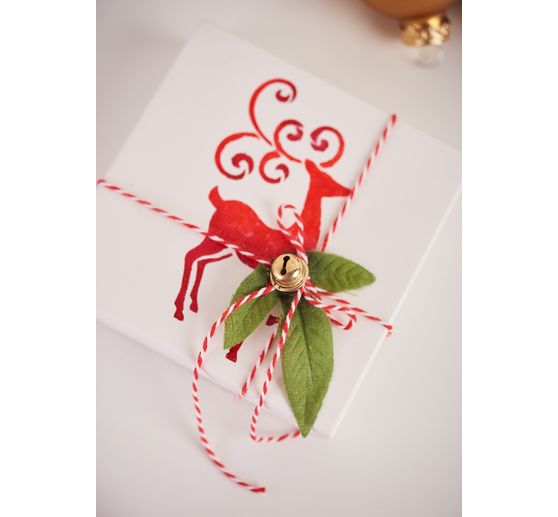
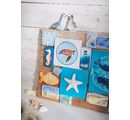
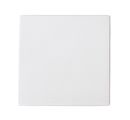
You can use the Casting mould "Tile" to enhance not only your living area, but also other areas of your home. For example, how about homemade coasters for the dining table or as an individual gift for your loved ones? Or how about sticking small tiles on your wall as decoration?
Order the Casting mould "Tile" now and turn your creative ideas into reality. Get this unique craft accessory and become a master of tile design!
Tips to use:
Preparations:
Mix the desired casting compound according to the instructions. If you wish, you can color it with color pigment powder.
Application:
Slowly pour the mixed casting compound into the casting mould. Leave a rim of at least 2 mm free to make it easier to demould your casting later.
Gently tap the casting mould so that the mixture is evenly distributed and any air bubbles come to the surface. You can then prick these with a lace object.
Time to dry:
Allow the casting compound to harden well. Follow the drying times specified in the instructions for the casting compound.
Work to finish:
You can now demould your casting. If the casting does not come off simply by dropping it, you can carefully loosen the mould all around with your fingers and tap it against the mould.
Good to know:
For detailed moulds, we recommend using a mould release agent or release wax to protect the mould.