- Secure order
- Easy return shipment
- Service-Hotline +32 50 89 35 27
Instructions No. 3345
Difficulty: Beginner
Working time: 1 hour
Summer not only brings us only sun and a good mood, but also the opportunity to enjoy sociable moments outdoors. A colorful cutlery holder, which you can easily design yourself, combines practicality with decorativeness and gives your table decoration an individual touch. Let your creativity run wild and surprise your guests with a versatile accessory for cutlery and co!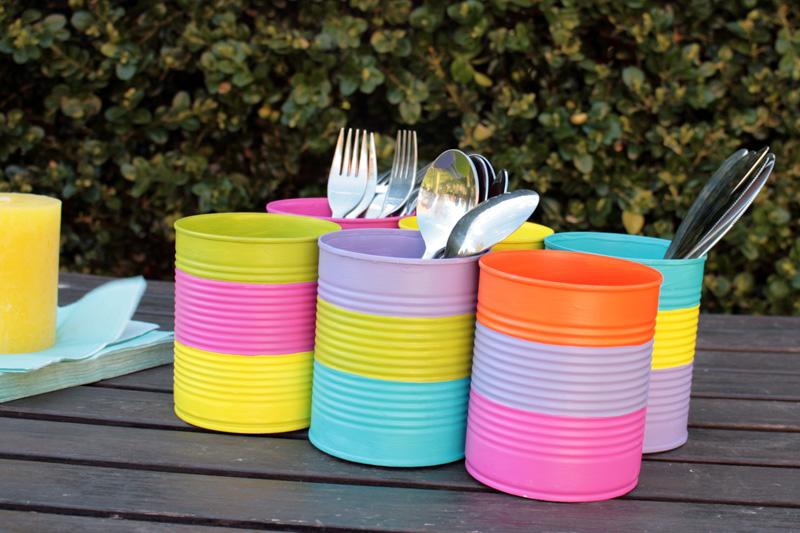
Step 1: Paint the tins
To ensure that the colorful paint really shines later and all the tins look uniform, you should first paint them white. To do this, use an Edding permanent spray in traffic white. It's best to do this outdoors to avoid spray mist and odors. Hold the cans slightly away from you and apply a thin layer of paint. Allow the coat to dry well and repeat the process if necessary. Don't forget to paint the inside areas. Make sure that no paint bubbles form.

Step 2: Paint the cans brightly
Once the primer has dried, it's time for the creative part: painting the cans. You can choose the colors according to your mood or choose a harmonious color scheme. Use the grooves on the cans as a guide for striped patterns. As the smooth surface of the cans requires it, apply two coats of paint. Allow the first coat to dry completely before applying the next to avoid color bleeding.

Step 3: Glue the cutlery holders together
Once the tins are dry and colorful, you can use hot glue to join them together to form a cutlery holder. First glue two tins together and then join the resulting pairs. Make sure to apply a generous amount of glue so that everything sticks well. But watch your fingers, the metal retains the heat of the glue for a while.

Your colorful cutlery holder is now ready to brighten up the next garden party! Fill it with cutlery, napkins or other utensils and be the star of the party!

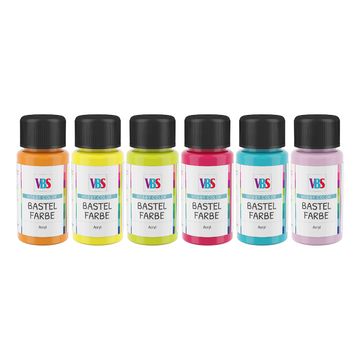
Get all the materials you need for your DIY-Project in our online store and start crafting right away. There are no limits to your creativity!