- Secure order
- Easy return shipment
- Service-Hotline +32 50 89 35 27
Instructions No. 3557
Difficulty: Beginner
Working time: 1 hour

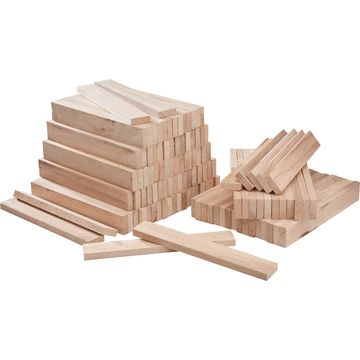
Start by gluing seven craft blocks together on the long, narrow sides. To ensure that the blocks adhere firmly, you should use a good handicraft glue and press the blocks firmly together. Allow the glue to dry completely so that your cube base is stable.
Cutting the foam rubber to sizeOnce the dried blocks are joined together to form a compact block, place them on your foam sheets and sketch the outline with a sublimat pencil. This special pen fades over time and is ideal for precise markings. Take the blocks to one side and carefully cut out the foam sheets along the markings. Make sure you get straight and clean edges to achieve a perfect result.
Designing the frameTo secure the actual cube area, glue four more craft blocks in a frame border around the seven blocks that have already been glued together. This creates a frame on the outer edges that prevents the cubes from rolling off the table. Here too, it is important to allow the glue to dry thoroughly.
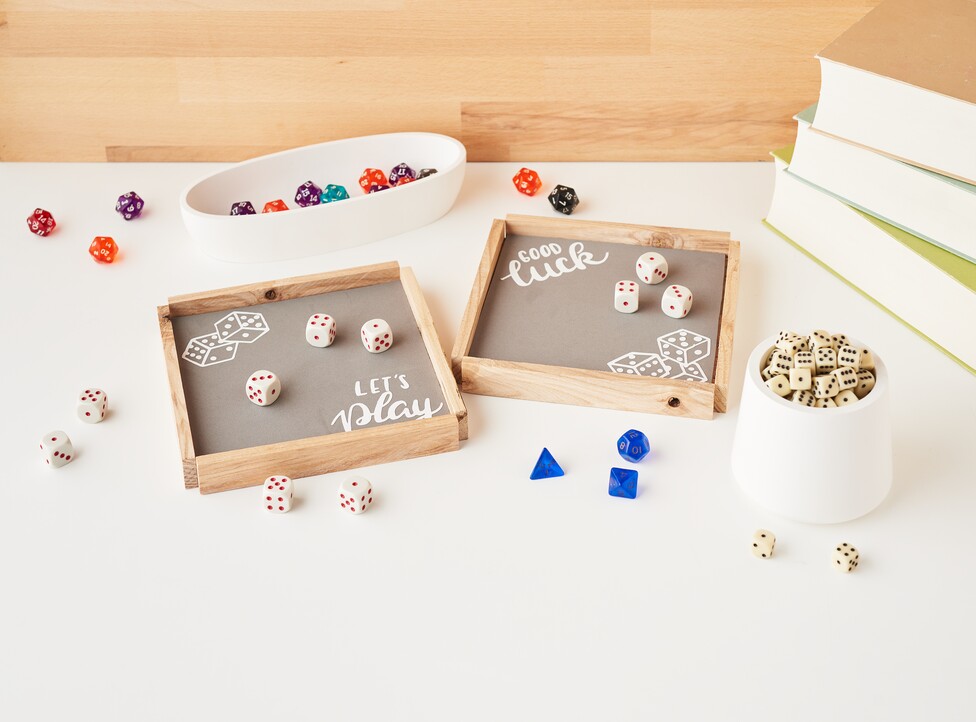
Inserting the foam rubberNow place the cut foam sheets into the finished wooden frame structure. The foam sheets not only serves as a shock-absorbing base, but also reduces the noise level when rolling the dice, which significantly increases the playing comfort.
Creative designTo personalize your dice pad, you can decorate it however you like. For example, use Posca marker, which is characterized by its strong and opaque colors, or use a plotter and vinyl foil for precise and creative patterns. There are no limits to your creativity!
With this homemade dice mat, your next game night will not only be quieter, but also more stylish! Experience the joy of crafting and take the opportunity to add your own personal touch to the design. Check out our online store now and get all the materials you need to get started right away! Bring your DIY-Ideas to life and impress your friends with your crafting skills!