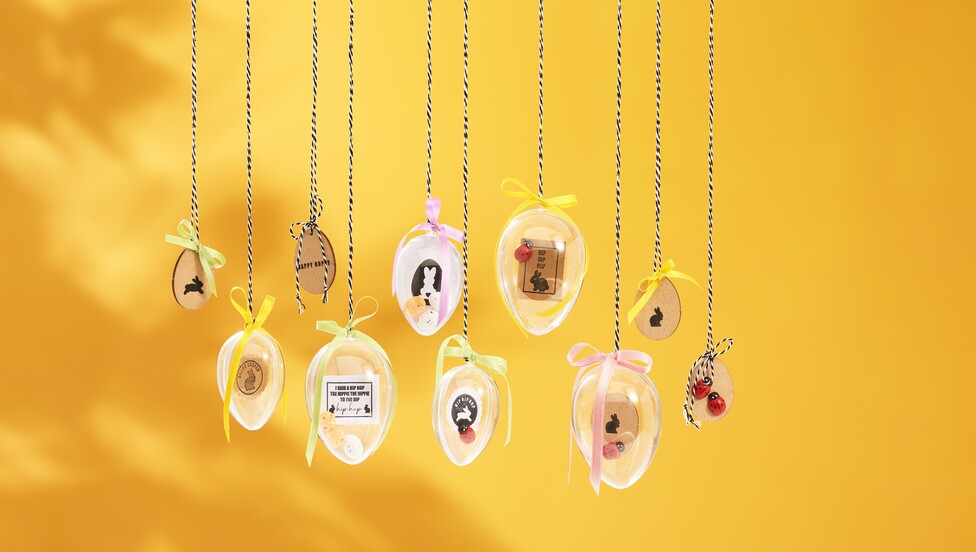
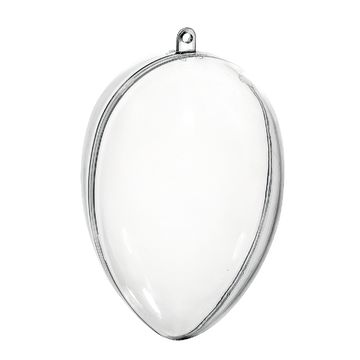
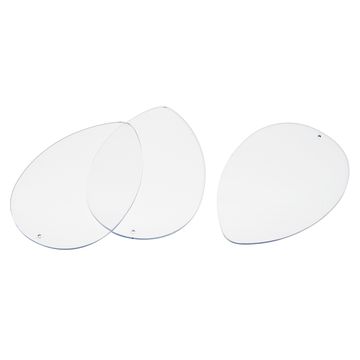
To recreate this idea, you will need transparent acrylic glass eggs in various sizes, as well as some matching separating disks. Also have silicone stamps, Paper and a few other accessories ready: Use the products in the materials list for this.
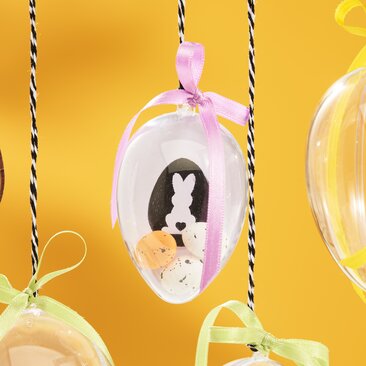
Start the creative process by picking up the silicone stamps. Stamp the kraft paper and the white cardboard with the motifs of your choice. Remember to clean the stamps after each use. This will allow you to continue stamping clear motifs later on.
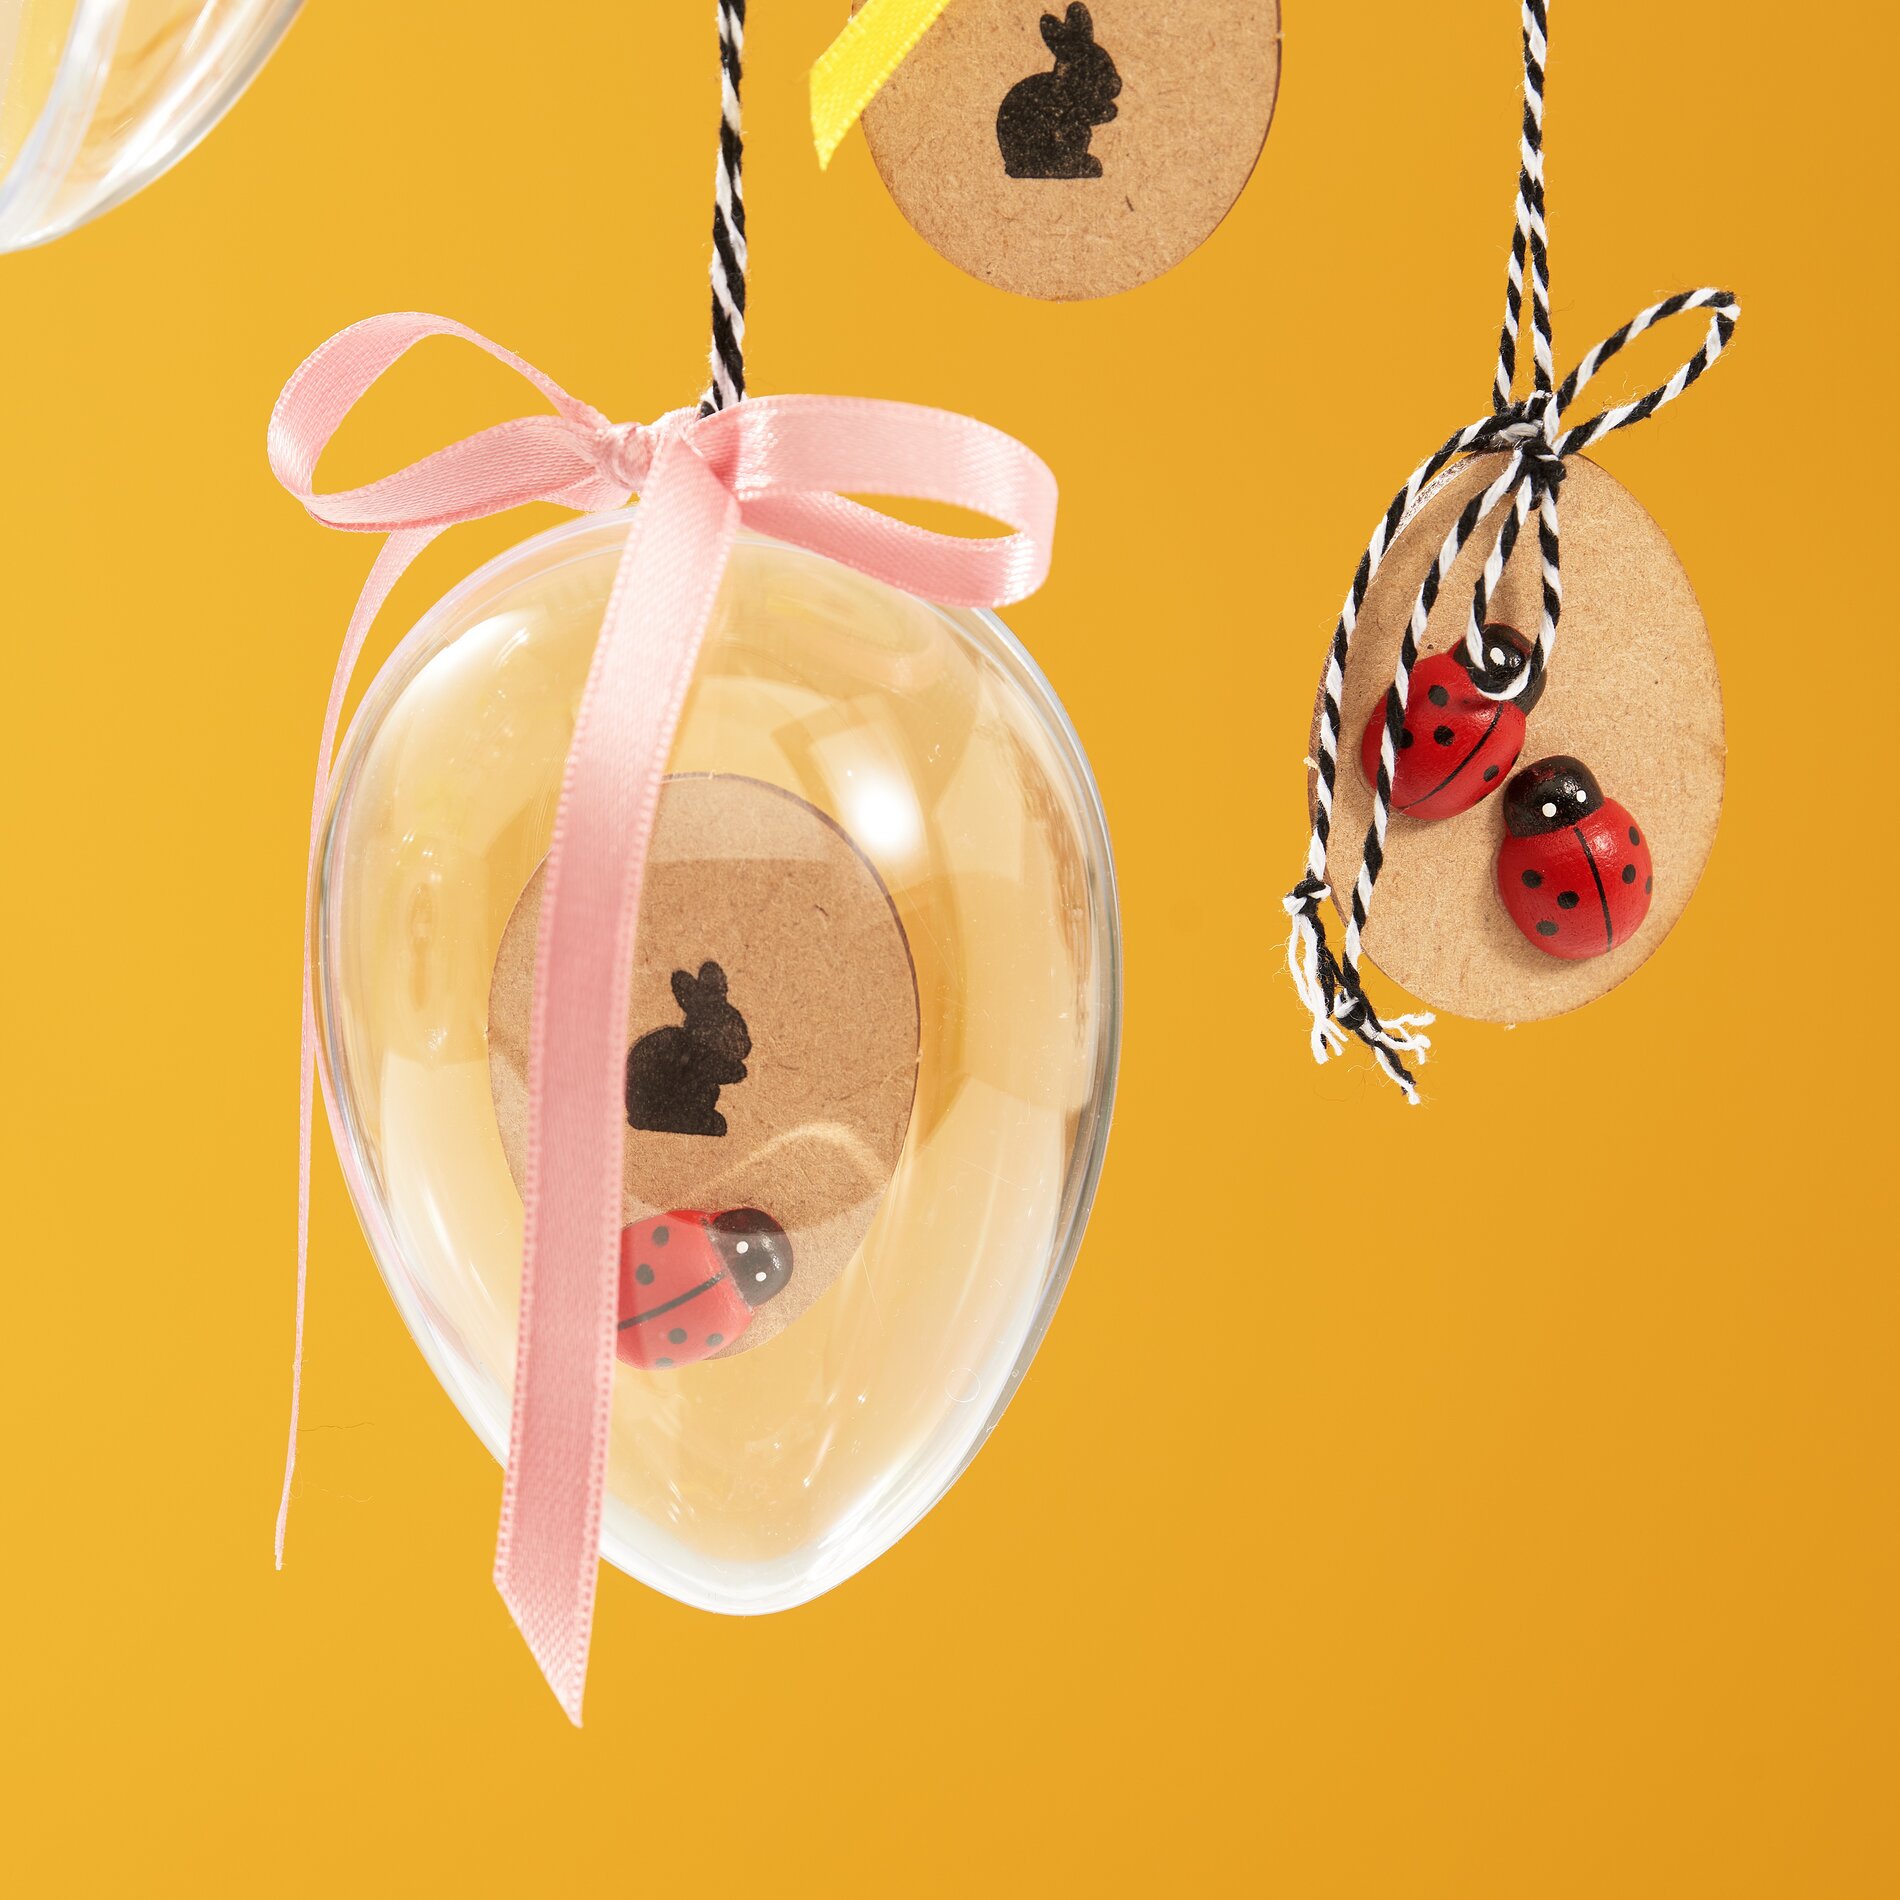
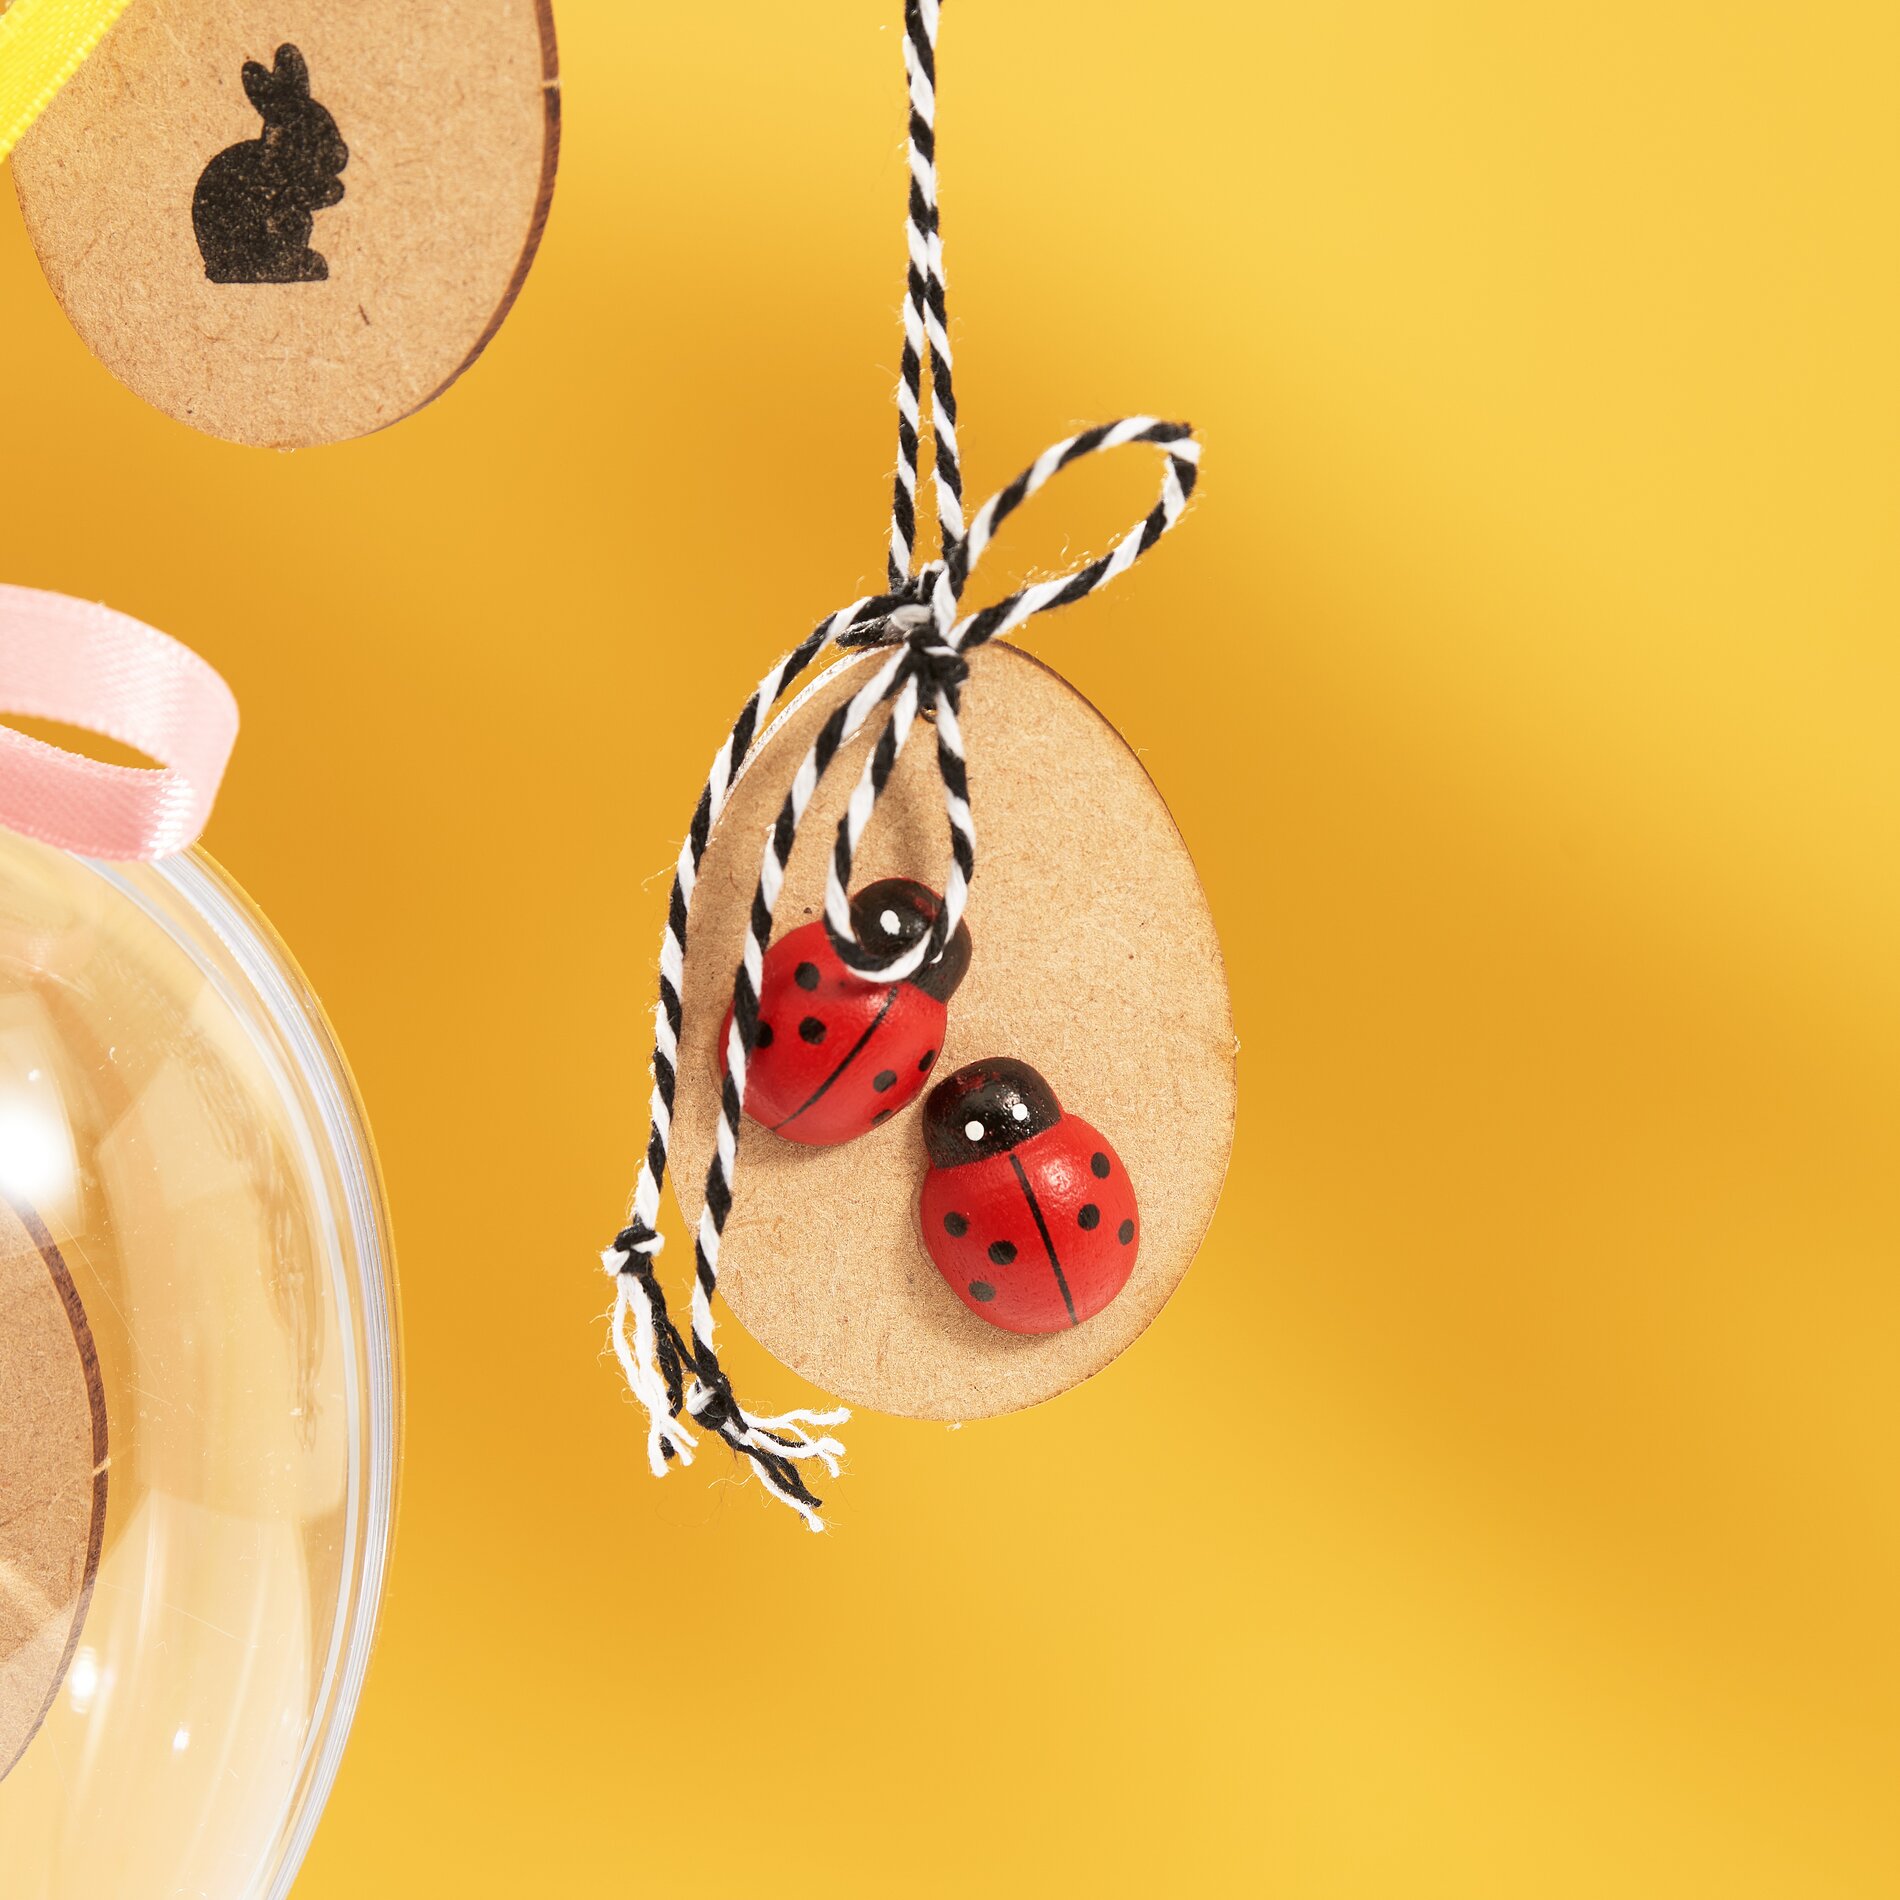
Then cut or punch out the stamp motifs and stick them onto the separator disks using double-sided adhesive tape . Decorate some of your decorative dividers with little ladybugs.
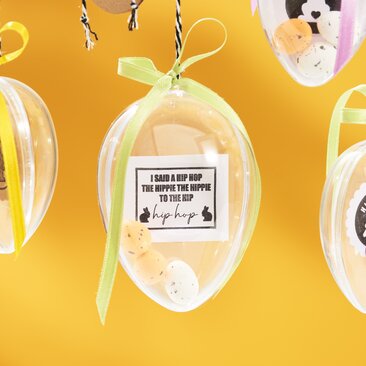
Place the dividers in a acrylic egg-half. If they don't fit perfectly straight away, you can take them out again with the help of a sewing needle and reposition them. Now place other accessories, such as small styrofoam eggs, in the mold and close everything with the second acrylic egg-half. As long as both halves are not glued together, you can change your filling at any time. However, as soon as you are sure that everything is perfectly arranged, you should fix each acrylic egg at the seam with glue.
At the same time, decorate the MDF egg pendants with small stamped messages and motifs. Or glue small ladybugs onto the oval disks.
Thread a piece of satin ribbon through the hanging hole of each acrylic egg and tie an elegant bow. Finally, use black and white cotton cord as hanging ribbons for all the easter eggs you have made.