- Secure order
- Easy return shipment
- Service-Hotline +32 50 89 35 27
Instructions No. 3229
Difficulty: Beginner
Working time: 2 Hours

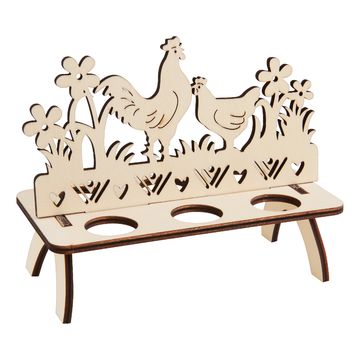
Step 1: Paint the egg holder
First, grab your wooden egg holder blank. Take various craft paints and brushes to give free rein to your creativity. You can paint the egg holder in cheerful spring colors or pastel shades. Make sure you let the paint dry thoroughly before moving on to the next step.
Step 2: Assemble the egg holder
Once the paint is completely dry, assemble the individual parts of the egg holder. Your egg holder is designed so that the parts fit together perfectly. If the joints are not tight enough, you can fix the parts together with a little handicraft glue . This will keep your work of art stable and permanently in shape.
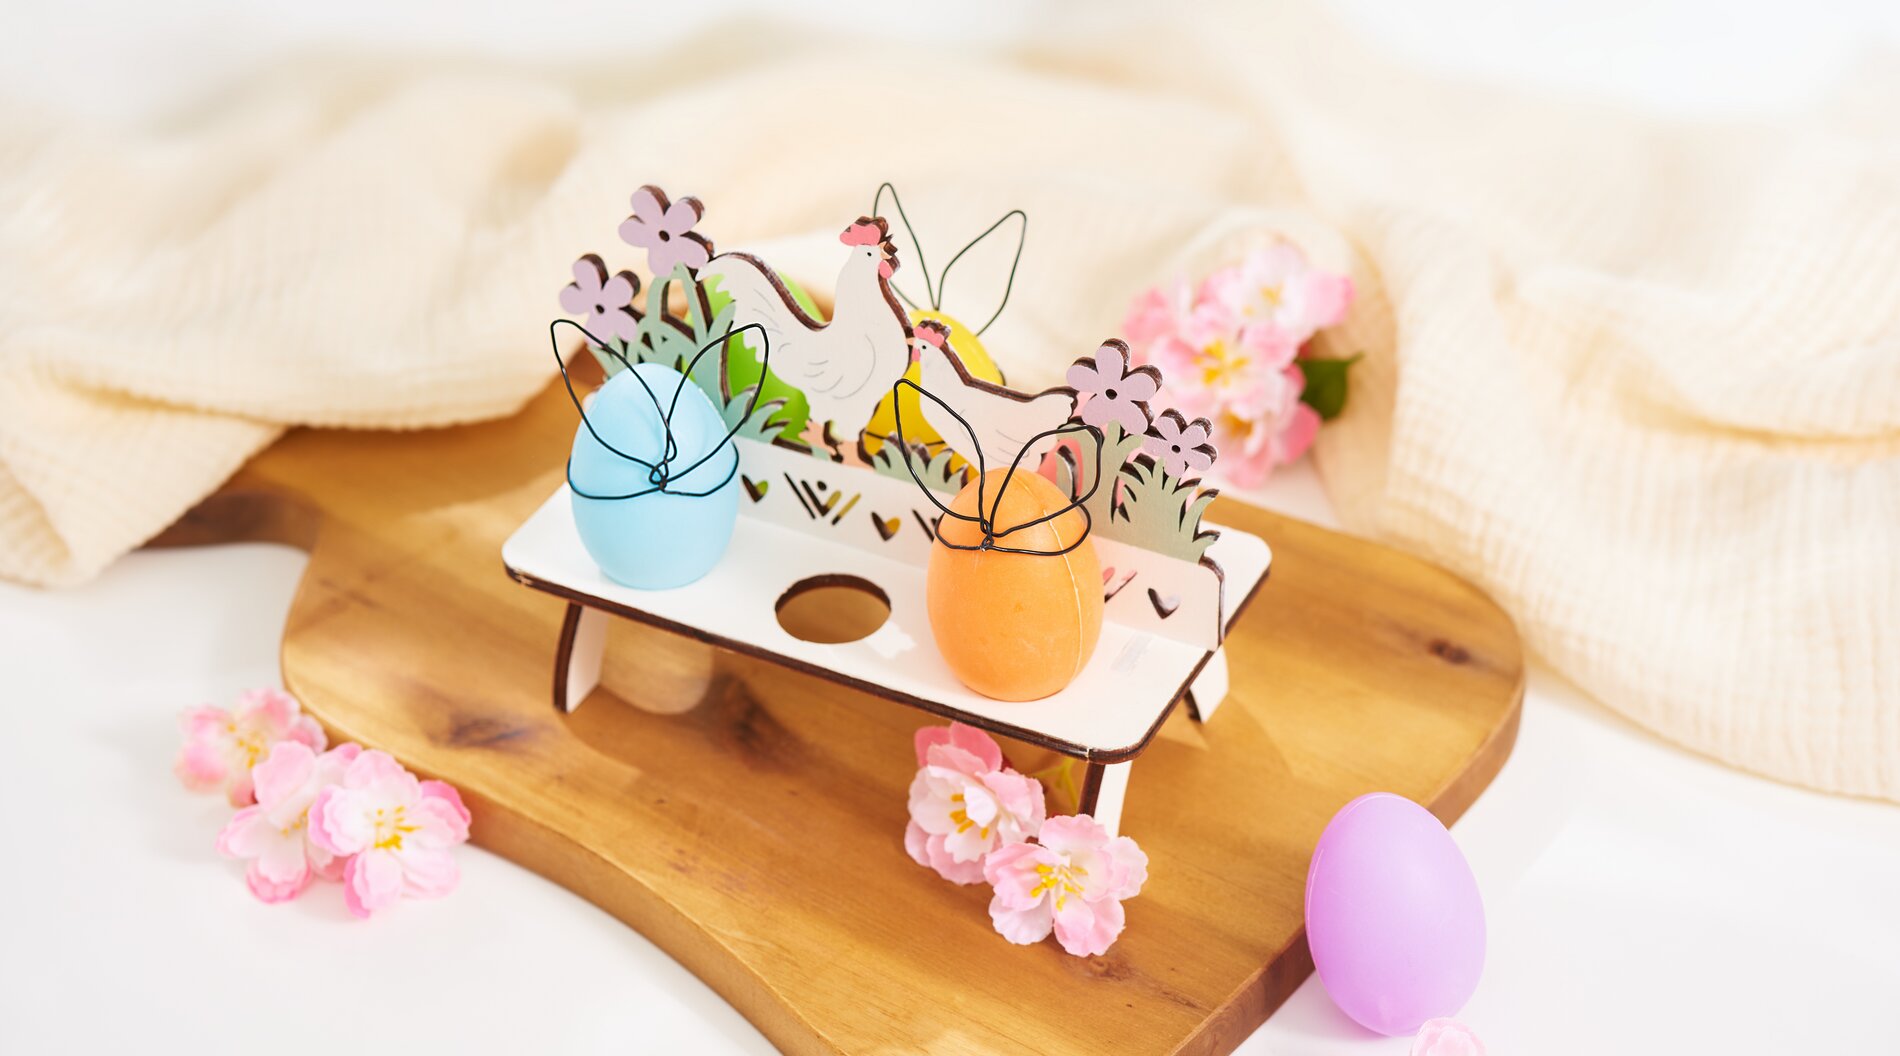
Step 3: Shape bunny ears from wire
Now comes the creative part: shaping the bunny ears out of wire. Cut a piece of wire and shape it into two ears of the same size. You can make them larger or smaller as you wish, depending on how you want your design to look. Place the wire around the egg that will later sit in the holder and make sure that the ears are nicely symmetrical.
Step 4: Fix the wire
Now bring the ends of the wire together behind the egg and twist them tightly together. This will hold each egg firmly in its bunny ears - and it will look adorable!
Your unique piece: your individual egg holder is ready!
With little effort, you have created a unique egg holder that will decorate your Easter table in a special way. This project is a great opportunity to let your creativity run wild and is also perfect for crafting fun for the whole family.
Have fun crafting and happy Easter!