- Secure order
- Easy return shipment
- Service-Hotline +32 50 89 35 27
Instructions No. 3434
Difficulty: Beginner
Working time: 1 hour

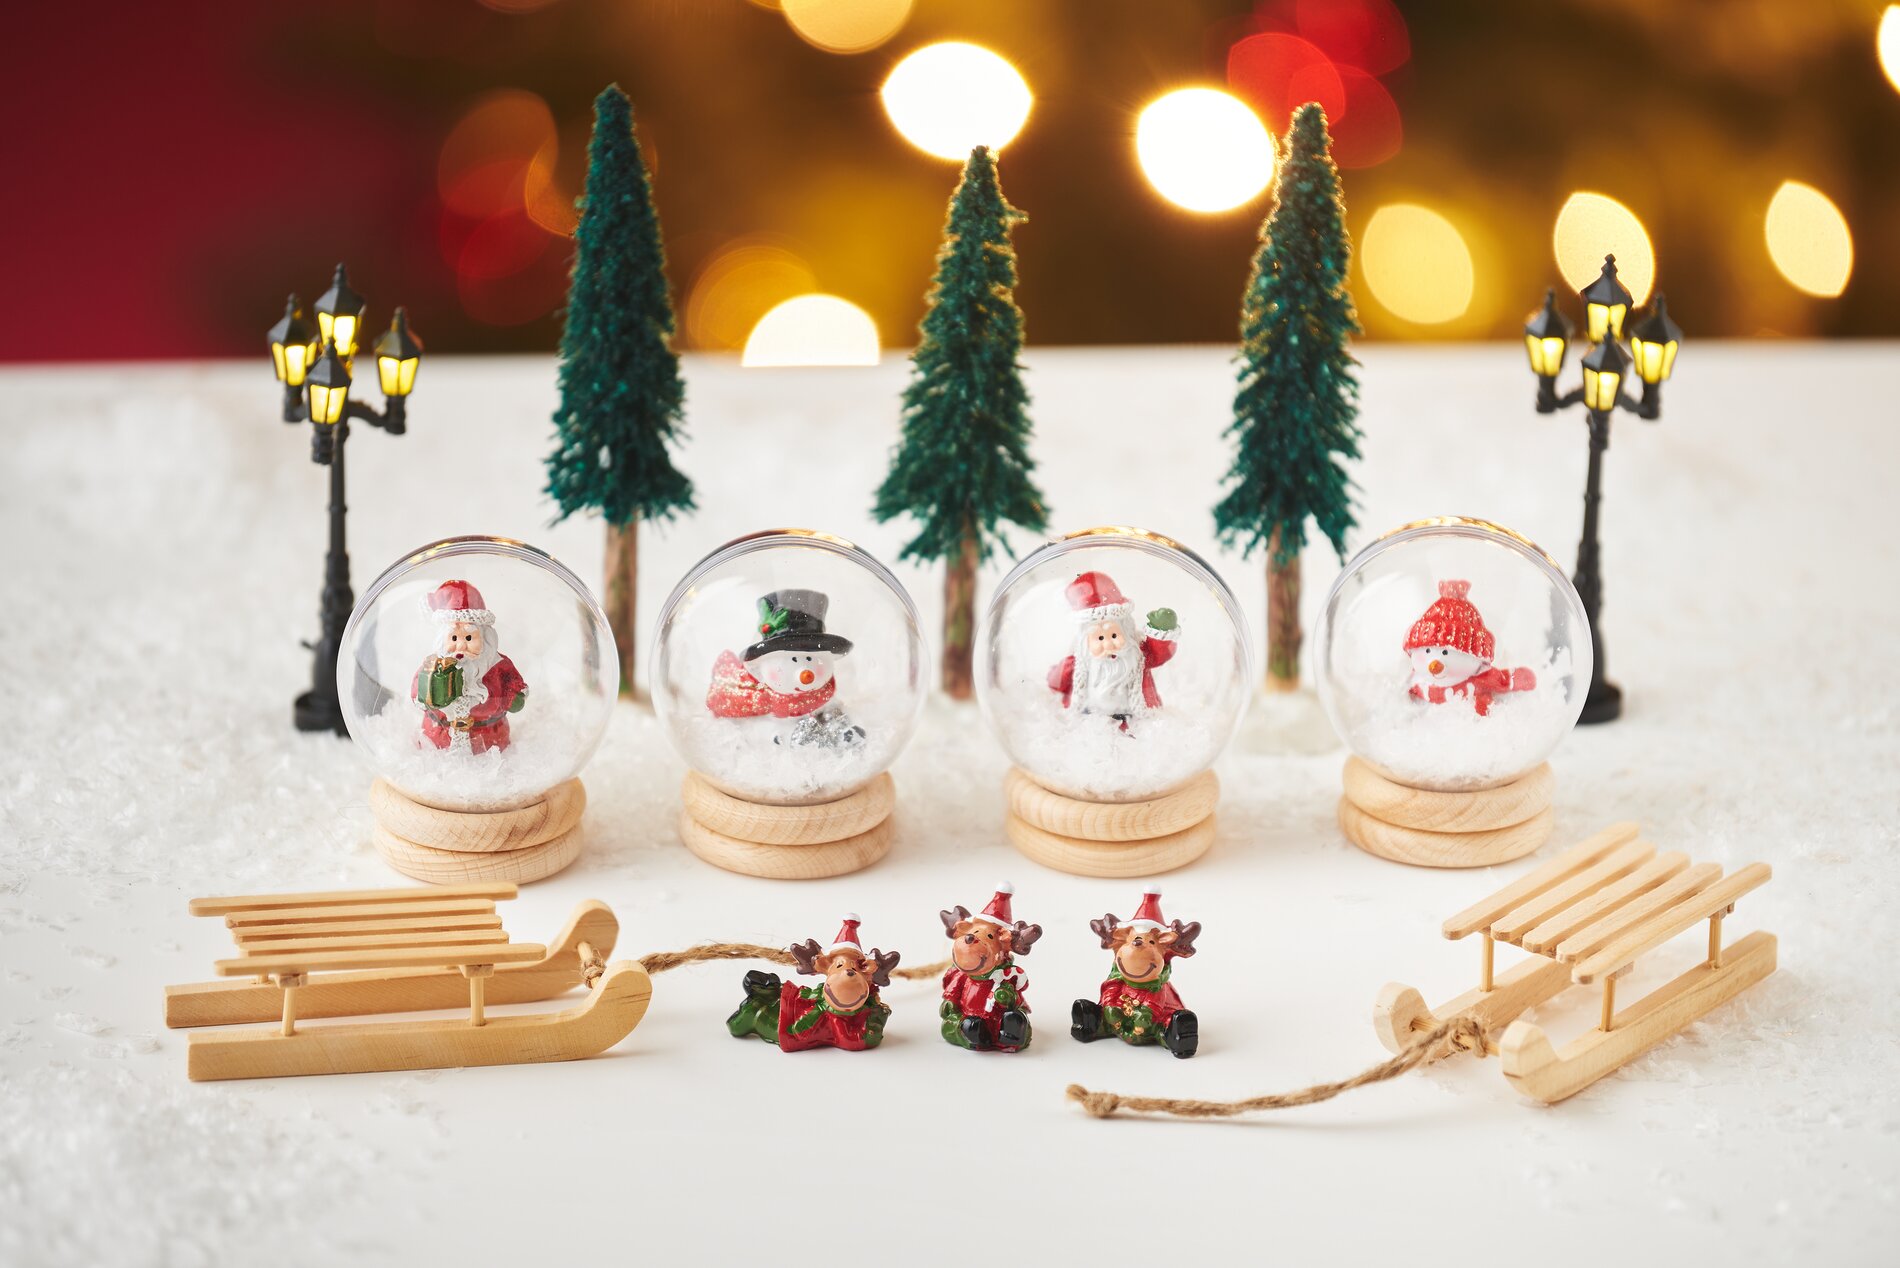
First you need to create the base for your snow globes. Glue two wooden rings on top of each other using handicraft glue . The wooden ring serves as a stable base for your acrylic ball. Give the glue enough time to dry so that the construction is stable and does not wobble.
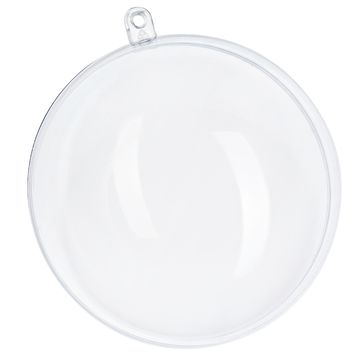
Designing the acrylic ballsOnce the wooden rings have dried, it's time to create the magical snowy landscape. Take the acrylic ball halves and glue your snowmen or Santas to them. Use hot glue to ensure that the figures hold well. Make sure that the suspension points downwards so that your figures stand up nicely in the ball.
Filling with decorative snowOnce the figures are securely placed, sprinkle some decorative snow into the acrylic balls. The snow gives the bauble that authentic winter magic and creates a fairytale atmosphere. Then close the acrylic balls carefully so that the snow remains safely inside.
Placing the baublesNow is the time to place the finished acrylic balls on the prepared wooden rings. The sturdy wooden rings prevent the baubles from tipping over and complete the design.
Finishing touches with Christmas decorationsFor the finishing touch, you can decorate the baubles with Christmas decorations. Place small fir trees, lanterns, mini reindeer or a sleigh around the baubles. If necessary, sprinkle some decorative snow to bring everything together harmoniously and emphasize the wintry atmosphere.
With every step you take, you are one step closer to your little work of art! Now you have beautiful, decorative snow globes that will transform your room into a winter wonderland. What are you waiting for? Head to our online store to find all the materials you need for this creative project and let your imagination run wild! Have fun crafting!