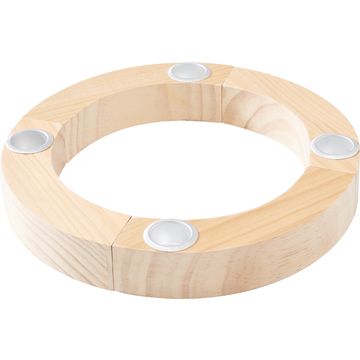
Step-by-step instructions: Wooden wreath with a natural look
1. Preparing the workspace
Before the creative crafting begins, prepare your workspace well: Have all materials to hand and spread out a clean surface to avoid unwanted paint splashes.
2. Painting the wooden wreath
Start by painting the wooden wreath with handicraft paint . Choose soft natural tones to achieve a simple look. For an individual touch, you can match the color to your living environment. Allow the paint to dry well before continuing. Using acrylic paint is ideal as it dries quickly and is waterproof.
3. Paint the figures
Paint the small wooden figures to match. Use the same color scheme as for the wreath. This way everything fits together harmoniously. Make sure you use a smaller brush for painting fine details.
4. Place the candles in the openings
Once the paint is completely dry, the candles can be placed in the openings provided in the wooden wreath. Make sure that the candles sit securely in the wreath to prevent them from tipping or slipping.
5. Positioning the wooden wreath
Depending on your preference, you can place the painted wooden wreath centrally on a table or as an eye-catcher on a sideboard. The natural look harmonizes wonderfully with a variety of living styles, from rustic to modern.
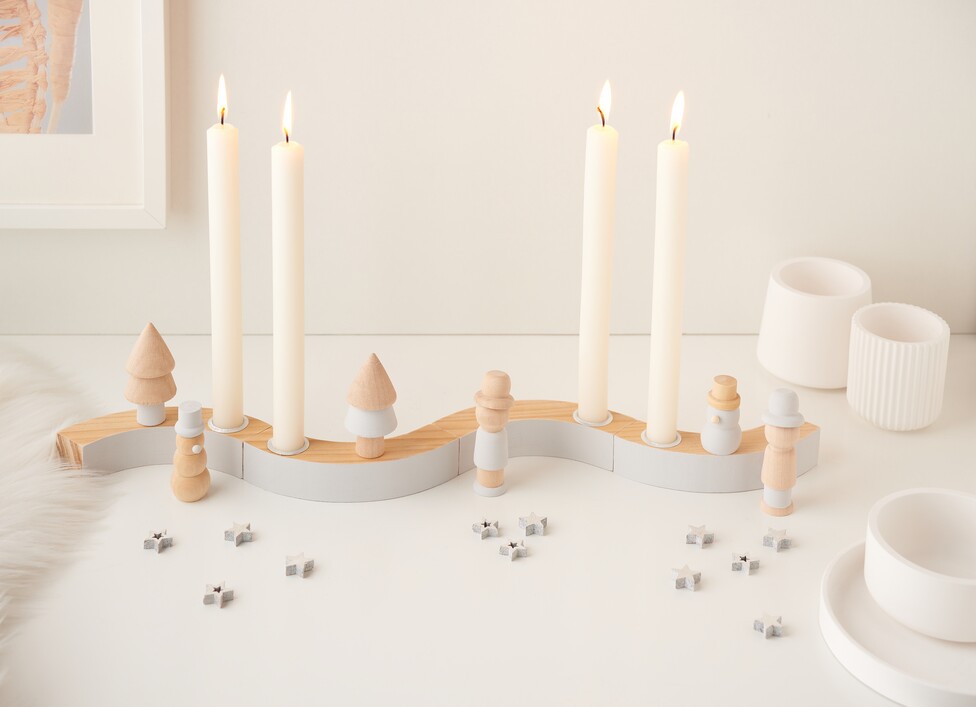
Alternatively, you can use the 4 wooden parts of the VBS Wooden wreath as an elongated Advent-kandelaar wreath. No matter which shape you choose, the natural look of your design will be a special eye-catcher in your home.