- Secure order
- Easy return shipment
- Service-Hotline +32 50 89 35 27
Instructions No. 3134
Difficulty: Beginner
Working time: 1 hour

Step 1: Prepare the silicone stamp
Place the desired silicone stamp on an acrylic block. This provides stability and makes the stamp easier to handle. Use a Posca marker (a special acrylic paint pen) to paint the stamp thoroughly and evenly. Make sure that all parts of the motif are well covered.
Step 2: Stamping and drying
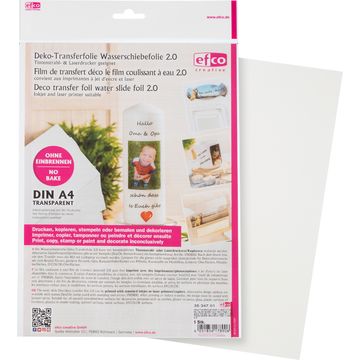
Carefully press the painted stamp onto the transfer foil. It is important that you apply even pressure in order to transfer the motif clearly and completely. Allow the ink to dry completely. This usually takes a few minutes, depending on the thickness of the ink layer.
Step 3: Cut out the motif and water it
Carefully cut out the dried motif from the transfer film. Make sure to cut close to the contours of the motif to achieve a clean result. Immerse the cut-out motif in water for around 30-40 seconds. During this time, the carrier film will begin to loosen and the motif will become flexible and ready for application.
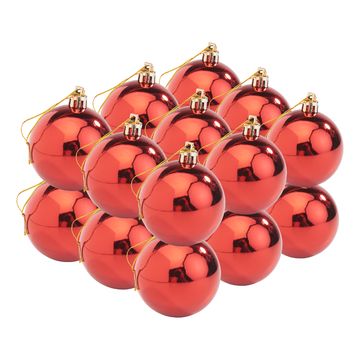
Step 4: Transfer to the Christmas bauble
Now comes the exciting part: carefully slide the wet motif from the backing film onto your Christmas bauble. Make sure you work slowly and evenly to avoid creases or bubbles. You can now carefully smooth out the creases with a soft cloth and dab off any excess water.
Step 5: Leave to dry
Once you have transferred the motif to the Christmas bauble, leave it to dry overnight. This ensures that the motif adheres firmly and that you can enjoy your self-designed Christmas decorations for a long time.
Extra tip: Cleaning the stamps
Don't forget to clean your silicone stamps thoroughly after use. A special stamp cleaner helps to remove the ink residue so that your stamps are as good as new the next time you use them.
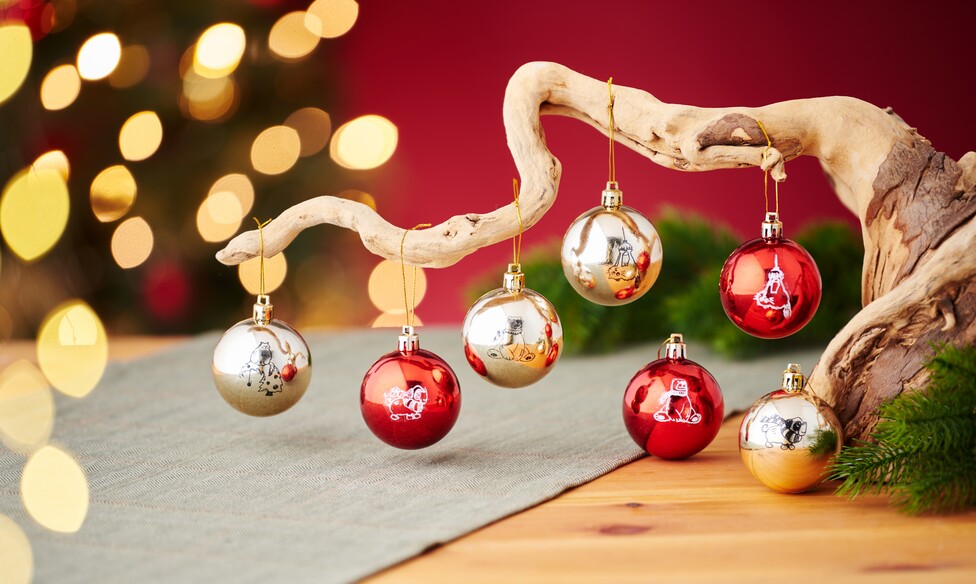
Crafting for Christmas is a wonderful way to get creative and create personalized gifts at the same time. I hope these instructions have inspired you and shown you how easy it is to create impressive christmas balls . Have fun crafting!