- Secure order
- Easy return shipment
- Service-Hotline +32 50 89 35 27
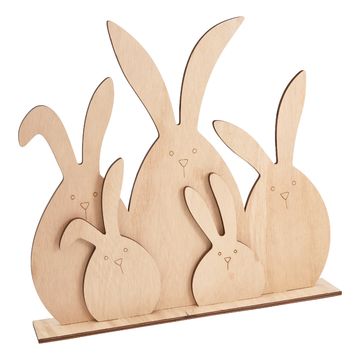
Instructions No. 3241
Difficulty: Beginner
Working time: 2 Hours

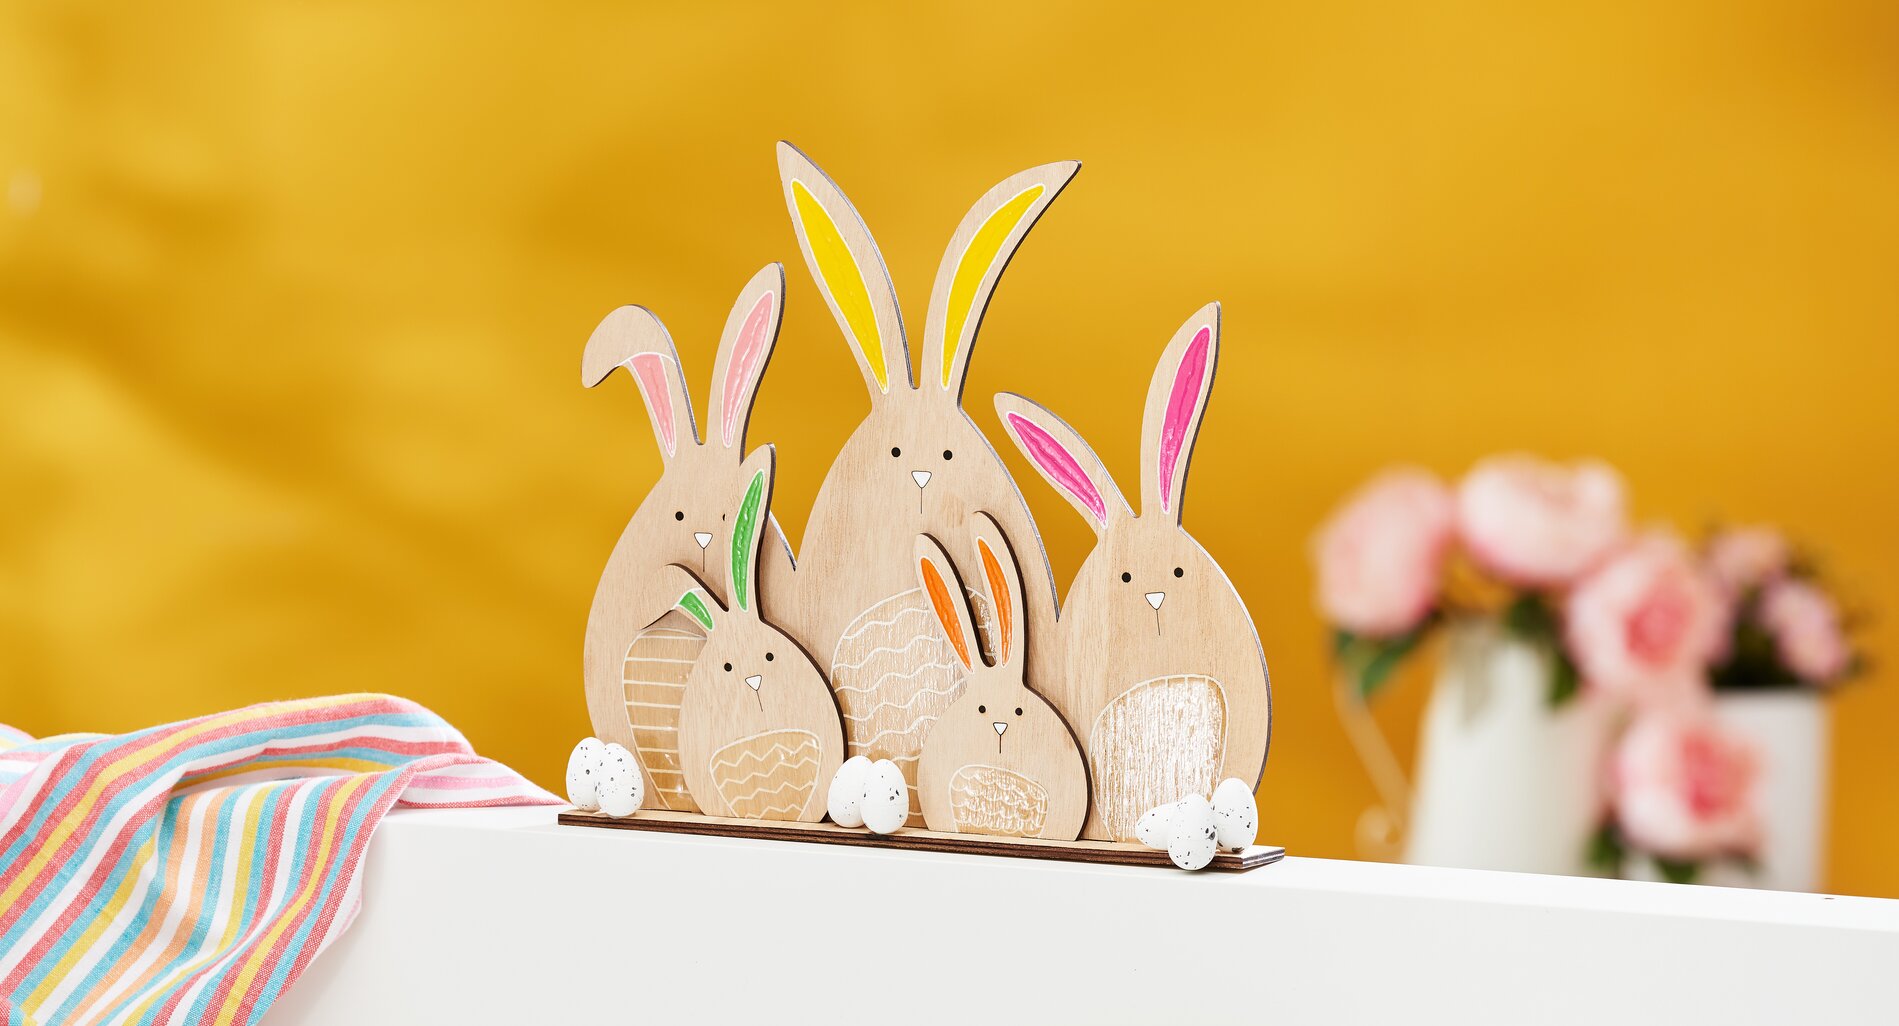
Preparation: Designing the inner ears and bellies
Start by designing the inner ears and patterned bellies of your bunnies. Use the craft paints that you like best. Make sure to trace the contours neatly so that everything fits together perfectly later.
Finishing touches with the POSCA marker
As soon as the paint has dried, outline the inner ears and bellies with the white POSCA marker, to give them clear edges. The POSCA marker is a special pen that leaves an even color on different surfaces. Now use the same marker, to paint the noses of your bunnies. This step gives the bunnies a friendly face and creates a harmonious overall look.
Set the scene for the eyes
Next, use black paint to give the bunnies lively eyes. Make sure that the eyes are even and the right size to emphasize the playful character of the bunnies.
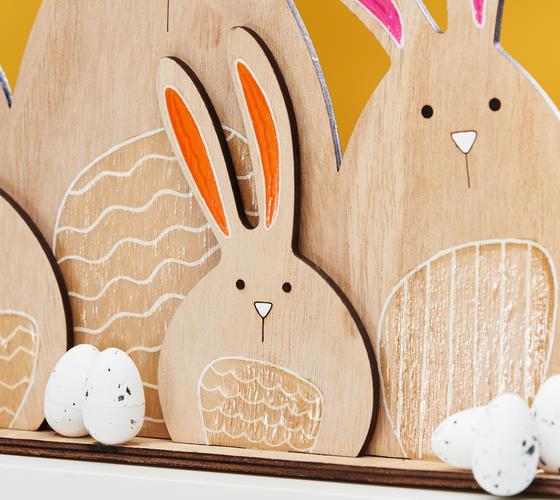

Shiny 3D effect with hydro-crystal varnish
To give the ears and bellies a special sheen, use the 3D hydro-crystal paint. Apply the transparent varnish directly to the painted surfaces using the tube. The varnish not only gives only a glossy look, but also adds three-dimensional depth to your design. Make sure to cover the surfaces completely and avoid gaps. Allow around 2.5 hours for the paint to dry completely.
Assemble and decorate the bunny family
Once the paint has dried, carefully stick the parts of your bunnies together. Use either handicraft glue or hot glue to decoratively attach the speckled polystyrene eggs . Hot glue is particularly suitable for quick fixings, while handicraft glue offers a secure alternative for long-term projects.