- Secure order
- Easy return shipment
- Service-Hotline +32 50 89 35 27
Instructions No. 3312
Difficulty: Beginner
Working time: 2 Hours
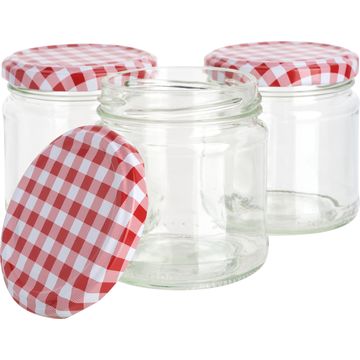
Enhance the beauty of your garden with our homemade lanterns! This enchanting and simple DIY-Instructions show you how to create colorful eye-catchers that create an atmospheric ambience both during the day and in the evening. Let your creativity run wild and transform simple jars into artistic decorations that add a personal touch to your garden.
<img src="/tn.php?id=165586&width=800&height=533&templang=en" alt="wind light for the garden" width="800" height="533" align="" hspace="" vspace="" class="">
Design your own lanterns - step-by-step instructions
Note on the use of colors
When working with VBS Outdoor Colors, you should always hold the bottle vertically and shake the paint towards the nozzle from time to time. This prevents air pockets, which can lead to unwanted paint splashes.
Step 1: Prepare the wooden sticks
Start by painting the square pine strips with the acrylic paint and allow them to dry thoroughly. If you like, you can sharpen one end of the sticks to make it easier to stick them into the ground later. If the edges are too rough, sand the wood for a smooth finish.
<img src="/tn.php?id=165588&width=667&height=500&templang=en" alt="wind light selber machen " title="wind light: bemalen" width="600" height="450">Step 2: Decorate the lanterns
Now it's time to decorate the screw-top jars. With a little hot glue on each tessera, you can carefully press it onto the glass. Be careful not to touch the glue with your fingers.
<img src="/tn.php?id=165590&width=667&height=500&templang=en" alt="wind light Design with mosaic" title="wind light: Stick on mosaic" width="600" height="450">If you want to implement a planned design, first sketch a rectangle (approx. 22 x 7 cm) on Paper and arrange the mosaic tiles there. This will ensure that your idea looks good on the glass. Then stick on each tile step by step.
<img src="/tn.php?id=165596&width=667&height=500&templang=en" alt="Stick mosaic on lanterns" title="wind light: template" width="600" height="450">Another creative option is to cut up the mosaic pieces with scissors or pliers and use the fragments for your design. Take special care not to injure yourself with the hot glue as the fragment surfaces are smaller.
<img src="/tn.php?id=165592&width=667&height=500&templang=en" alt="Lanterns with broken mosaic" title="wind light: broken mosaic" width="600" height="450">Step 3: Glue on the strips
Once the screw-top jars have been decorated, the last step is to glue the wooden sticks to the jars. First apply a large drop of glue to the underside of the jar and press the stick until it sticks. Then generously apply more glue around the stick to ensure a secure hold.
<img src="/tn.php?id=165594&width=667&height=500&templang=en" alt="wind light mit steckern selber machen für den Garten" title="wind light: Stäbe aufkleben" width="600" height="450">As soon as the glue has completely hardened, your lanterns are ready for use. Simply stick them into the ground, place a light inside and enjoy your unique garden decoration!
Have fun making your own! 
Want to get started and need the materials? Visit our online store and find everything you need to bring your creative projects to life!