Summer is the perfect time of year to get creative and create great accessories for festivals or everyday wear. How about creating your own unique bracelet ? Here we show you how to make a colorful summer bracelet with a bead weaving frame. Look forward to a creative project that will bring you and your loved ones lots of joy!
<img src="/tn.php?id=166670&width=3992&height=3224&templang=en" alt="flamingo Make your own bracelets" width="3992" height="3224" align="" hspace="" vspace="" class="">
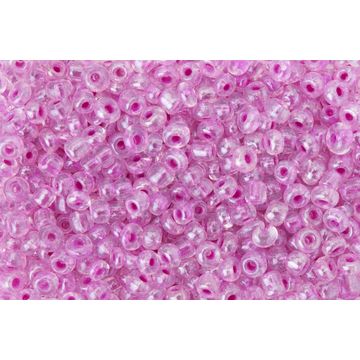
<img src="/tn.php?id=166672&width=716&height=500&templang=en" alt="Weave bracelets in the<protected> flamingo </protected>look" title="flamingo: material" width="716" height="500">
1. Print out, draw and prepare the template
I have created two templates for you, which you are welcome to use. Of course, any other motif is also possible. Let your imagination run wild with the choice of colors. In these instructions, I have moved away from traditional patterns - try it out for yourself or add patterns to your taste until the bracelet is the right length for your wrist. Also embroidery instructions from needlework supplies are great sources of inspiration. <a href="index.php?vw_type=1&vw_name=download&vw_id=166692" target="_blank" title="flamingo: template" rel="noopener">Here are the templates.
<a href="index.php?vw_type=1&vw_name=download&vw_id=166692" title="flamingo: template"><img src="/tn.php?id=166692&width=594&height=660&templang=en" title="flamingo: template" alt="" width="594" height="660">
2. yarn stretch on the weaving frame
To string the weaving frame , you will need 0.5 mm bead stringing thread. I have chosen white yarn , but there are many options. Tension the frame so that you always have an extra string. Count the spaces you need for your bead pattern. For the flamingo you need 10 row spaces and the pattern ribbon 9.
<img src="/tn.php?id=166690&width=752&height=500&templang=en" title="flamingo: Bead band" alt="" width="752" height="500">
3. Placing the first row of beads
The first row requires patience. Take the required number of beads on a yarn with the appropriate needle. Place the beads in the spaces between the strings. Use your index finger to press the beads into the spaces between the rows from below. Thread the needle through all the beads - along the bottom of the front row and along the top of the back row. This will keep the beads on your weaving frame. Leave enough space for the end of the ribbon, about two fingers wide, and don't start weaving right at the wood.
<img src="/tn.php?id=166682&width=752&height=500&templang=en" alt="Make your own festival bracelets " title="flamingo: First row" width="752" height="500">
<img src="/tn.php?id=166684&width=752&height=500&templang=en" alt="Festival bracelets<protected> flamingo </protected>Look" title="flamingo: spacing/fingers" width="752" height="500">
4. weaving, weave, weave
Now it's time to add beads to your template row by row. However, you can also work without a template and get creative. If your cord is too short, start again as in the first row. As soon as the row of beads is in place, knot the ends and weave them through two rows of beads to hide the knot and ensure stability.
<img src="/tn.php?id=166686&width=752&height=500&templang=en" title="flamingo: knot" alt="" width="752" height="500">
<img src="/tn.php?id=166688&width=752&height=500&templang=en" alt="Weave bracelets with<protected> weaving frame" title="flamingo: last row" width="752" height="500">
5. bracelet from Take the frame and attach the clasp
Are you happy with your bracelet and the length? Then you can cut it from frame. Cut the ribbons at the outermost point and braid them or decorate them with beads for a nice finish. Knot the clasp onto the string: divide the ends, tie a double knot after you have threaded the clasp. Use the beading needle for this step. If you have chosen the version with the three beads at the end, you can pull the threads through a pearl to hide the knot. Cut off any excess threads and enjoy your individual bracelet!
<img src="/tn.php?id=166674&width=749&height=500&templang=en" alt="Weaving bracelets<protected> flamingo" title="flamingo: completion 1" width="749" height="500">
<img src="/tn.php?id=166676&width=782&height=500&templang=en" title="flamingo: End 2" alt="" width="782" height="500">
Your personalized bead bracelet is ready! Now it's time to discover your materials in the
VBS online store and start more creative projects. Have fun crafting!