- Secure order
- Easy return shipment
- Service-Hotline +32 50 89 35 27
Instructions No. 3314
Difficulty: Beginner
Are you looking for a creative way to personalize your Easter decorations? Learn how to design unique easter eggs with simple techniques and a little patience. Follow our instructions to create fascinating designs in no time at all and turn your Easter basket into a shining highlight!
<img src="/tn.php?id=163326&width=800&height=533&templang=en" alt="easter eggs simply paint it yourself" width="800" height="533" align="" hspace="" vspace="" class="">
Step 1: Preliminary drawing
There are no limits to your creativity! Decide on a design, be it a name, a logo or abstract patterns. Start by lightly drawing the outline onto the egg with a pencil. This will help you to make any corrections before you draw the final lines.
Even with simple designs, a preliminary drawing will make the process much easier. If some pencil remains visible after painting, you can easily erase it.
Step 2: Decorate the eggs
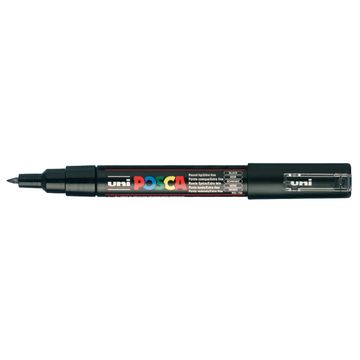
Now the creative part begins! Grab the Posca marker and the acrylic paints and let the magic begin. Be careful not to smudge the paint. It is a good idea to work in small sections and allow each section to dry.
For the deep gold , it is advisable to apply several coats and allow each coat to dry completely. A bristle brush is ideal for adding cool blotchy effects. To do this, pick up some paint and drag it over the tip of the brush with your fingernail. The paint then splashes onto the egg when you flick it back.
Make sure that the work area is well.. covered to avoid unwanted paint stains. Have fun designing!
For a special touch, combine gold and black to your heart's content.
Thank you for reading our instructions! Get all the materials in our online store now and bring your creative ideas to life! Happy painting!