- Secure order
- Easy return shipment
- Service-Hotline +32 50 89 35 27
Instructions No. 3293
Difficulty: Beginner
Working time: 3 Hours
Creative fox lantern craft instructions
Are you looking for an original and autumnal craft idea? Then this fox lantern is just the thing for you! Whether for a lantern parade or as a decorative element for your home - with our easy-to-follow instructions, you can make an enchanting lantern that will attract everyone's attention. Not only will you boost your creativity only , but you'll also create a wonderful, unique and personalized piece. Let's get started!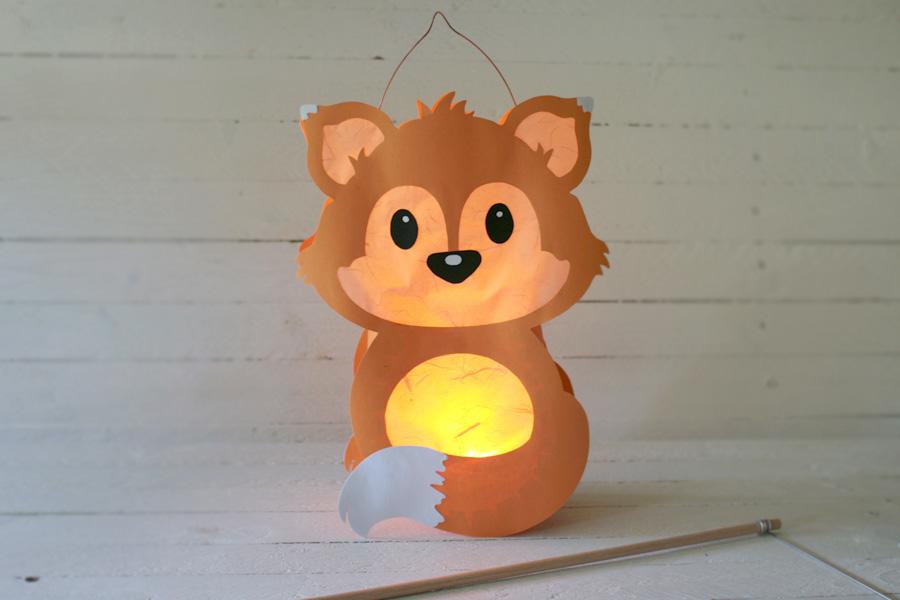
Prepare the individual parts of the fox lantern
First, download the template and cut out the entire fox.

Now cut out the belly, the inside of the ears, eyes and nose. Then draw the nose and eyes twice on black craft cardboard sheet. Next, cut out the inner part of the face and transfer it to the orange craft cardboard sheet .

Place the template under the straw silk paper and trace the contours of the inner parts with a distance of at least 0.5 cm. You can do this for each part individually or, like me, by tracing an entire piece. If you don't want to cut out each part individually, simply double the straw silk paper .
Cut out all the prepared parts and glue the straw silk paper to the back of the orange craft cardboard sheet. Make sure that you work in reverse so that the front and back complement each other later.

Now attach the eyes and nose with a small dab of glue. Cut out small highlights for the eyes from white craft cardboard sheet . Also use white craft cardboard sheet to make the lace ears and the tip of the tail. Draw the desired shapes freehand or use the template.

Tip: For a more stable lantern, you can cut out the backs of the orange parts again and glue them on.
Assembling the fox lantern
To assemble the lantern, you will need a strip measuring approx. 30 x 9 cm. If you have enlarged or reduced the template, adjust the strip accordingly. Fold over 1 cm of each long side of the strip and cut out triangles. This may be irregular. Spread glue on the remaining prongs and attach the intermediate piece to one half of the fox. Make sure that you don't go over the edges and that nothing sticks to the transparent area. Once everything is stable, glue on the second side of the fox.

Get the fox ready for use
The lantern itself is now ready. Depending on which light you want to use, choose one of the following versions:
Version lantern set: Bend the ends of the wire hanger a little and push them through the holes. Attach the other piece of wire to the wooden stick by simply pushing it up. The switched-on tea light can then be placed on the ground and the lantern can be lifted up with the hook.
Version lantern rod: Knot a piece of the orange cord to the holes and hang the lantern rod. from it. Place the batteries in the light stick, switch it on and off you go to the lantern party!
Now autumn can come! Have fun making your very own fox lantern! 
Get started now!
Visit our online store to purchase all the materials you need for your creative fox lantern. Have fun shopping and crafting!