- Secure order
- Easy return shipment
- Service-Hotline +32 50 89 35 27
Instructions No. 3220
Difficulty: Beginner
Working time: 2 Hours

Step 1: Create the base
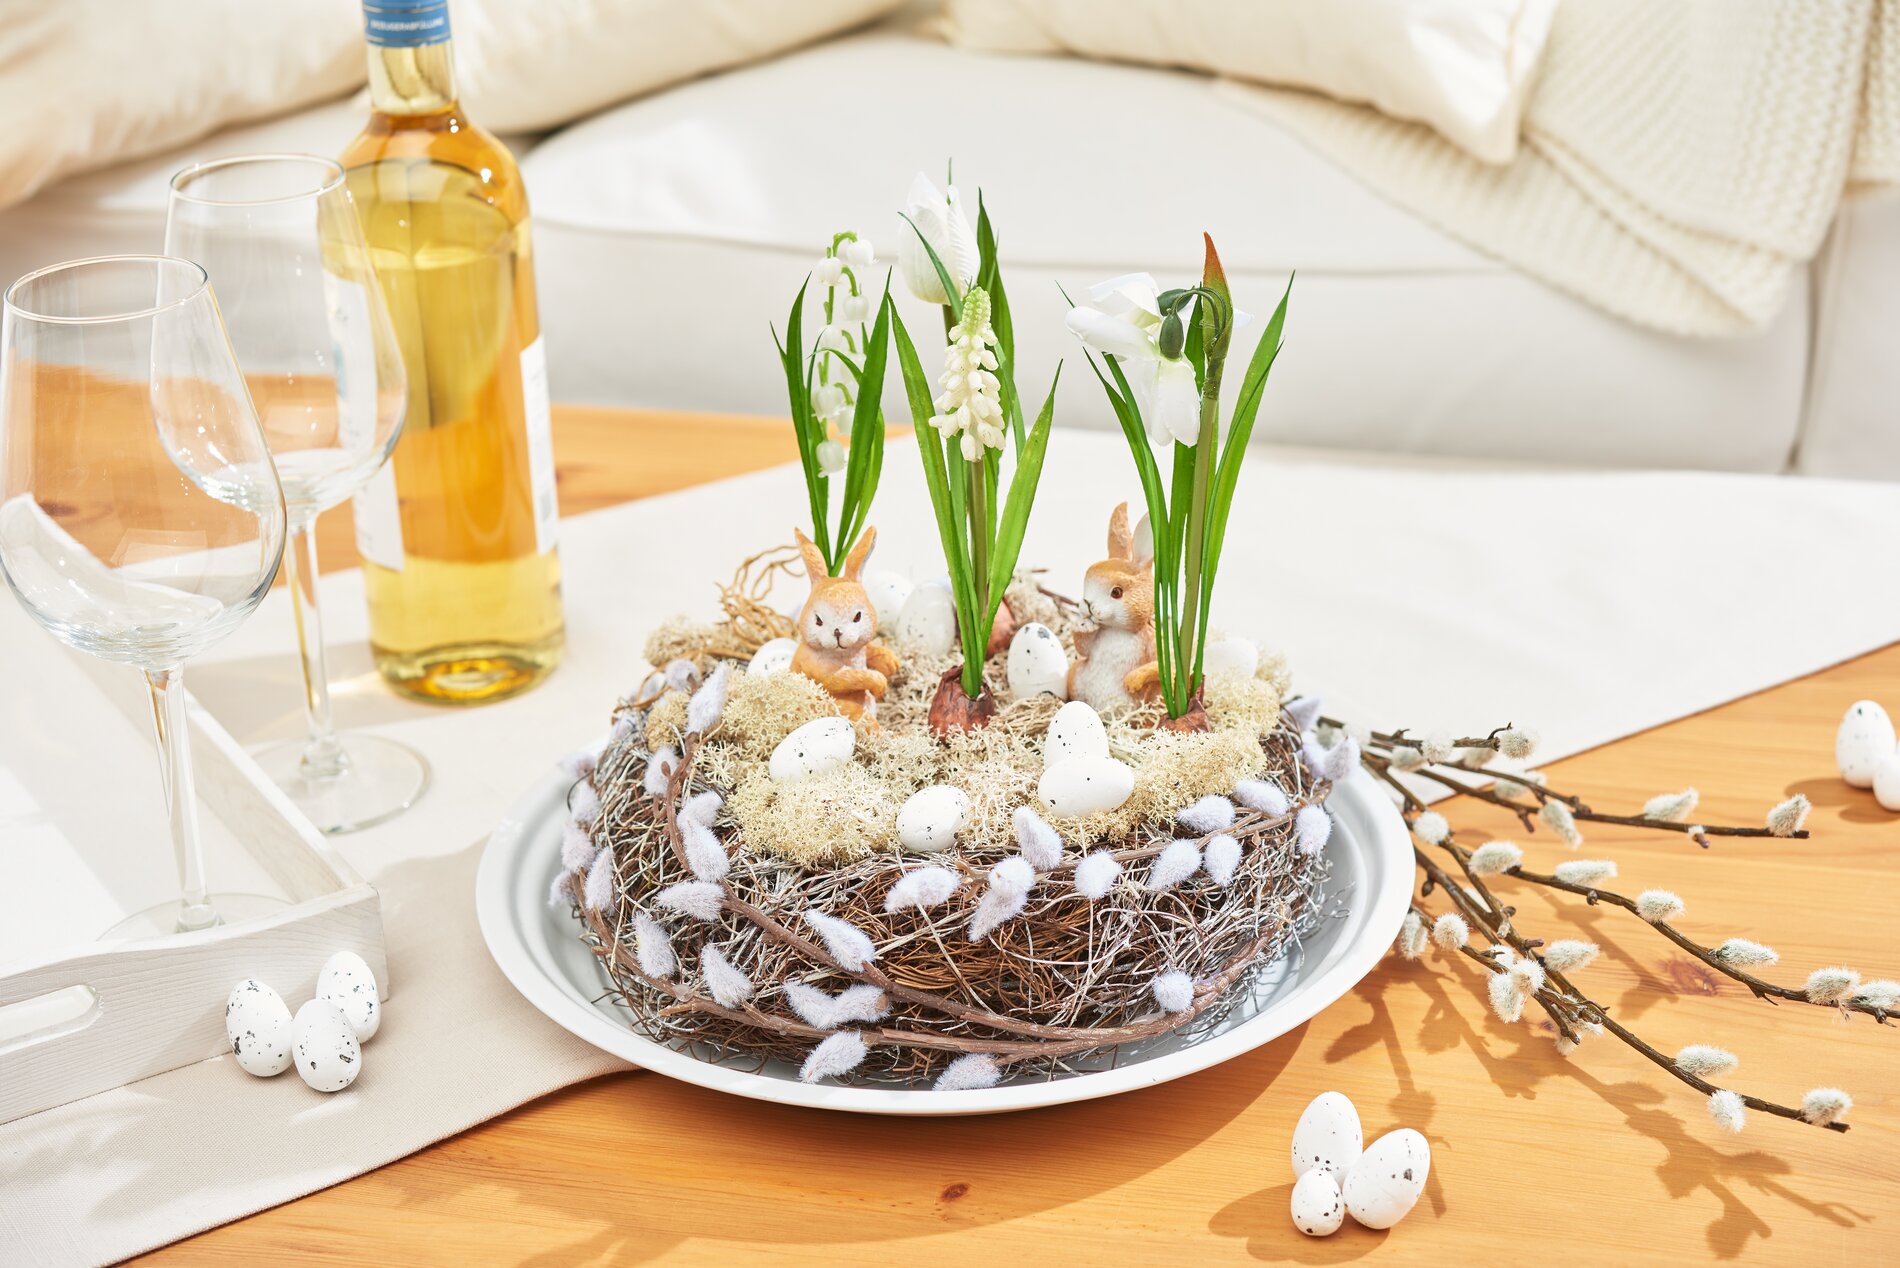
Start your creative project by carefully placing the natural brushwood wreath on a decorative zinc plate. The zinc plate serves as a stylish base and gives the whole arrangement stability and a rustic charm.
Step 2: Create the centerpiece
Use a cutter knife to cut a suitable piece of from flower arrangement foam . The flower arrangement foam ensures that the flowers have a firm hold. Make sure that the cut foam fits well in the center of the wreath.
Step 3: Natural touch with moss
Apply a little hot glue to the flower arrangement foam and attach the decorative Iceland moss. This gives the arrangement a natural and lively touch.
Step 4: Add extra charm with willow catkins
Now use hot glue to attach the fluffy willow catkin twigs around the outer edge of the wreath. These give the arrangement an elegant structure and symbolize the start of spring.
Step 5: Spring flower mix
Choose a mix of spring flowers and place them in the wreath. Make sure to distribute the flowers evenly to create a harmonious and appealing look.
Step 6: Add Easter accents
Finally, add some Easter charm to your arrangement with small bunny figures and decorative Easter eggs. Glue these accents firmly to the moss and the flowers with a little hot glue.
Now you have a beautiful Easter arrangement that will not only only decorate your table, but also the hearts of your guests!