- Secure order
- Easy return shipment
- Service-Hotline +32 50 89 35 27
Instructions No. 3201
Difficulty: Beginner
Working time: 1 hour 30 Minutes

Step 1: Transferring the templates
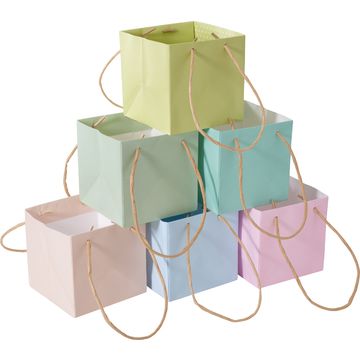
Start by transferring the templates for the Easter bunnies to your colorful Paper . Place the template on the Paper and carefully trace the outlines.
Step 2: Cut out
Once you have transferred the outlines, take a pair of scissors and carefully cut out the shapes.
Step 3: Paint on the faces
Now comes the fun part: transform your shapes into friendly Easter bunnies by painting on faces. You can draw cute faces on the bunnies using a fine felt-tip pen or colored pencils. Let your imagination run wild - whether it's laughing mouths, big eyes or funny whiskers, anything is possible!
Step 4: Glue everything together
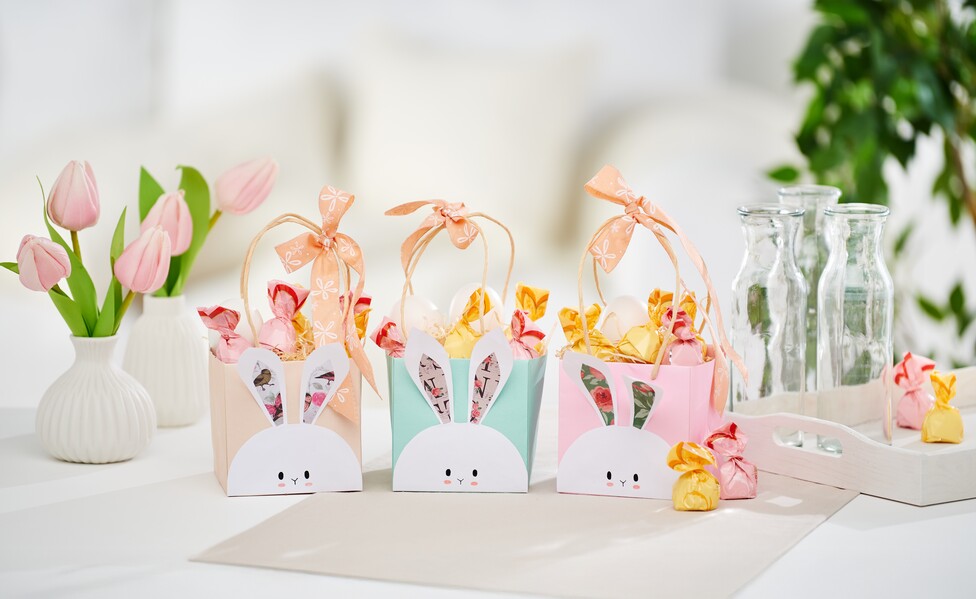
Now it's time to glue your shapes onto the gift bags. Use a glue stick or liquid handicraft glue, to attach the individual parts to the bags. Place them in such a way that a harmonious overall picture is created. Make sure that no sticky overhang remains visible and that the shapes adhere well.
Step 5: Decorate
Finally, add the finishing touches to your gift bags with decorative extras. Fill them with natural wood wool or colorful crêpepaper, to create more volume. Tie colored ribbons around the handles or stick small bows on the bags. These lovely details will turn your Easter gift bags into something very special and give them that certain something.