- Secure order
- Easy return shipment
- Service-Hotline +32 50 89 35 27
Instructions No. 3219
Difficulty: Beginner
Working time: 1 hour
Step 1: Preparing the artificial plants
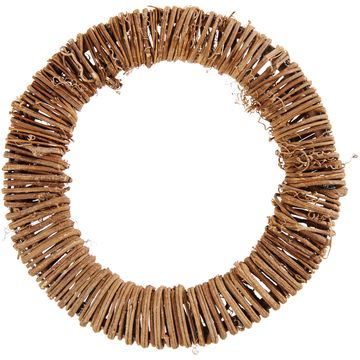
Start by shortening the artificial plants to the desired length using a side cutter. The side cutter is a tool that works similarly to scissors, but is specially designed for cutting wire and thicker materials. This technique allows you to perfectly adapt the greenery to your vine wreath.
Step 2: Attaching the artificial plants
Now that your artificial plants are the right length, attach them to the vine wreath with hot glue. The hot glue provides a strong hold and allows you to fix the elements firmly and securely in place. Apply the glue carefully and then gently press the plants into the desired position on the wreath.
Step 3: Create a nest from wood wool
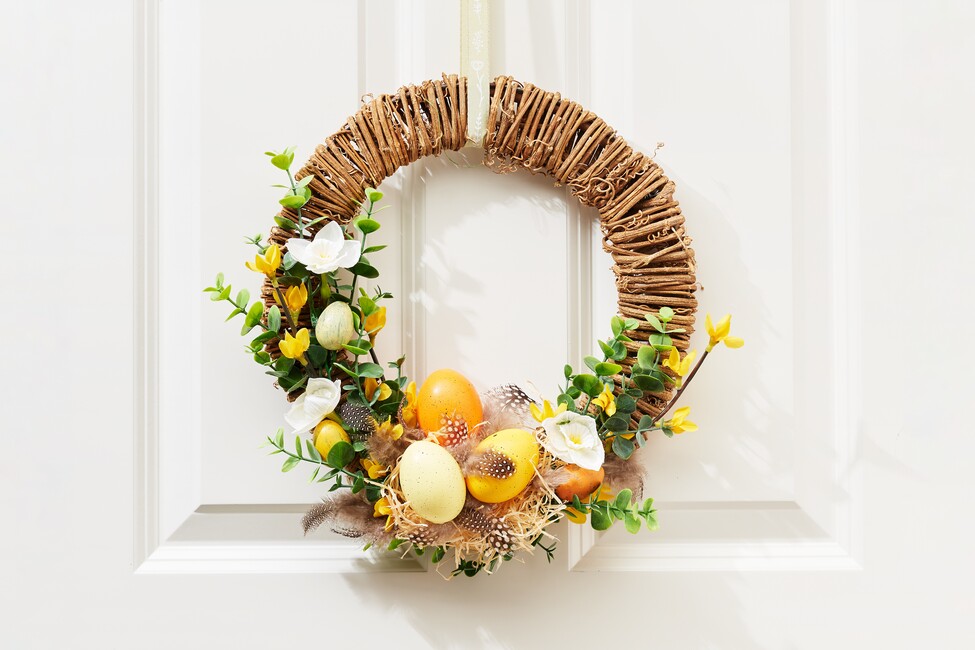
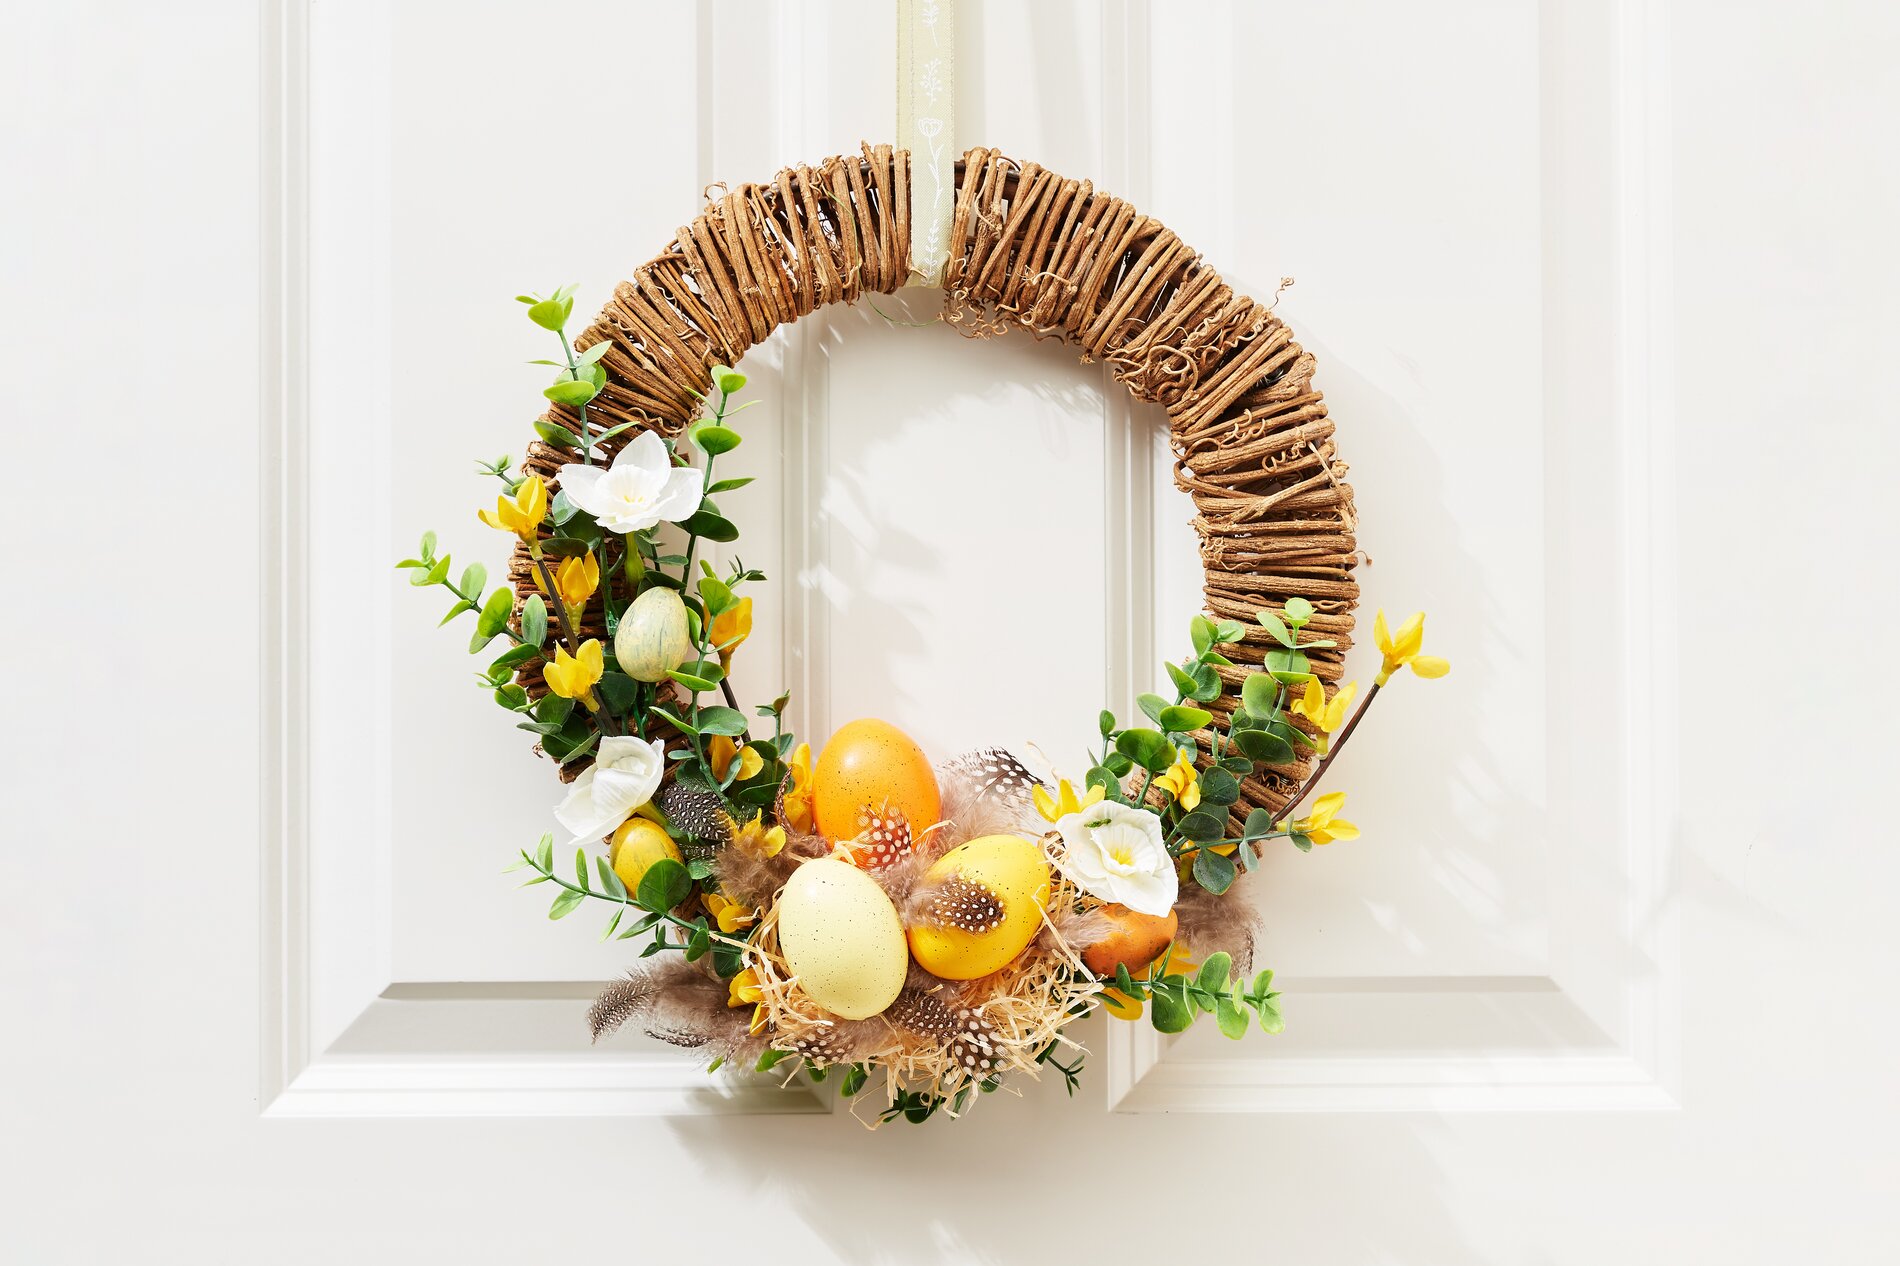
Take some wood wool out of the packaging and form a small nest. This element gives your wreath a natural and cozy touch. Attach the nest to the wreath using hot glue.
Step 4: Decorate with eggs and feathers
The Easter charm of your wreath is enhanced by attaching a decorative egg mix and decorative feathers . Spread the eggs and feathers in the nest and stick them in place with hot glue. These decorative elements will bring color and life to your work of art and make it a unique eye-catcher.
Step 5: Prepare the wreath for hanging
Finally, attach a decorative ribbon to your wreath to hang it up. Choose a ribbon, that matches the colors of your decoration and tie it tightly around the wreath. This ribbon does not only provide support, but also adds another decorative element.
You can now create your very own Easter vine wreath in just a few steps only . Let yourself be inspired by the colors and freshness of spring and give your home a very personal touch!