- Secure order
- Easy return shipment
- Service-Hotline +32 50 89 35 27
Instructions No. 3273
Difficulty: Beginner
Working time: 2 Hours

Step 1: The Preparations:
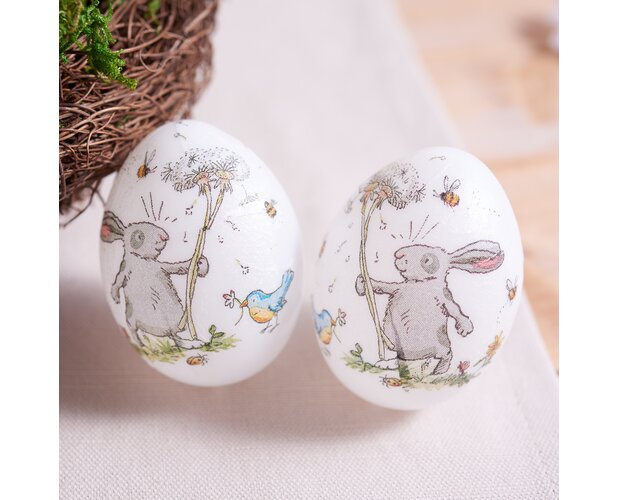
First, cut or tear out the desired motifs from the napkins or handkerchiefs. Make sure that you use only the top, printed layer of the napkin , as it sticks best and covers the egg evenly.
Step 2: Prepare the egg
To keep your hands clean and make it easy to work, insert a bamboo skewer into the opening of the ice. This will allow you to stick the egg from all sides without touching it.
Step 3: Apply the napkin motifs to the egg
Coat the egg evenly with napkin varnish. The napkin varnish ensures that the motifs stick to the egg and are sealed at the same time. Then carefully place the cut or torn top layer of the napkin on the egg. Carefully cover the motif with another layer of napkin varnish. Take care to avoid creases and work from the center of the motif outwards.
Step 4: Leave to dry
To dry, press the bamboo skewer with the glued egg into a flower arrangement foam or a bucket of soil. This gives the egg support and allows it to dry evenly from all sides.
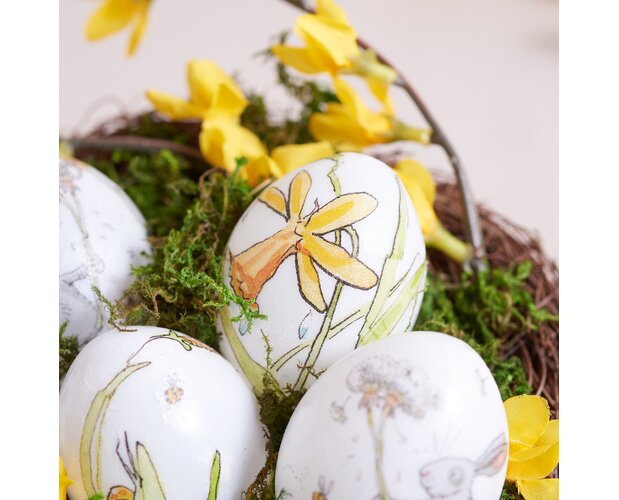
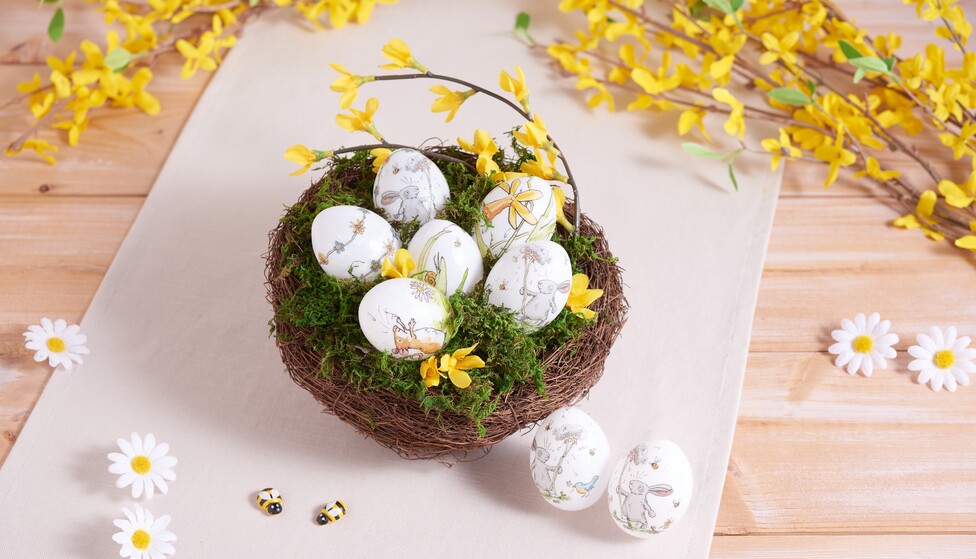
Step 5: Decorate the Easter nest
Now it's time to create an enchanting nest for your decorated eggs. Fill the rice nest decoratively with moss. Then gently place the dried eggs on the moss. For the finishing touches, you can stick a few pieces of forsythia twigs and some flowers between the eggs to give your arrangement a fresh, spring-like touch.