- Secure order
- Easy return shipment
- Service-Hotline +32 50 89 35 27
Instructions No. 3486
Difficulty: Beginner
Working time: 1 hour

Step 1: Preparing the engraver
Before you get started, you should charge your engraver. A fully charged device will help you to work evenly and without interruption.
Step 2: Transfer the lettering to the bottles
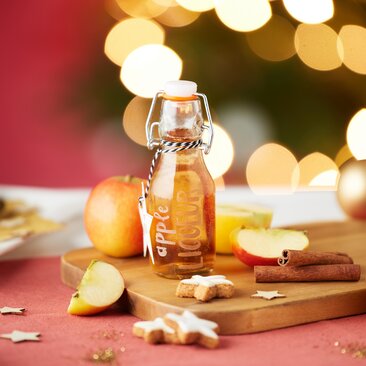
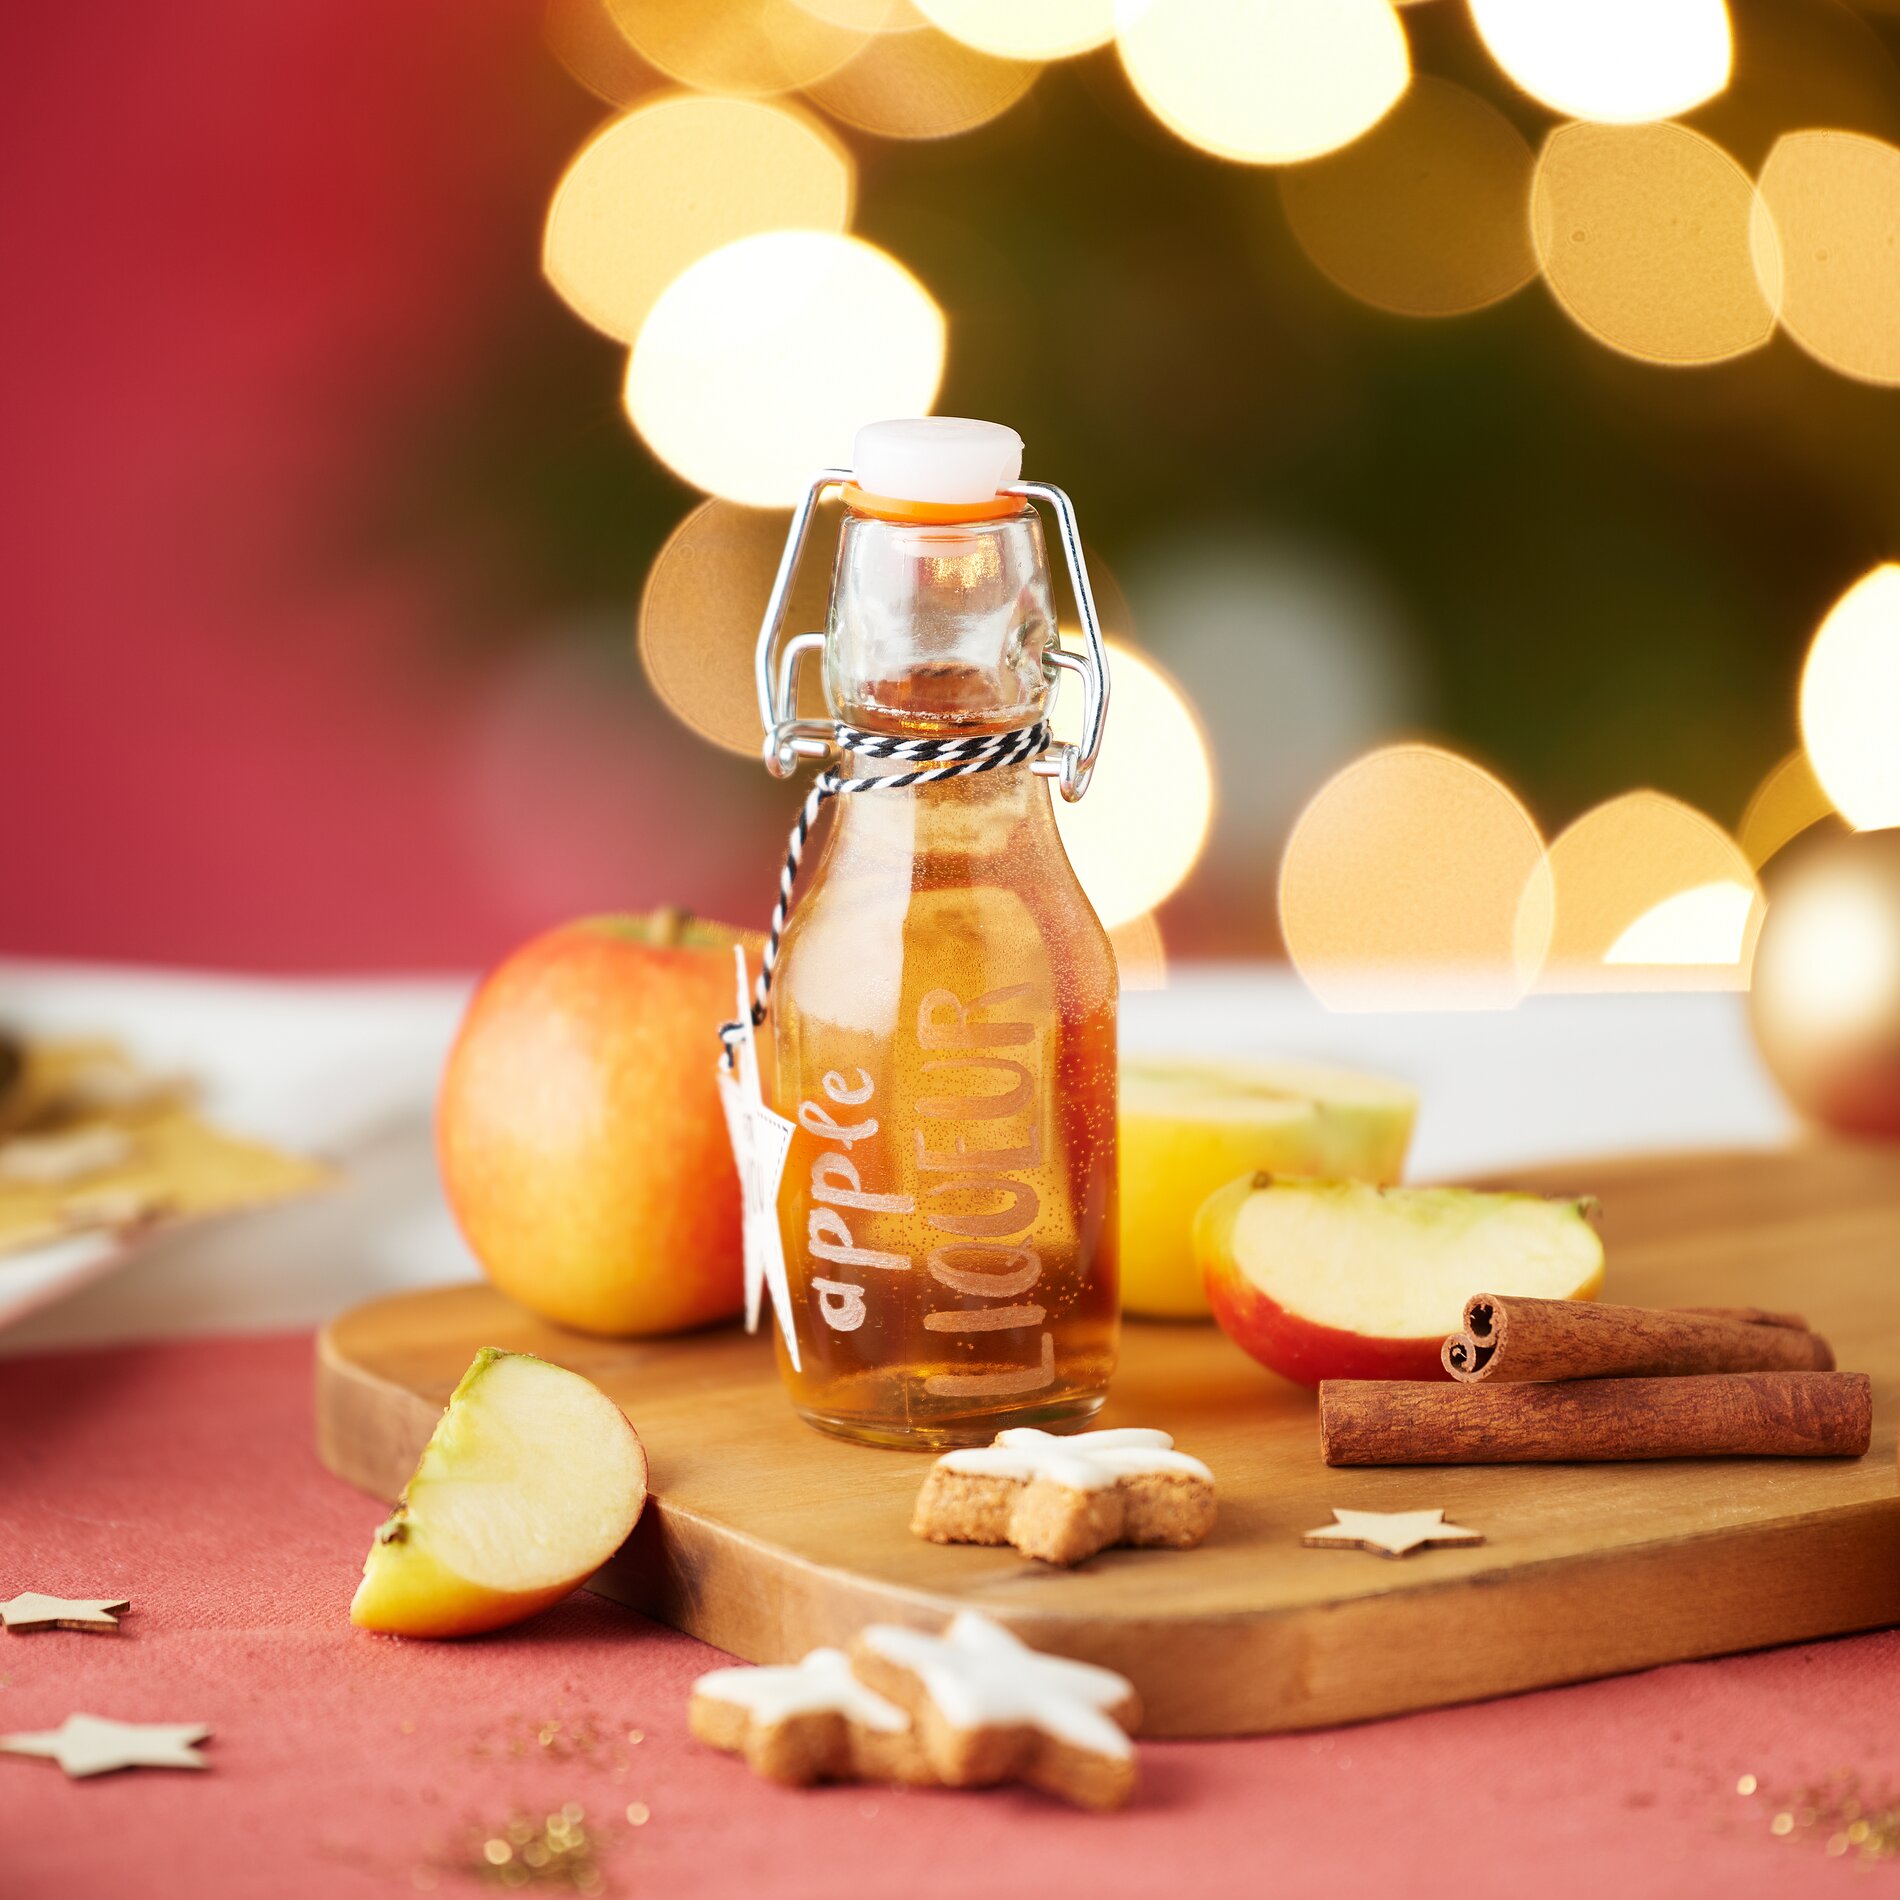
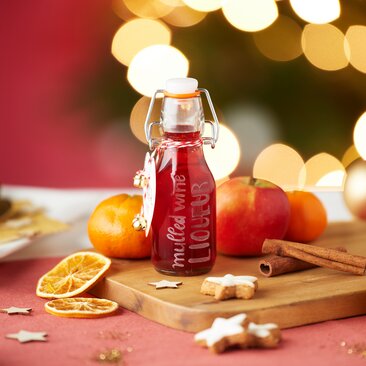
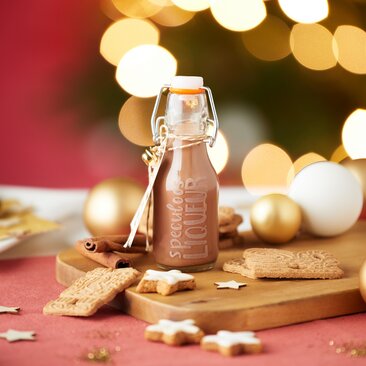
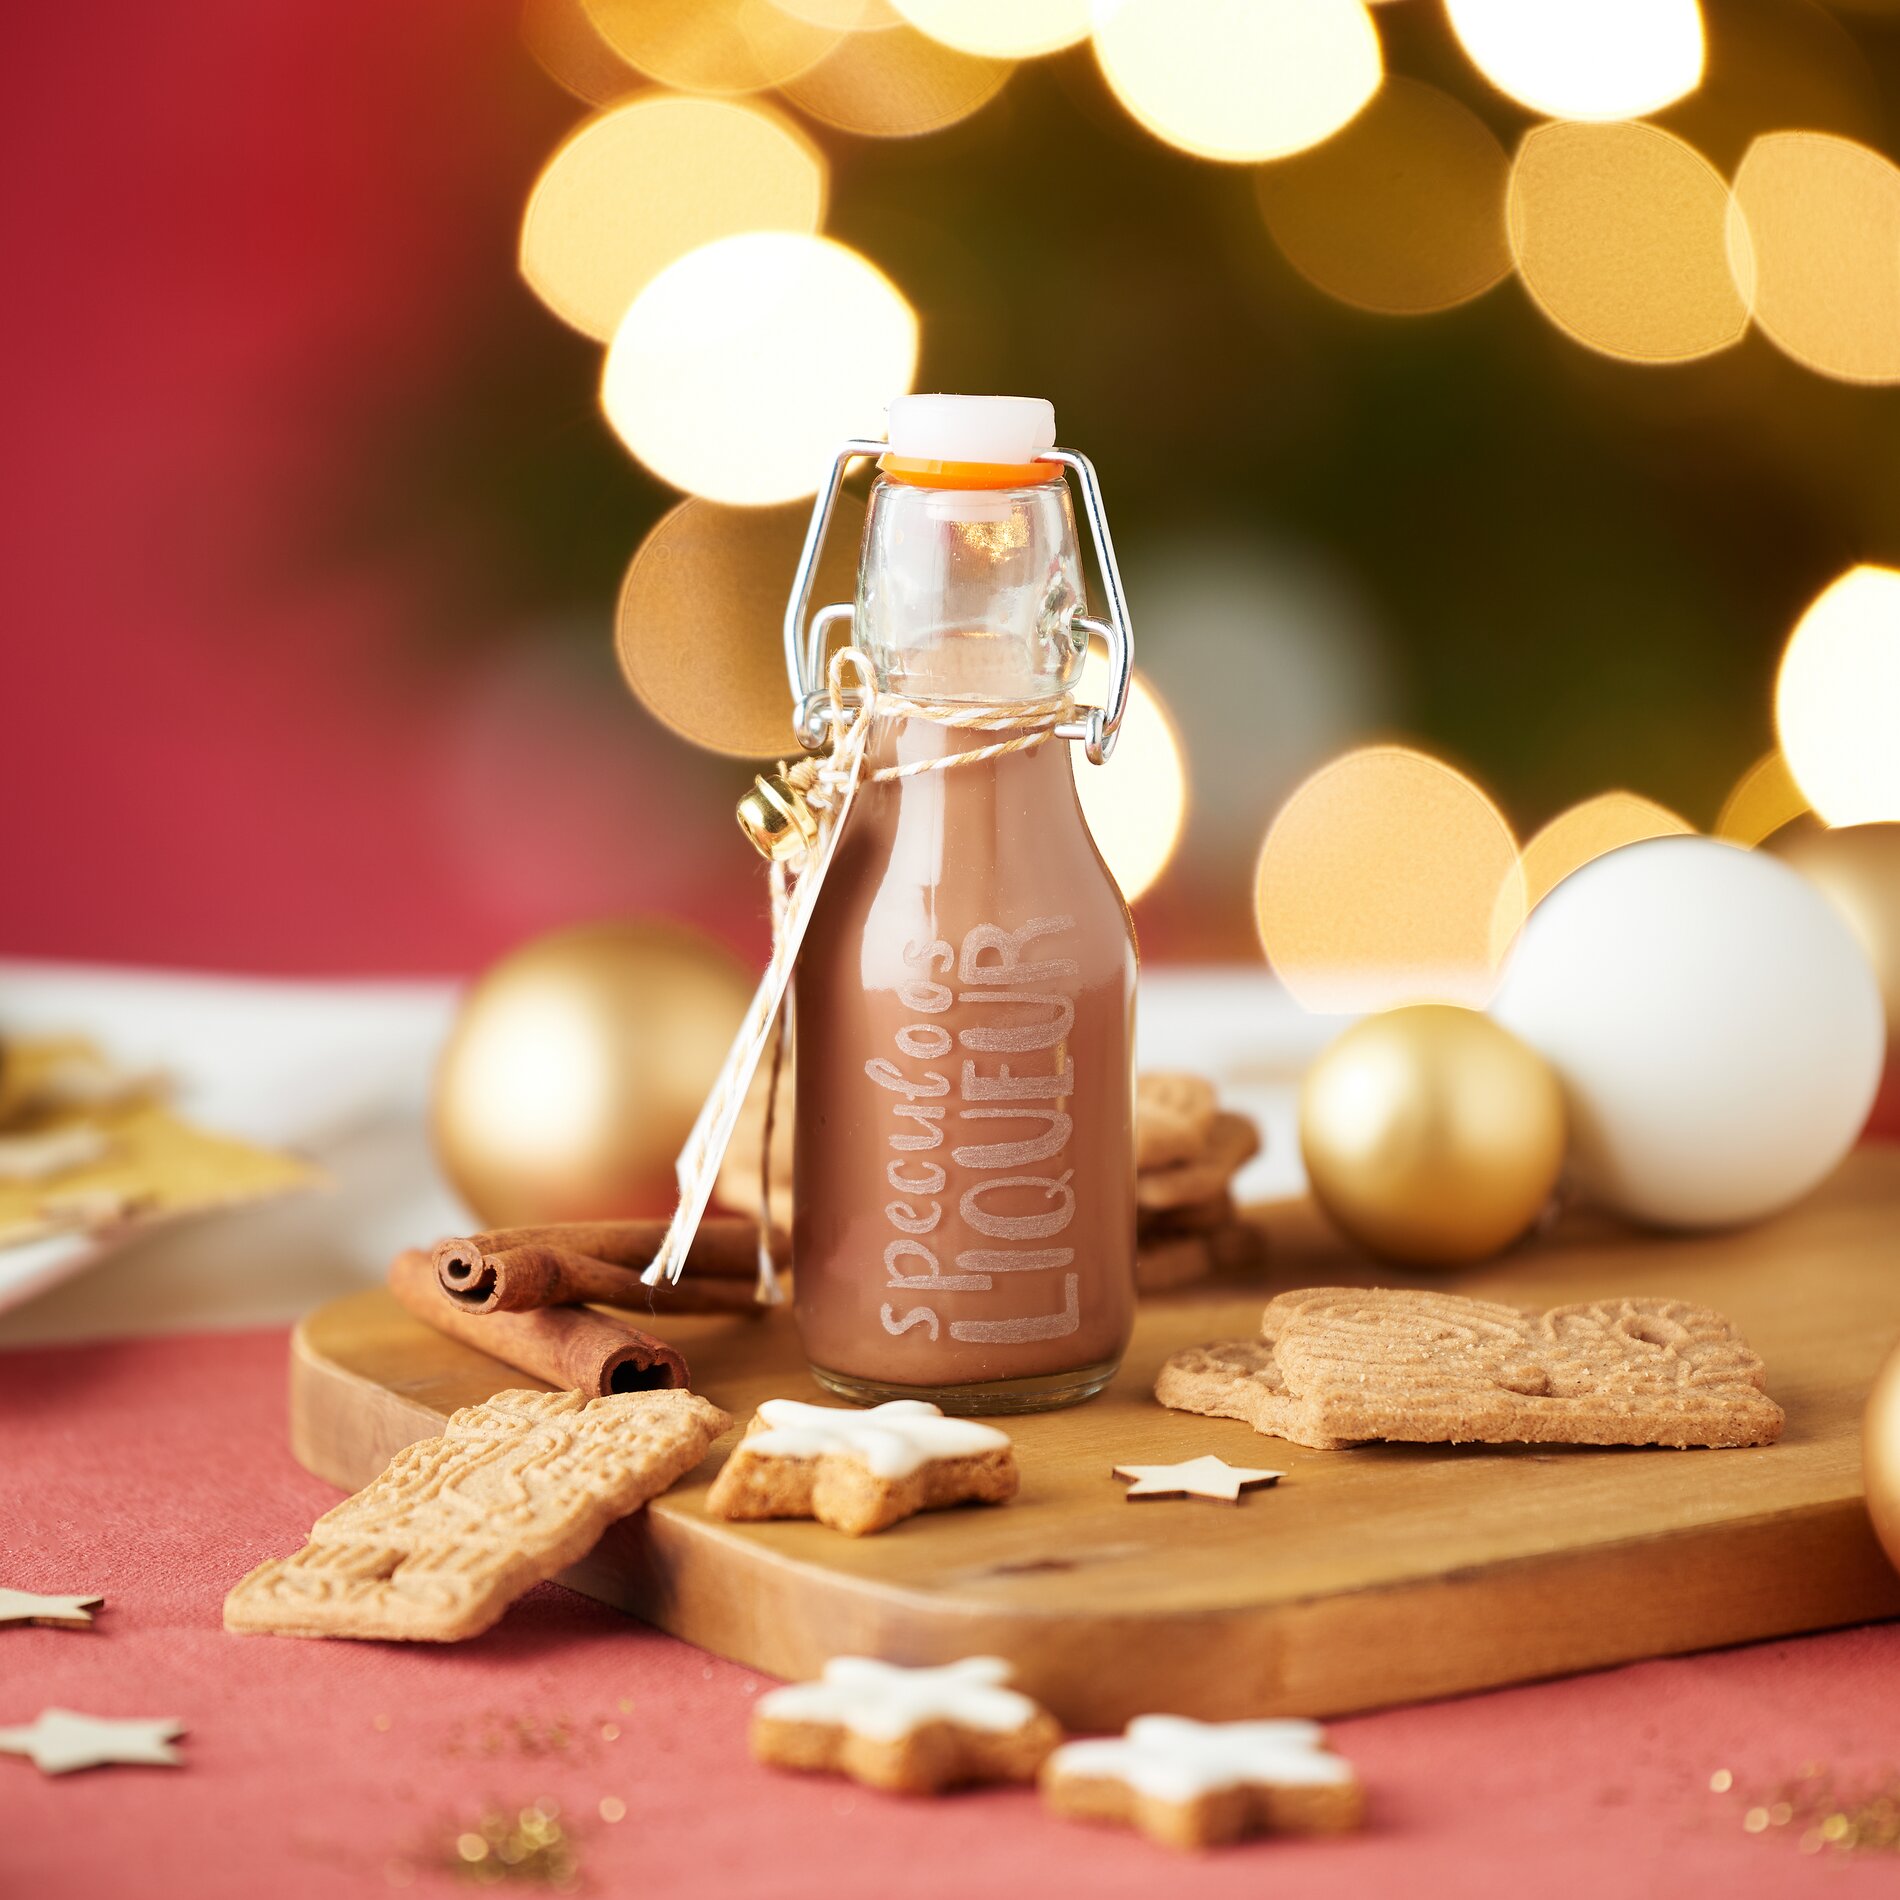
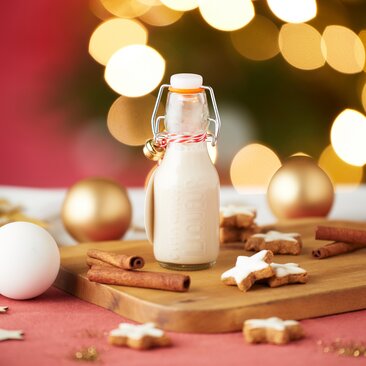
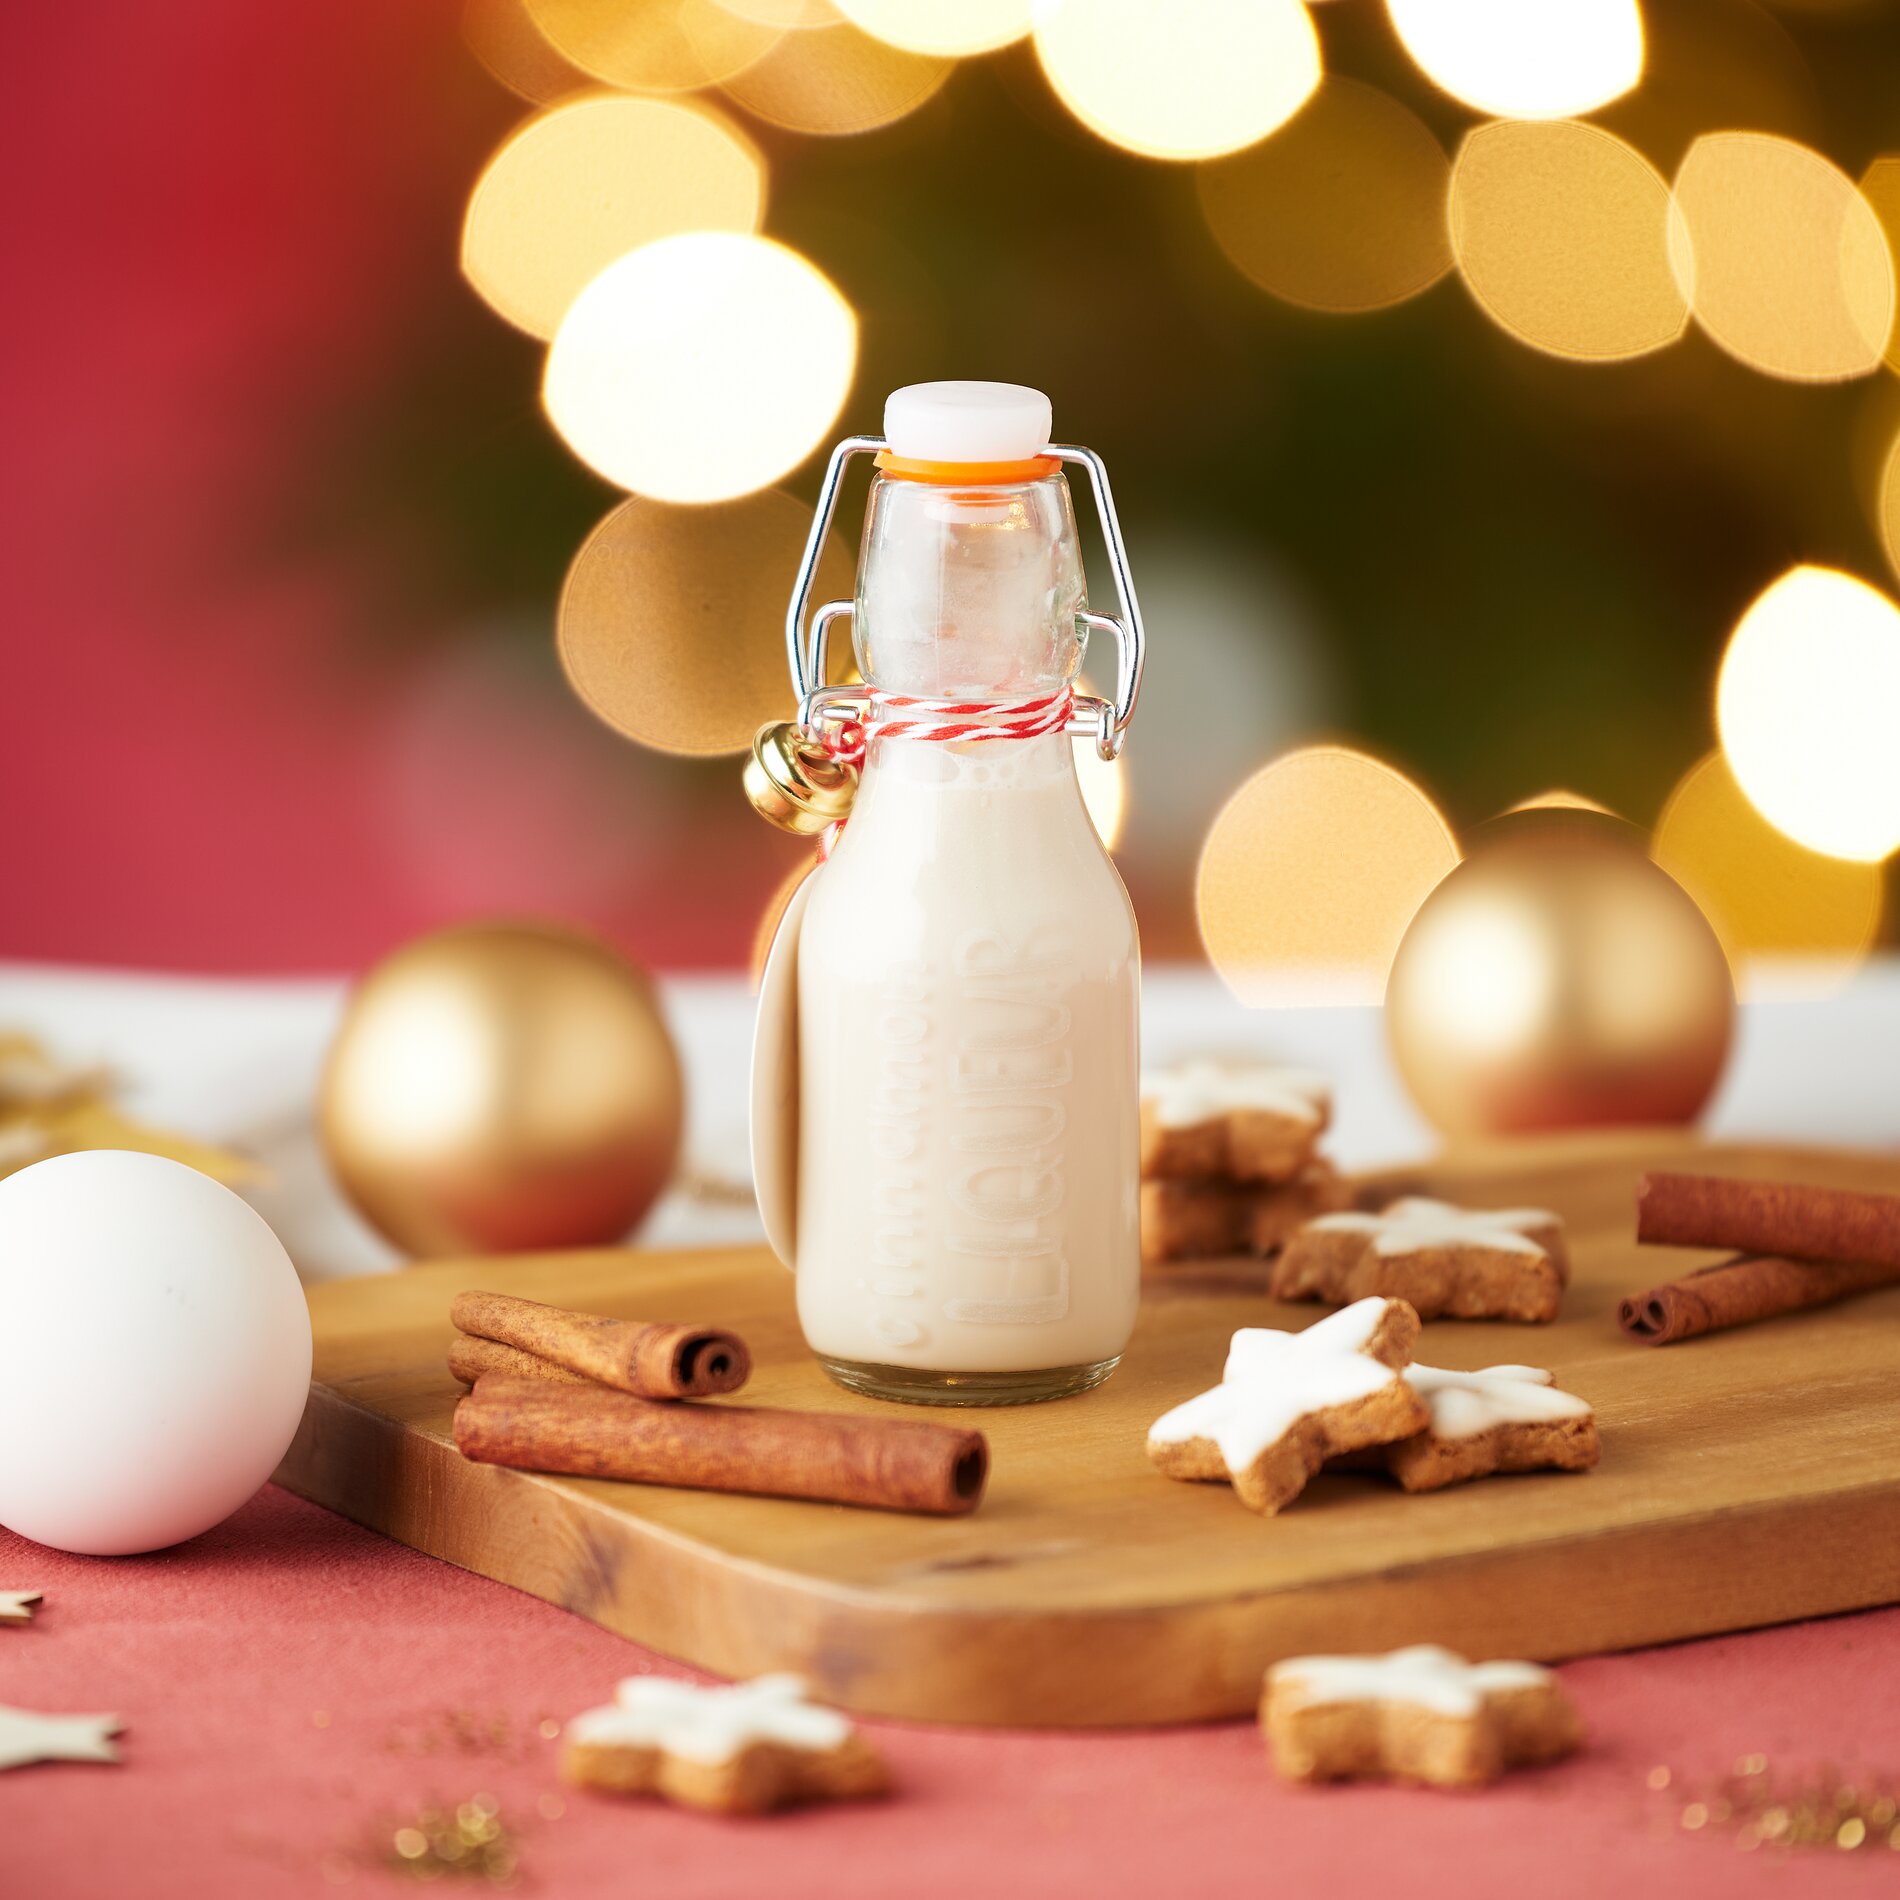
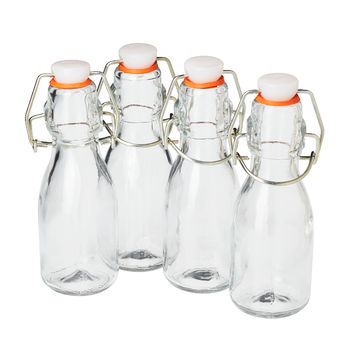
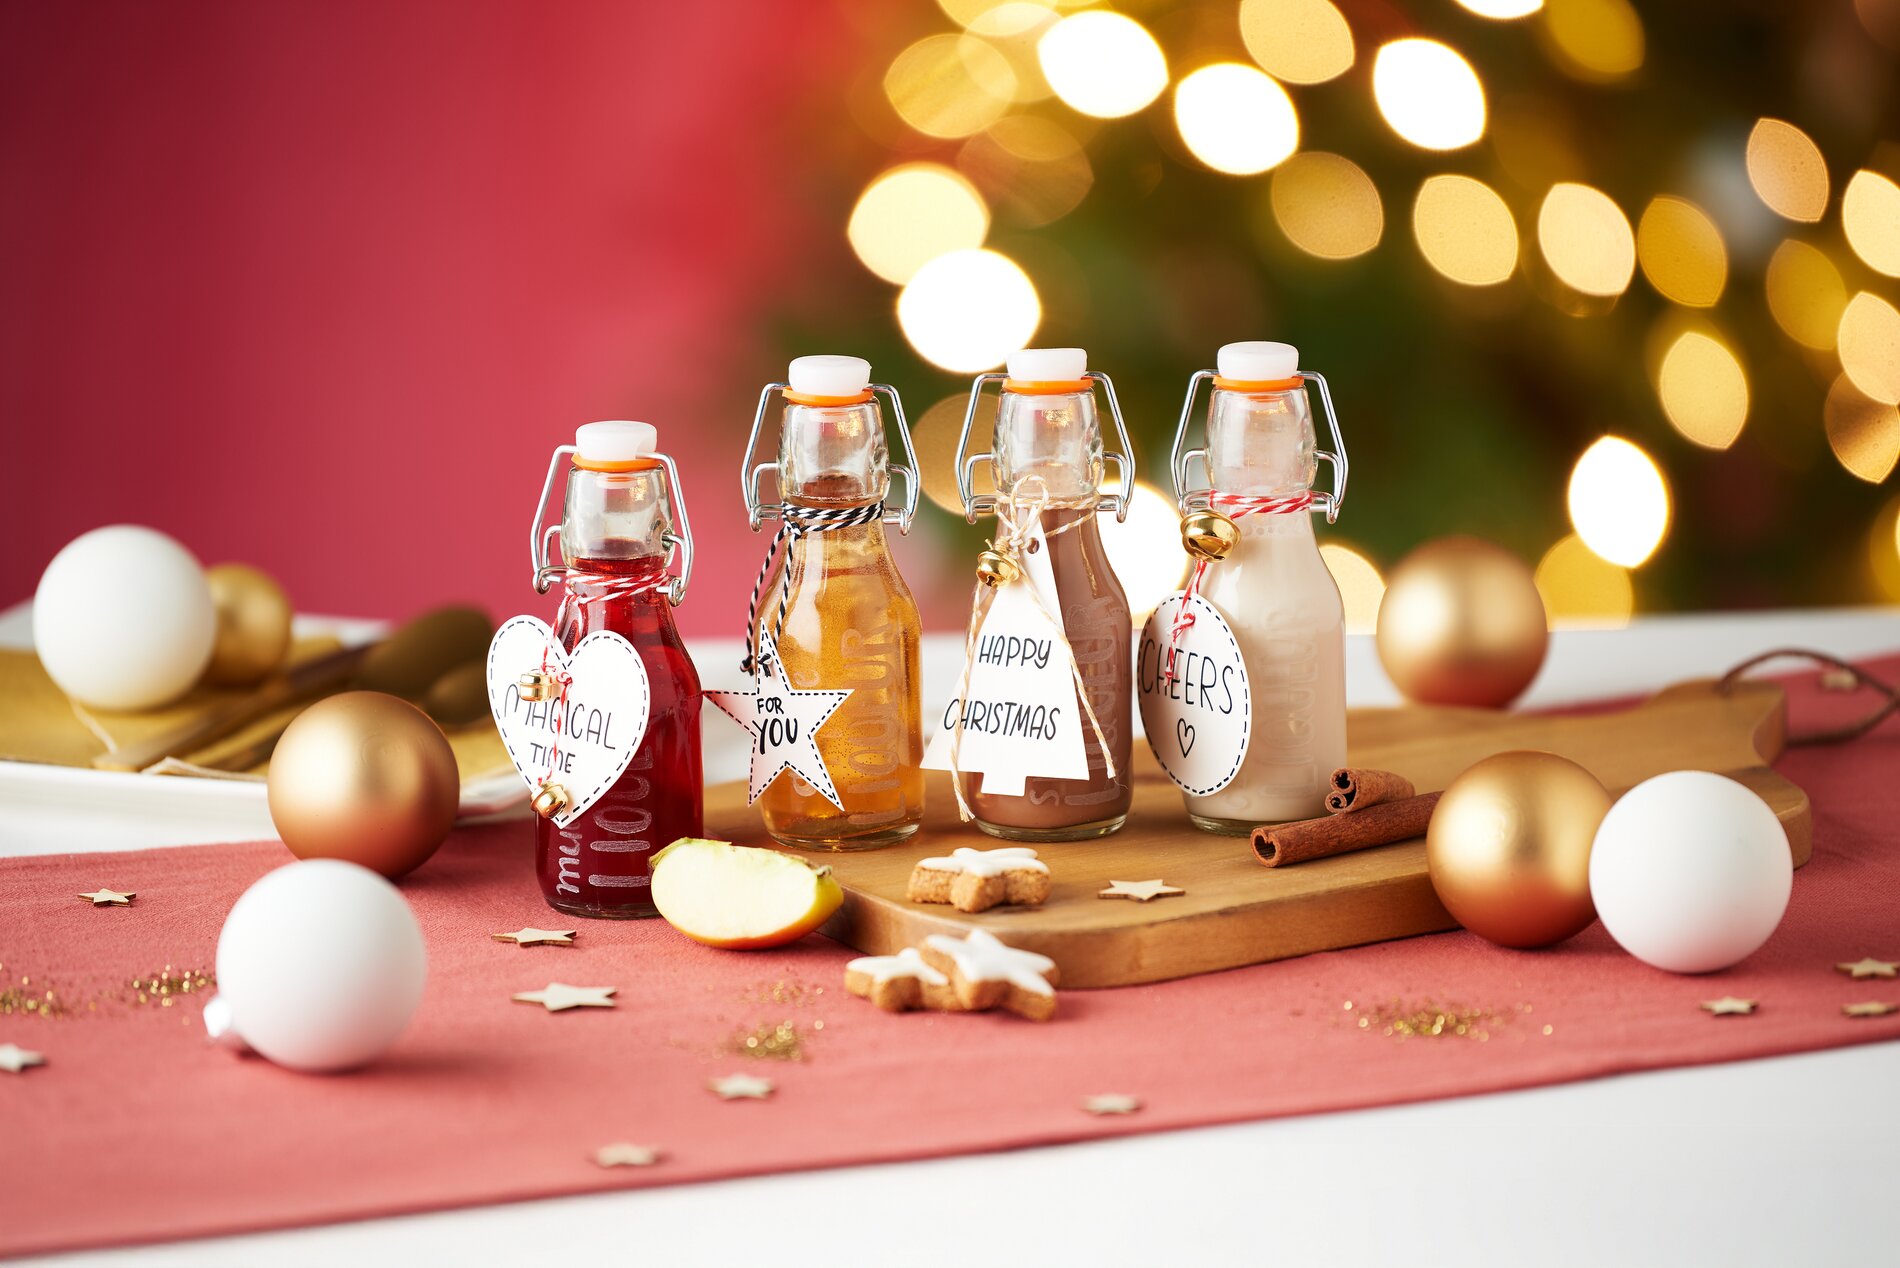
Use a suitable stencil, to draw your desired lettering on the bottle with a foil pen. Make sure that the lines are clear and even so that the engraving result is clean and precise.
Step 3: Engraving with the diamond cutter ball
Now it gets exciting! Insert the diamond cutter ball into the engraving pen. The diamond cutter is a special attachment that is ideal for engraving glass as it is particularly hard and resistant. Switch the device on to the highest setting so that it can carve the lines effortlessly into the glass. Slowly follow the drawn lines and work at a steady pace to achieve a clean result.
Step 4: Clean the bottles
After you have finished engraving, you should remove all the foil pen lines from the surface. To do this, wash the bottles thoroughly with water. This will make the freshly engraved surface shine beautifully and clearly.
Step 5: Decorate with a gift tag
As a finishing touch, you can add a stylish gift tag to your engraved bottles. It adds a personal message to the gift and gives it a special touch. Choose a ribbon or thread that matches your design and attach the tag securely.
Experience the art of engraving!
Ready to create your own engraved bottle? Visit our online store to discover the best engraving tools, durable diamond cutters and stylish gift tags! Let your creative streak run wild and create unique designs on glass. A personalized gift is waiting to be completed by your hand!