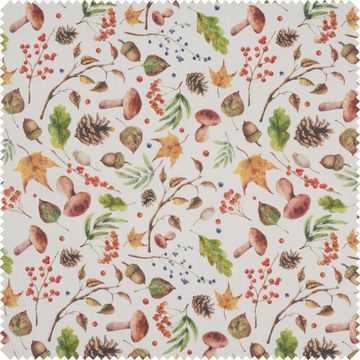
Step 2: Sew up the cut-out circles
Cut the two circles out of the fabric. Thread a longer piece of warp yarn onto a sewing needle, knot both thread ends together and simply sew by hand using a simple basting stitch: guide the needle and thread into the fabric with rough stitches along the edge of the fabric, out again on the underside and sew in this way further, until you have sewn around the entire edge of the circle with the basting stitch. Do not cut the end of the thread from the needle yet.
Step 3: Shape and fill the pumpkins
Pull the warp yarn together at the end of the thread so that you have the fabric in front of you in the shape of a bag. Fill this fabric bag as generously as possible with wadding. The more wadding you use, the more dimensionally stable and firm your pumpkin will be. Now pull the warp yarn thread tightly together, leaving a small opening for the stem. Tie the thread tightly.
Step 4: Tie the pumpkins
Now tie jute yarn tightly in "spokes" around your ball of fabric to form the typical "ribs" of a pumpkin. Feel free to model a little with your hands. Once you have created a good pumpkin shape, tie the jute thread tightly so that nothing can come loose.
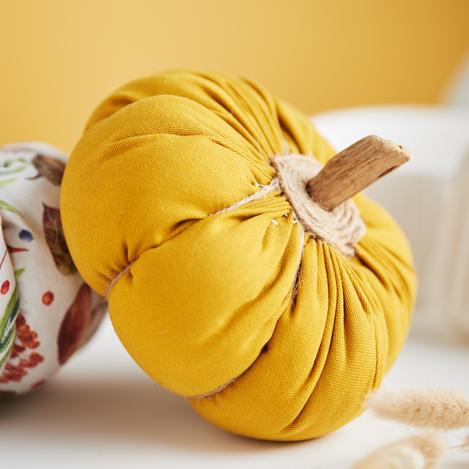
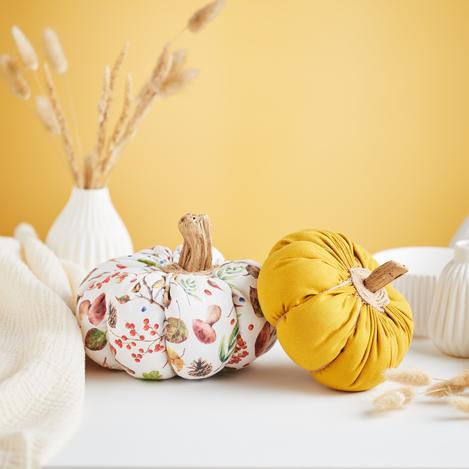
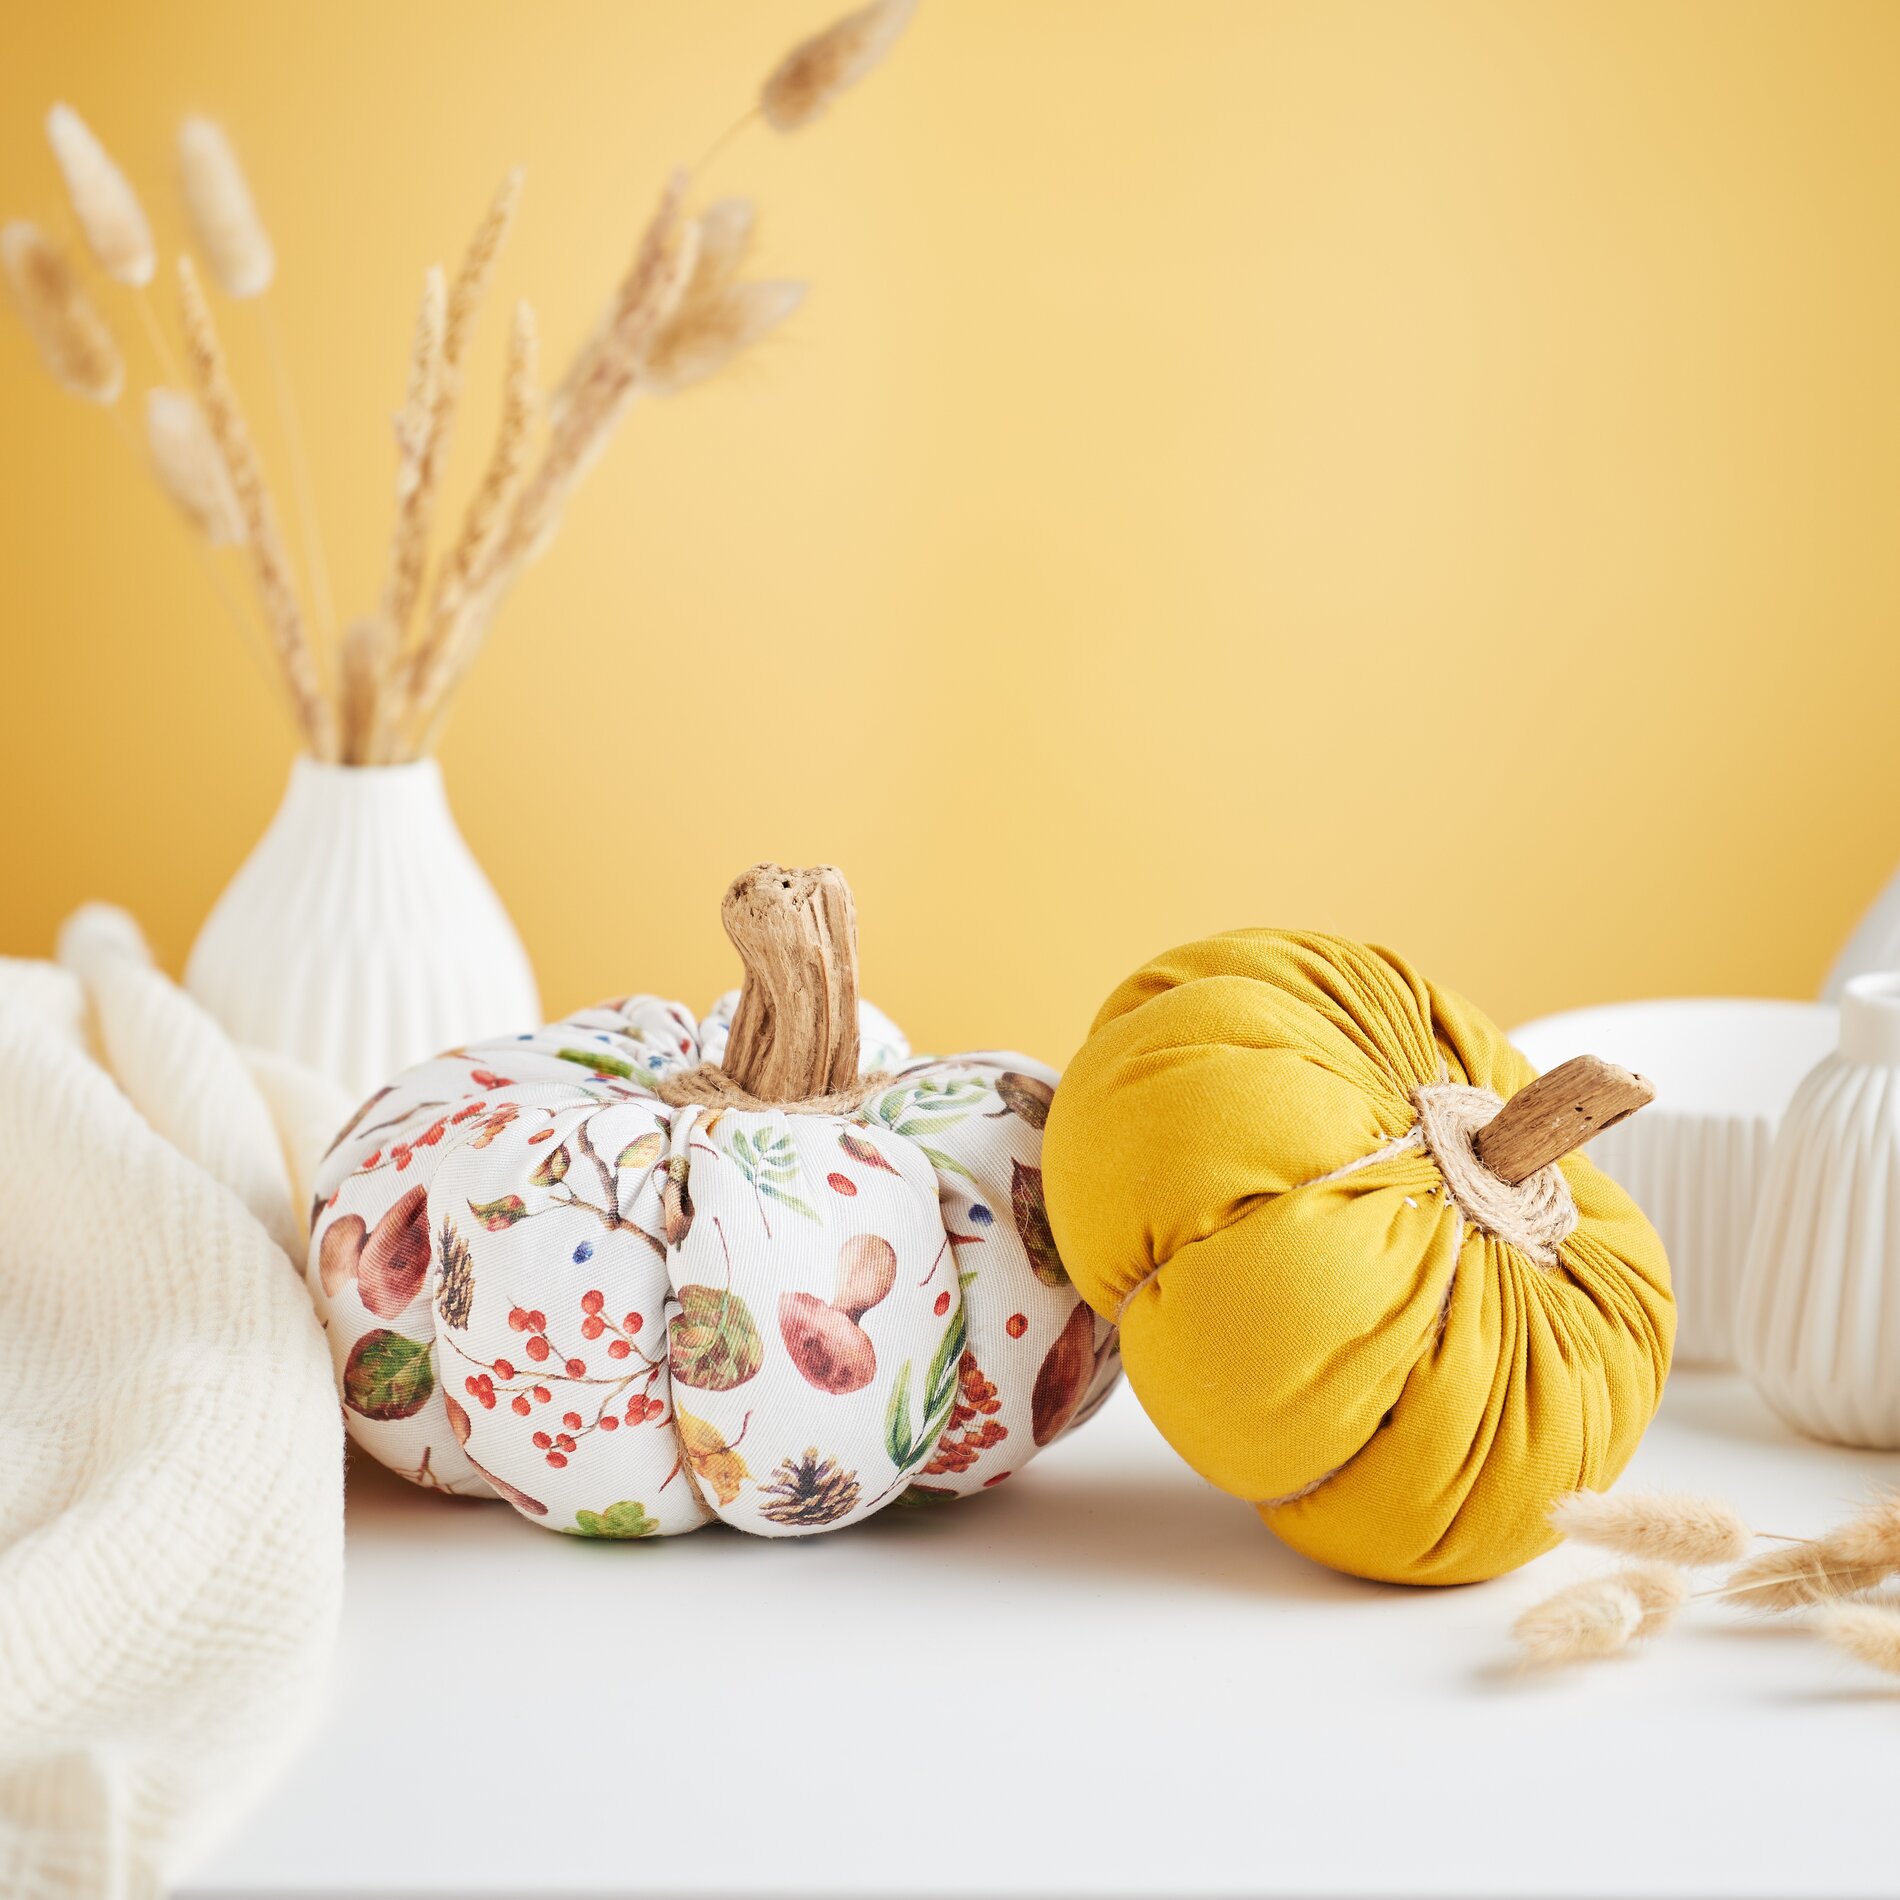
Step 5: Insert the stem
The stem is made from a piece of driftwood. Insert this into the small opening of the pumpkin, fixing it in place with glue. To make your pumpkin look perfect, wrap the opening with jute yarn. Fix the yarn with glue. Once the glue has dried, your homemade fabric pumpkin is ready!
Get everything you need from our store!
Ready to transform your home into a cozy oasis of well-being for autumn? Equip yourself with the necessary materials now - you can find everything from high-quality fabric to warp yarn and jute yarn in our online store. Get started right away and create your own stylish pumpkins!