- Secure order
- Easy return shipment
- Service-Hotline +32 50 89 35 27
Instructions No. 3160
Difficulty: Advanced
Working time: 3 Hours 30 Minutes


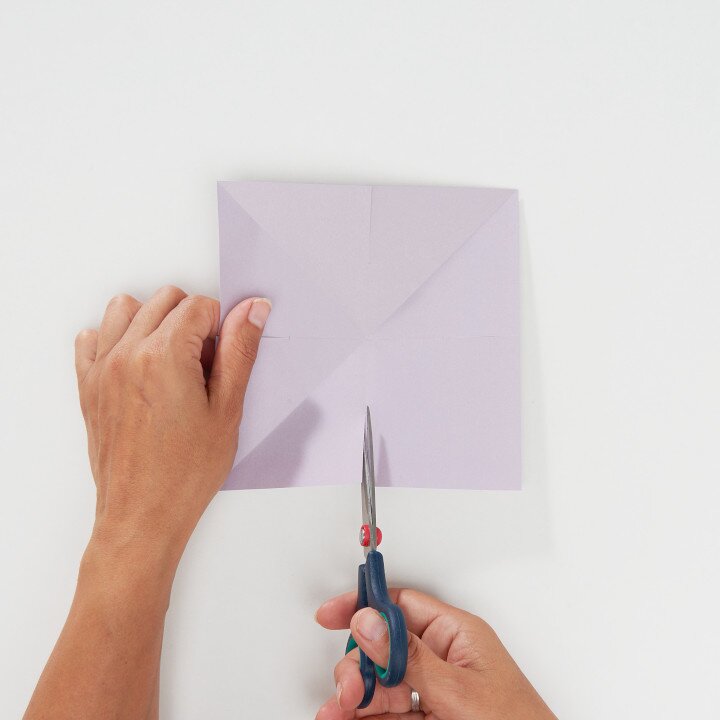
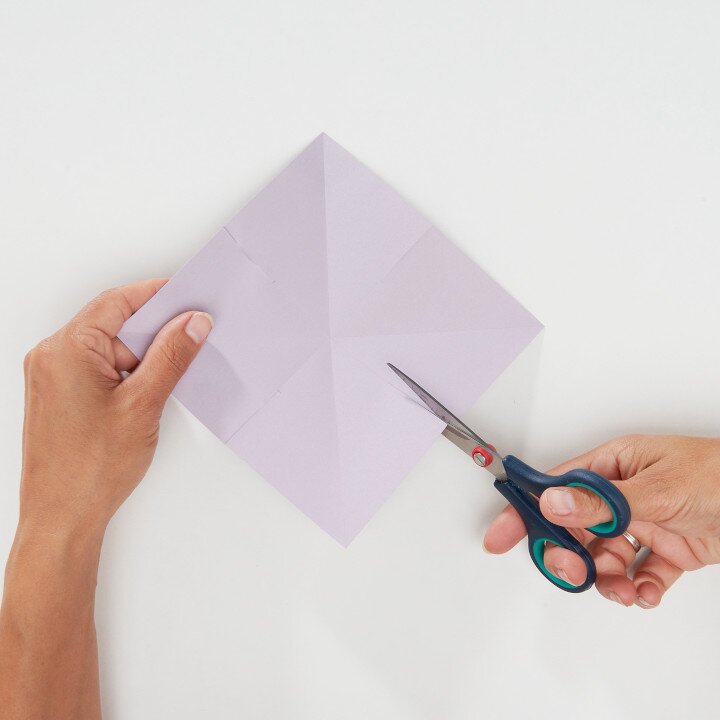
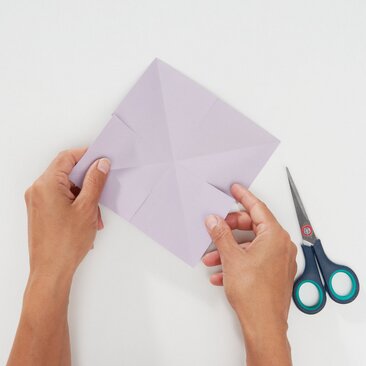
Folding stars
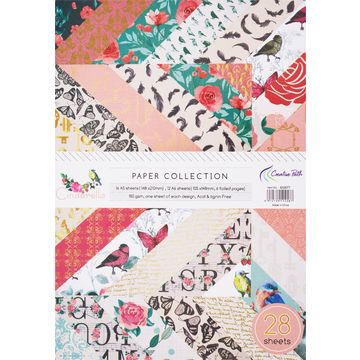
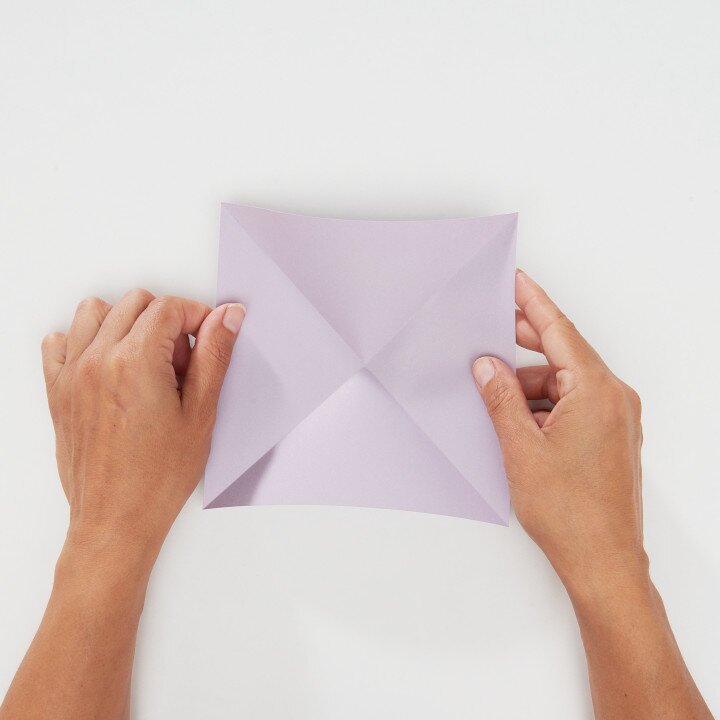
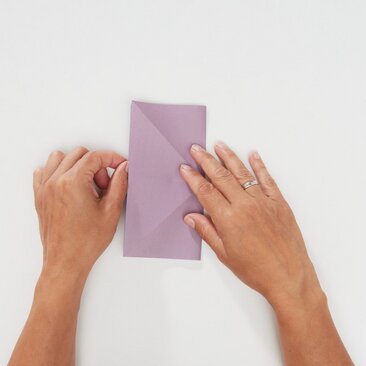
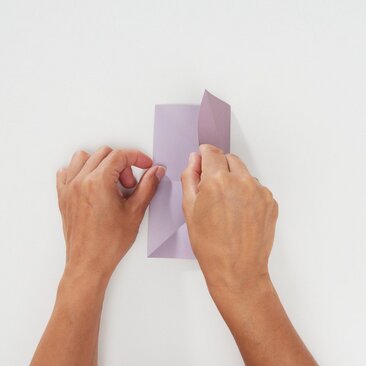
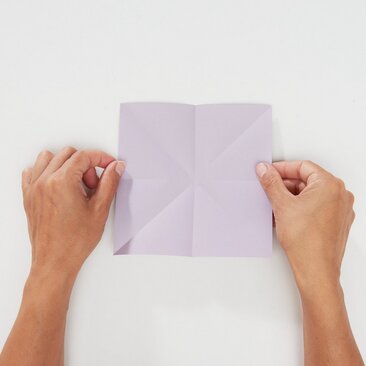
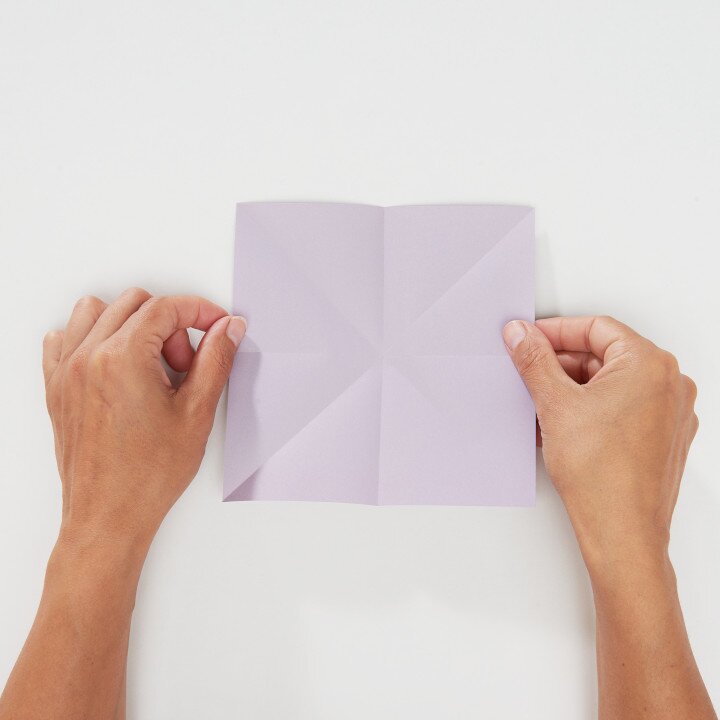
Before you start, make sure you have all the materials to hand. The Paper for the stars should be prepared in the dimensions 7 x 7 cm, 10 x 10 cm and 13 x 13 cm.


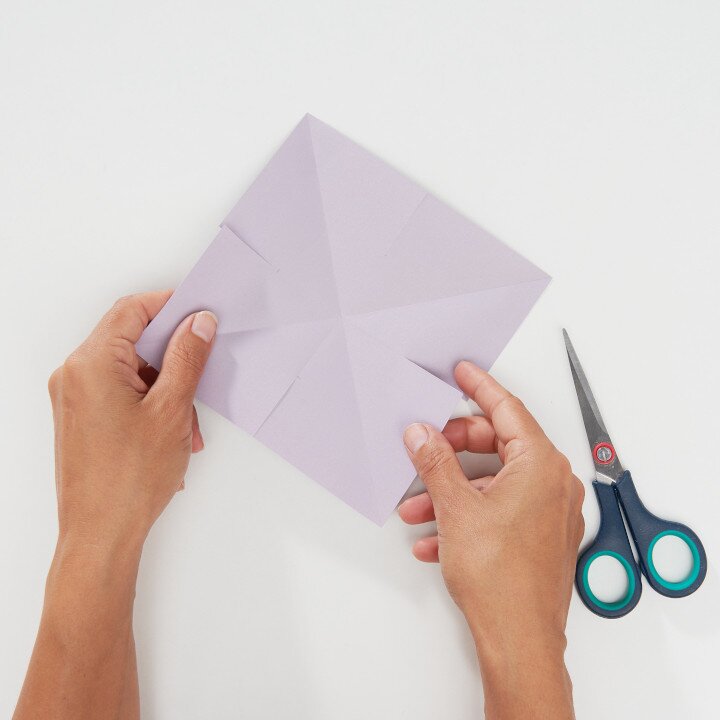


Punch holes in the stars
Take the prepared pieces of paper and punch a hole in the center of each star. You can use a simple hole punch for this. This makes it easier to thread onto the round rod later.
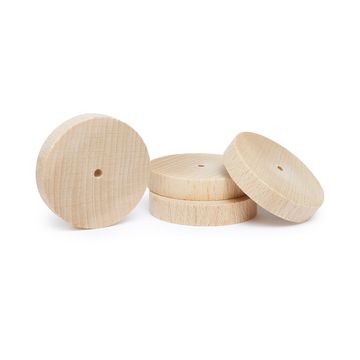
Prepare the round rods and wooden discs
The round rods should now be cut in half. Insert the halved round sticks into the wooden discs. These will serve as a stable base for your Christmas tree.
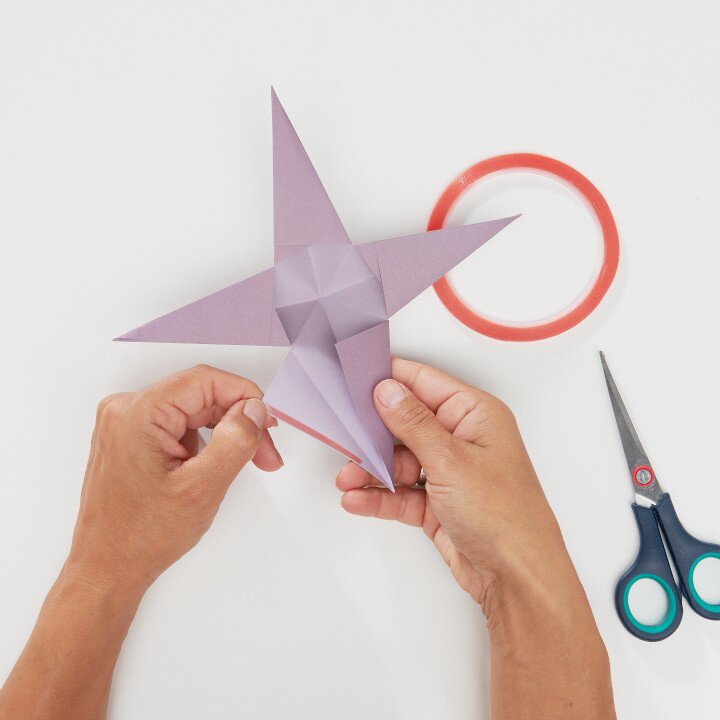
wooden ball and first star
Pull a wooden ball onto the round stick. Then thread the star onto it and secure it with handicraft glue . Make sure that the glue dries well before you continue.
Add more stars
Repeat the previous step with two more stars. Place a wooden ball, between each star and fix it with handicraft glue as well. Make sure that the stars match in size - from largest to smallest.
Last wooden ball and finish
Attach another wooden ball to the top end of the roundel. This forms the end of your Christmas tree.
Hole for the memo holder
Carefully drill a hole in the round stick (1.6 mm drill bit) to attach the memo holder. The memo holder can then be used for small notes, name tags or photos.
Attach decorations
Now tie a satin ribbon with a small bell to the top of your Christmas tree. Complete the whole thing with a pretty tag (small sign) on which you can write a message or the name of the recipient.