Step 1: Preparation
Start the preparation by cutting a piece of elastic cord from the roll. Remember to measure the length generously, as you will need to tie a knot later. A good guideline is to cut the cord about 20 centimeters longer than the circumference of your wrist.
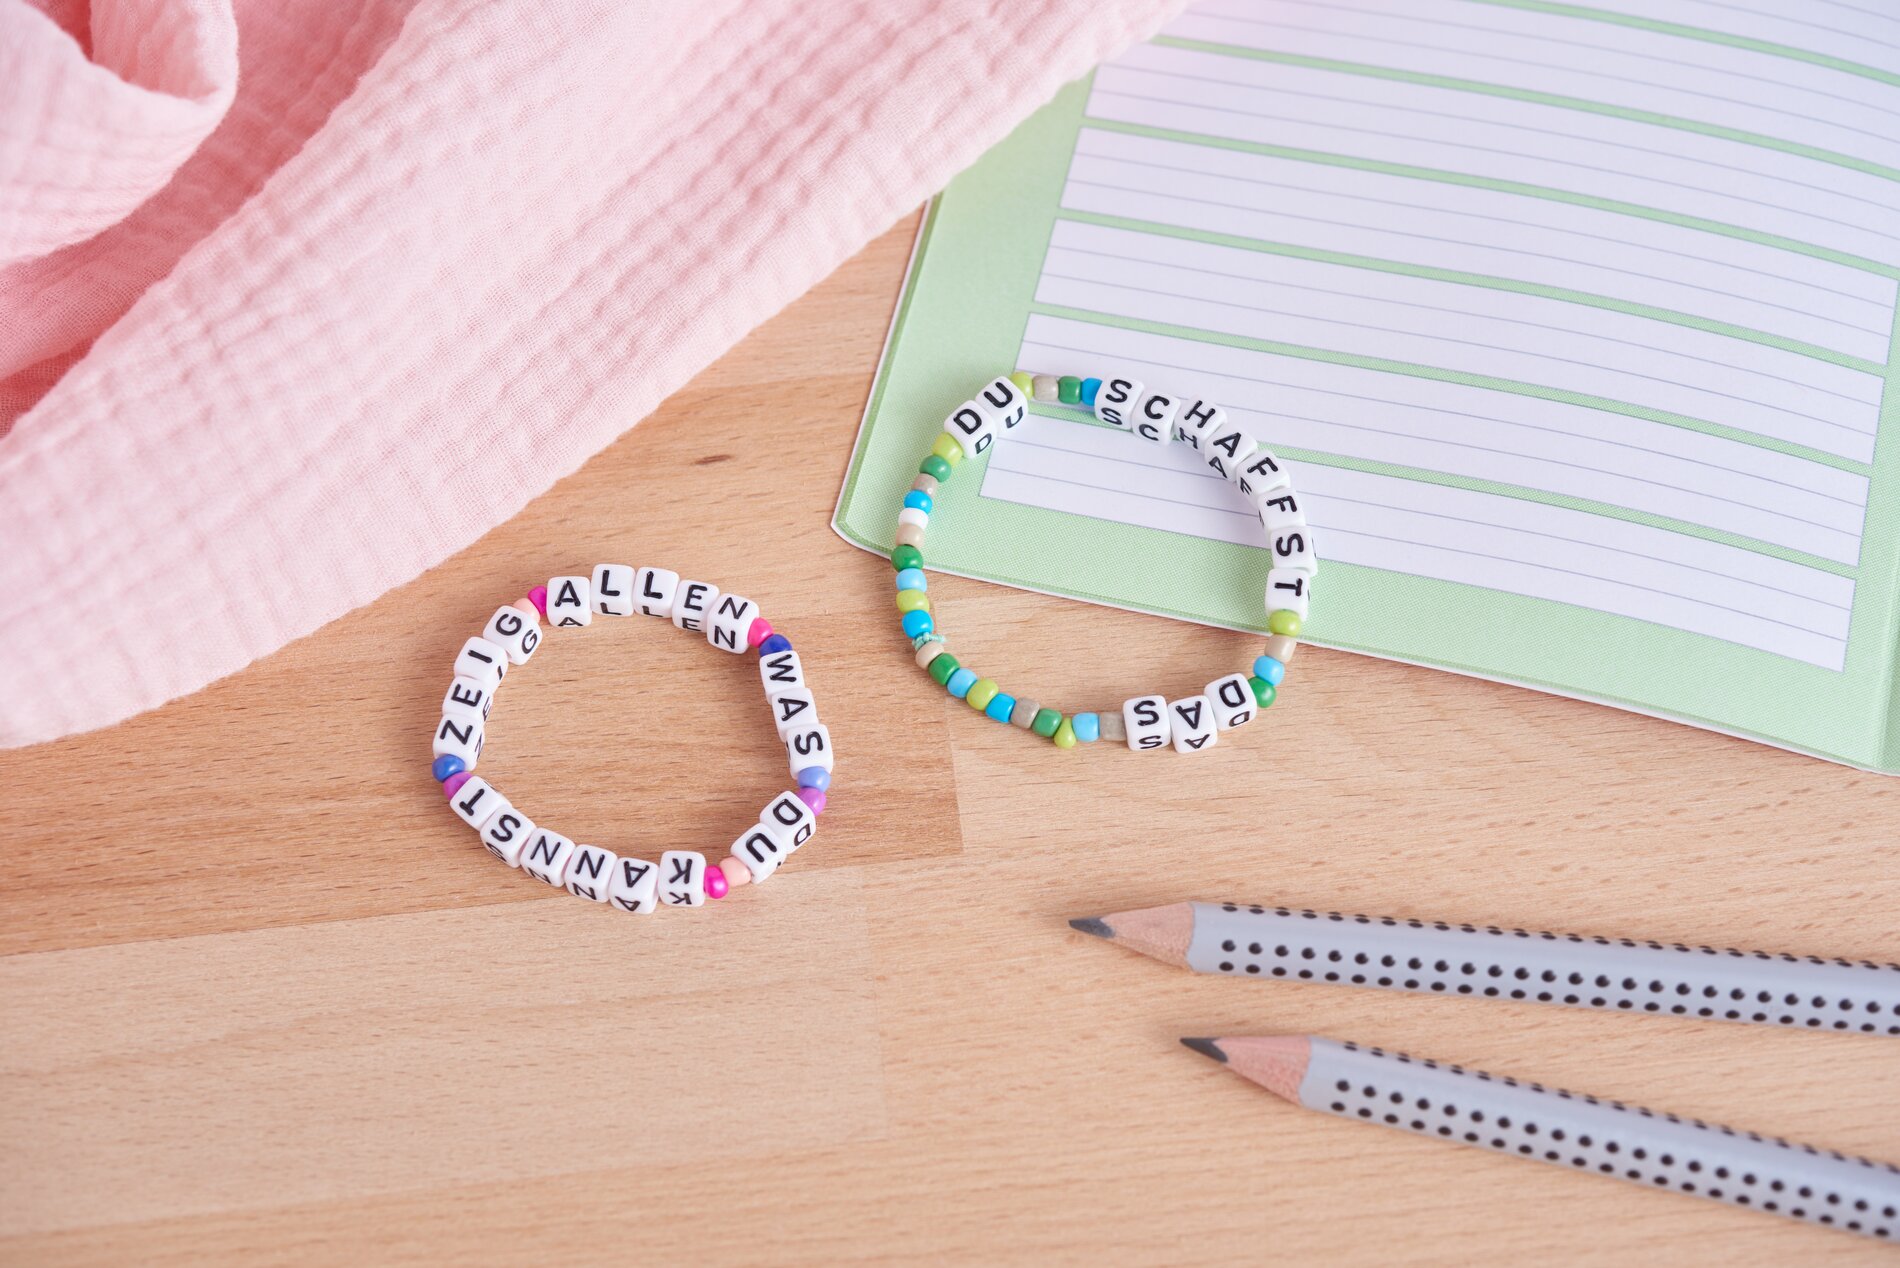
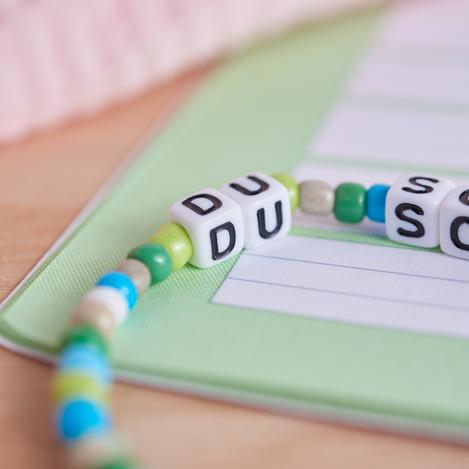
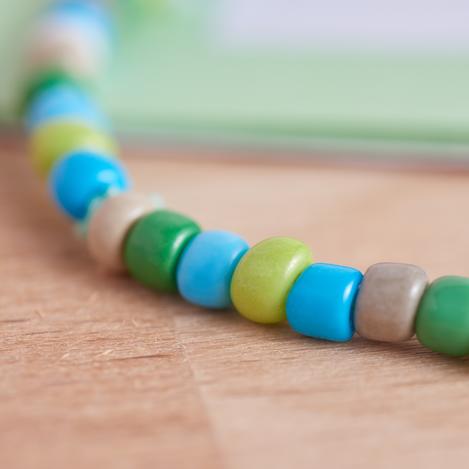
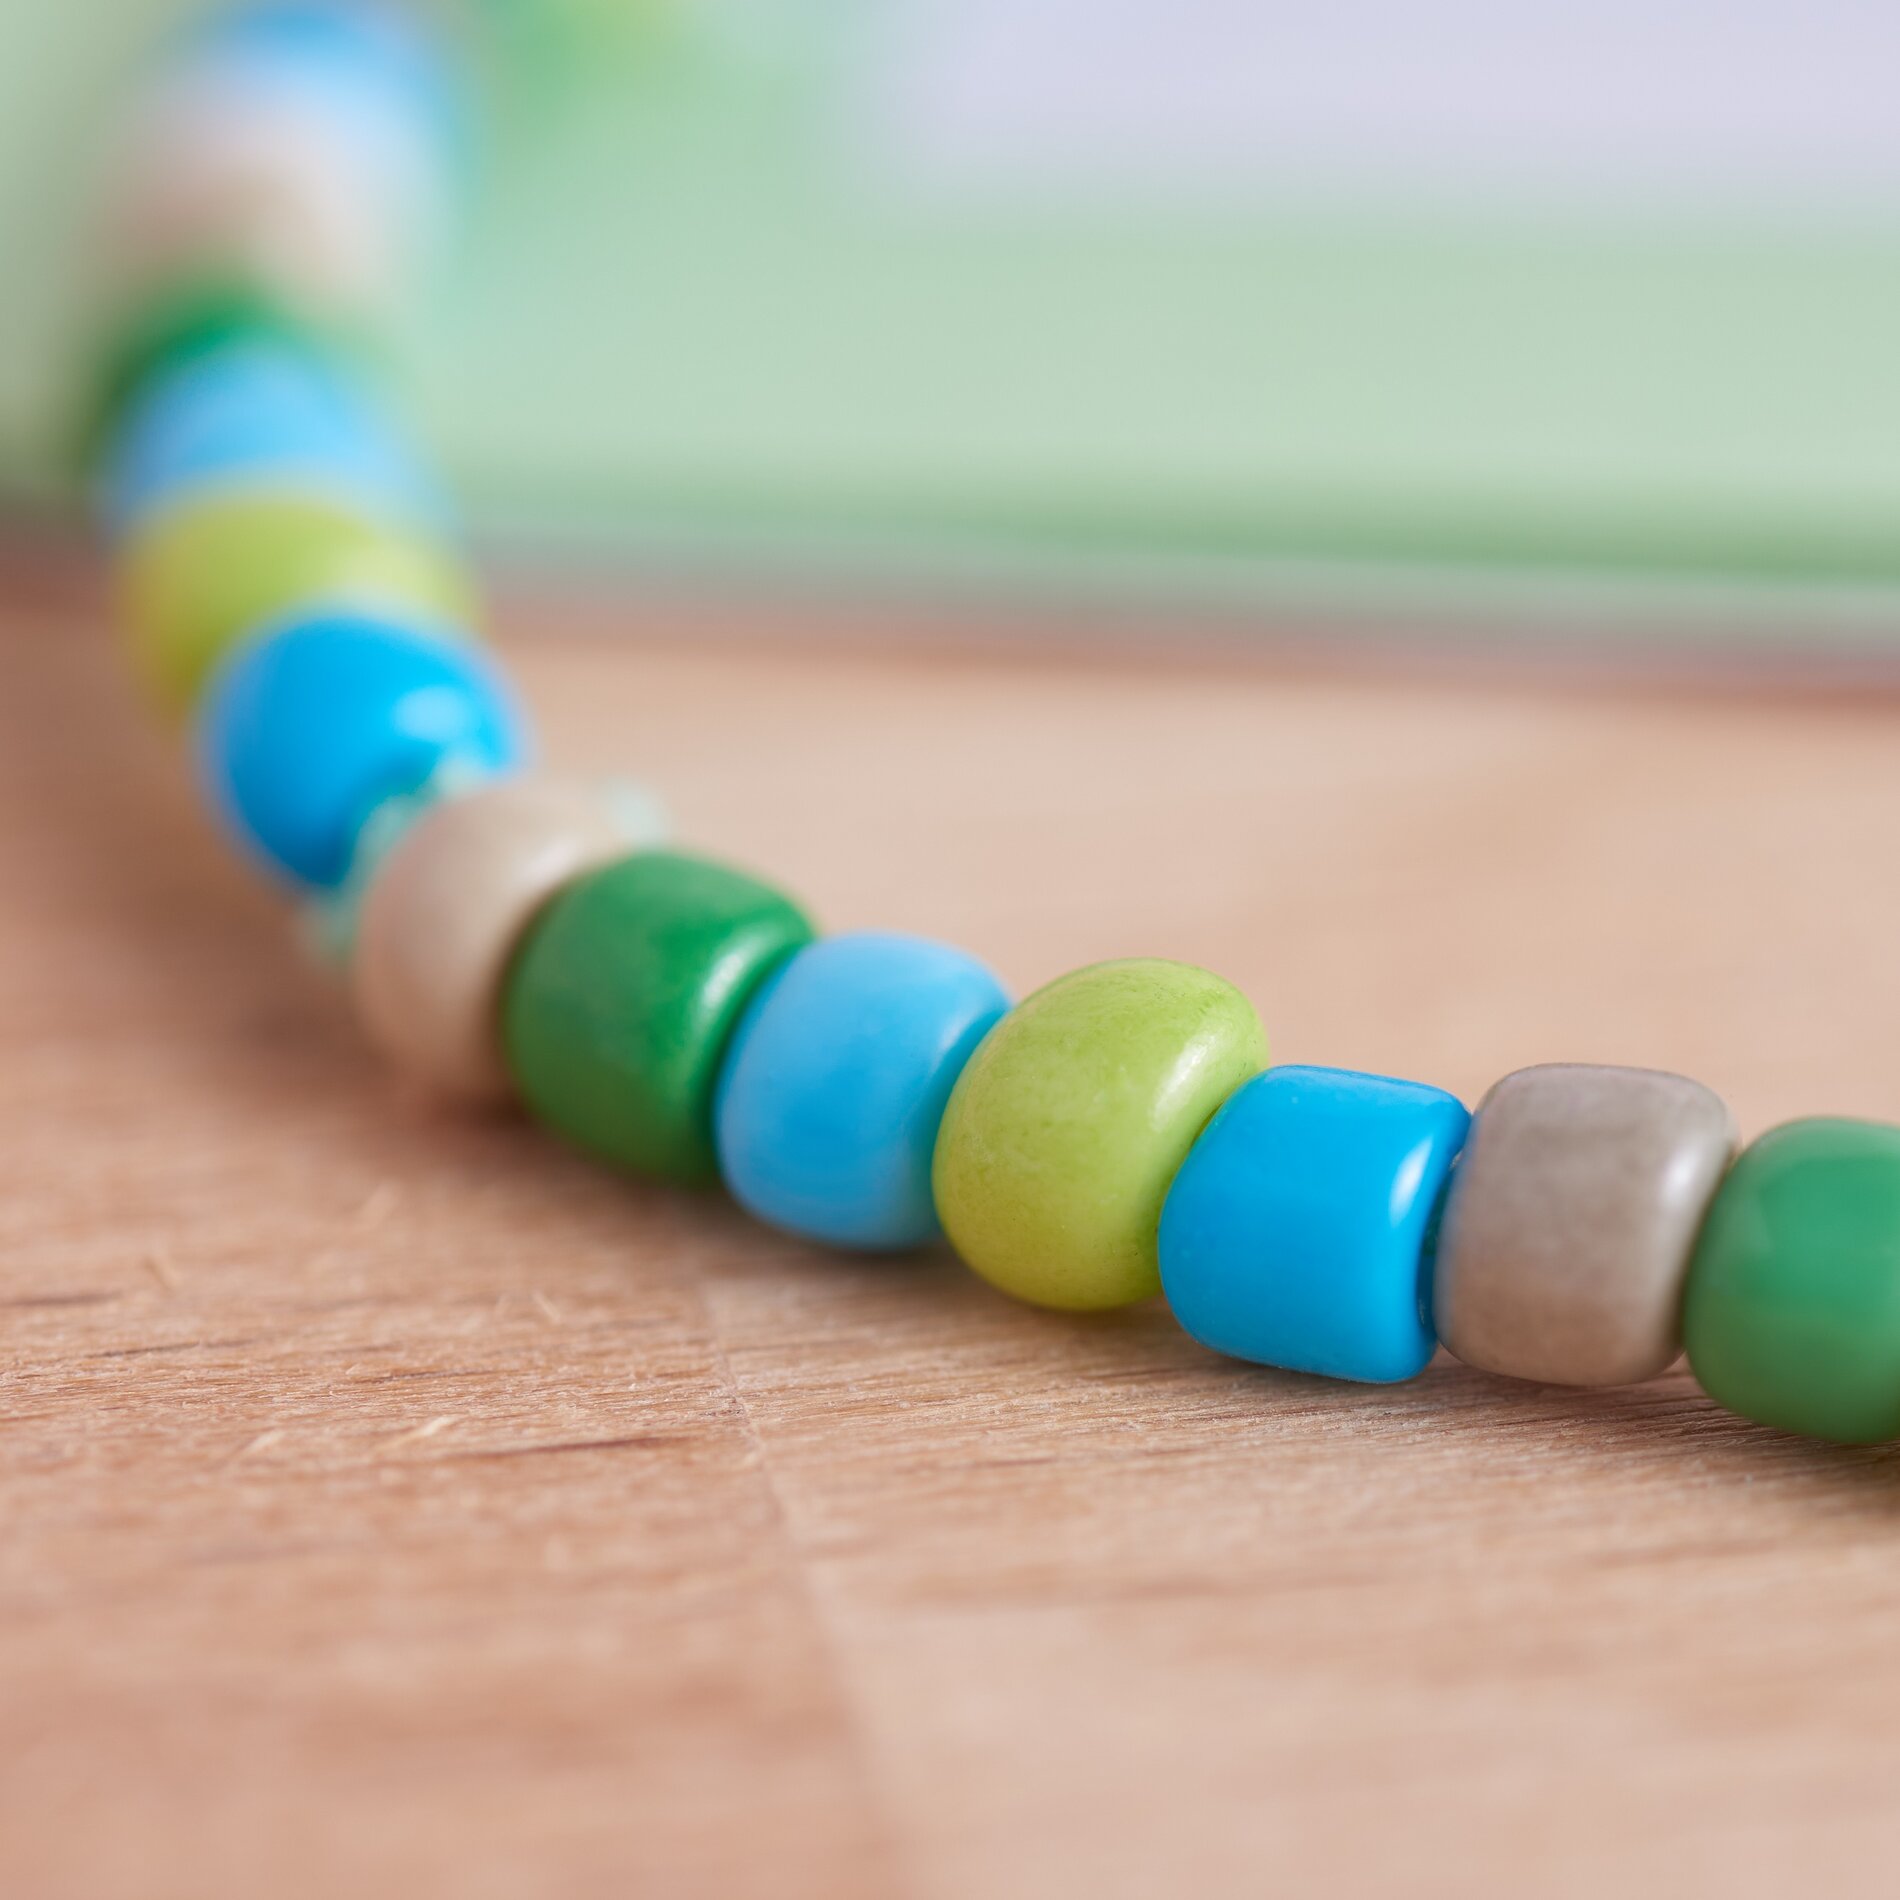
Step 2: Stringing the beads
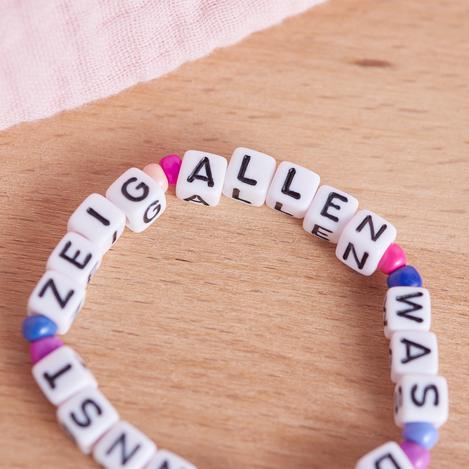
Now comes the creative part: thread the letter beads and wooden beads onto the elastic cord in any order you like. You have the freedom to create names, inspiring words or simply a beautiful play of colors.
Step 3: Finishing the bracelet
Once you are happy with your bead combination, it's time to finish the bracelet . Take the two ends of the elastic cord and tie a sturdy double knot so that the bracelet sits securely on your wrist. Tighten the knot, but be careful not to compress the beads too much to ensure a comfortable feel. If you wish, you can secure the ends of the cord with a small drop of handicraft glue to prevent the knot from unraveling.