- Secure order
- Easy return shipment
- Service-Hotline +32 50 89 35 27
Instructions No. 3181
Difficulty: Beginner
Working time: 1 hour

Step 1: Prepare the templates
First, print out the templates for your elf. Cut them out carefully so that you can use them as templates later. These templates are the basis for the perfect shape of your charming elf.
Step 2: Transfer to felt and faux fur
Now use a sublimate pen to transfer the outlines of the templates onto the felt and the faux fur ribbon. A sublimate pen is a special marking pen whose lines dissolve by themselves when heated or after a certain amount of time. Then cut out the parts precisely.
Step 3: Attach the beard and nose
Use hot glue to attach the cut-out beards to the glasses. Then glue the wooden hemisphere directly onto the beard as a cute nose. These little details give your gnome its unique charm.
Step 4: Shape the hat
Apply a thin line of hot glue to the long side of the felt. Then roll the felt into a hat. Make sure that the edges are neatly finished so that the hat has a nice, even shape.
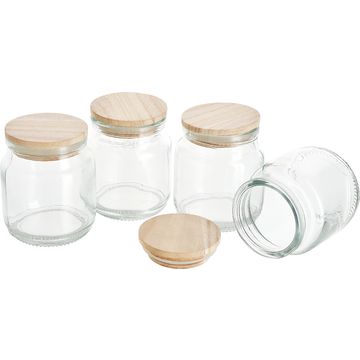
Step 5: Fill the jars
Place an LED tea light with a timer in each jar. These lights not only only provide a soft glow, but are also safe to use. The timer allows you to turn the lights on and off automatically, so you don't have to worry about operating them.
Step 6: The final assembly
Press the lid firmly onto the jar. Now place the previously formed cap on the closed part of the jar. This cap completes the look of your gnome and makes the illusion perfect.
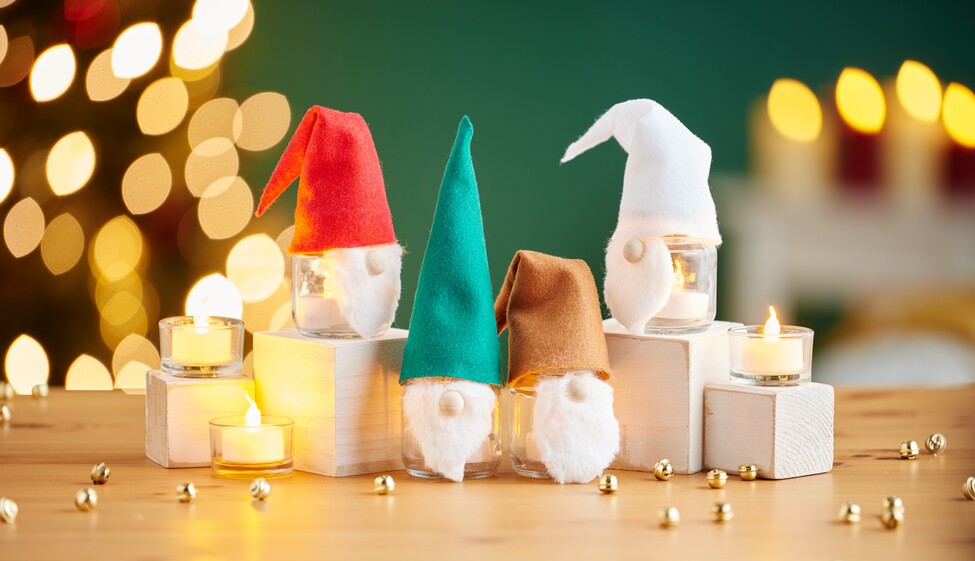
Give your home the magic of the elves
Now you're ready to proudly present your homemade gnomes! These charming light sources are ideal for embellishing living rooms or the entrance area of your home and creating a warm atmosphere.
Let your creativity run wild and try out different colors and styles to create your very own personal elves. Visit our online store to conveniently order all the materials you need for this project to your home. Start your crafting adventure today and share the magic of the elves with your loved ones!