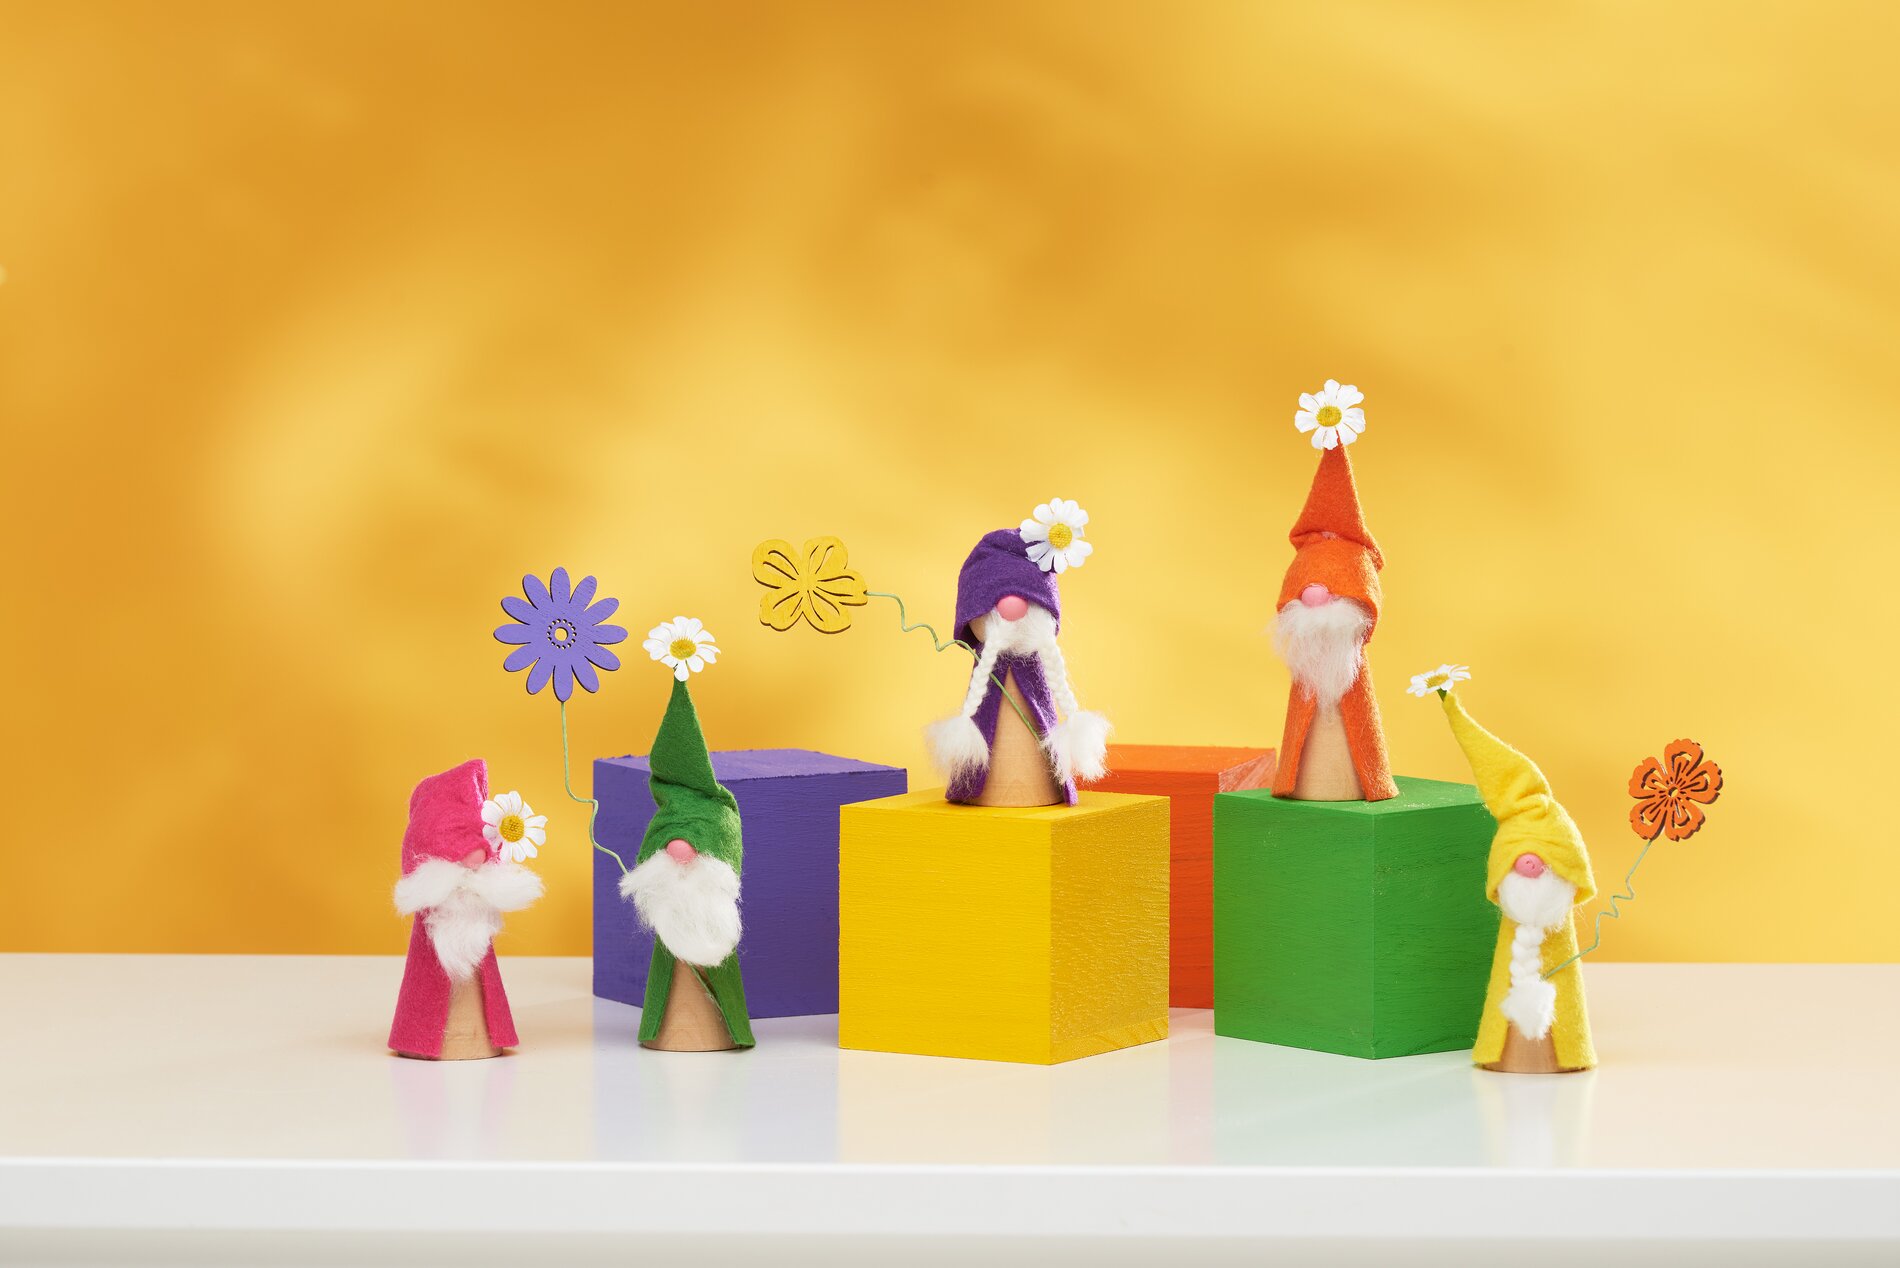
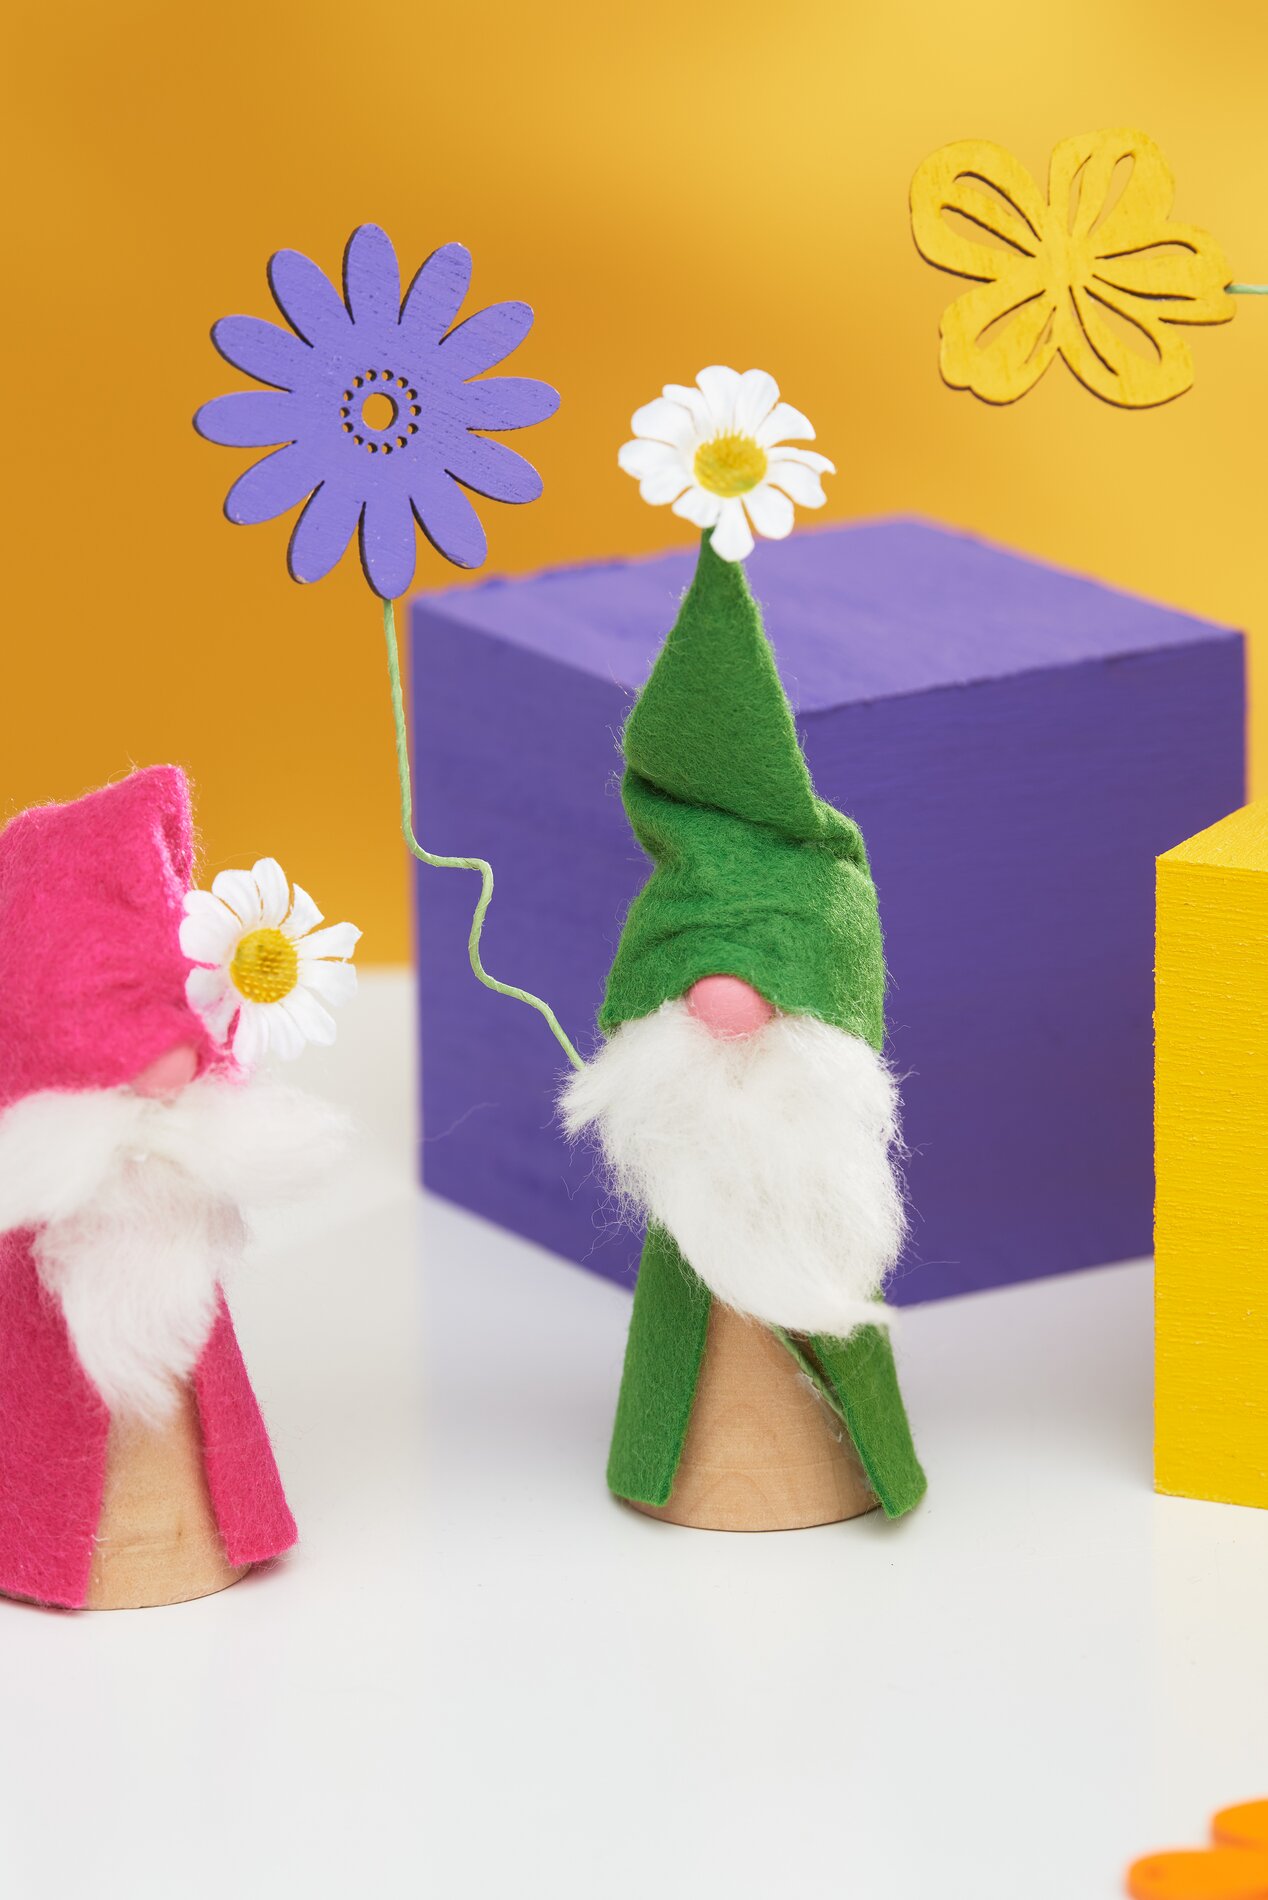
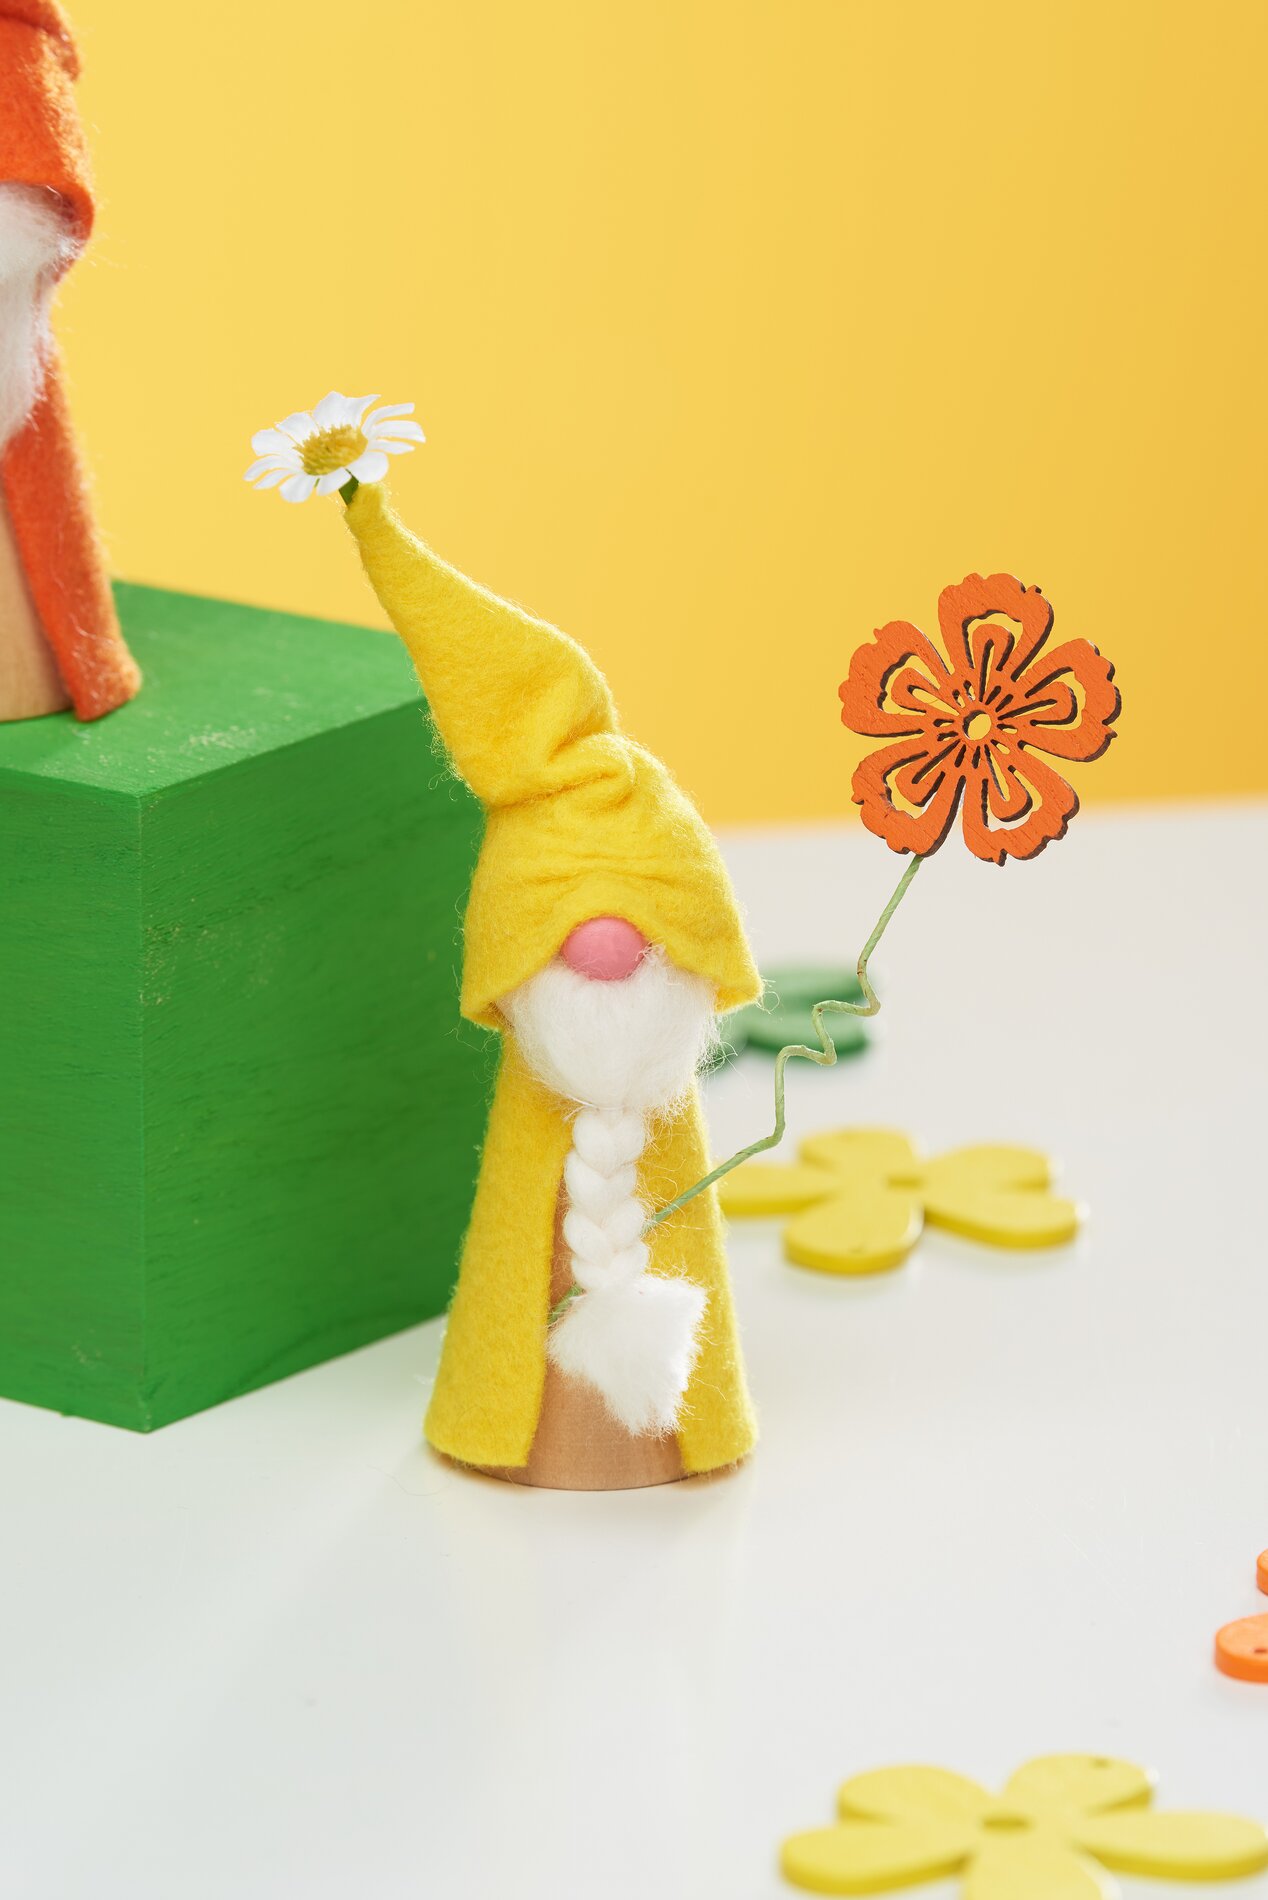
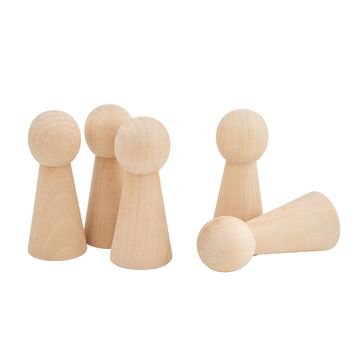
Good mood spring gnomes
Instructions No. 2747The little spring gnomes can be copied with little effort. You create with figure cones, some felt and fairy wool as a beard your own little personalities, which will certainly provide good humor in your home.
If you glue the caps together on the sides, this will give them their conical shape. Note, however, that the hot glue should not be applied all the way to the top: you could burn yourself on it, and later you will also need a small opening.
The caps can now be glued to the heads. Wrinkles and creases are worked in right away.
The bodies get small felt coats.
Cut a strip of fairy wool about 1.5 cm wide for each of the beards, fold it once in the middle. Fix each one around the bottom of the nose and style each beard as you like.
Finally, decorate the spring gnomes with flowers. Choose small spring flowers and stick them in the top of the opening of the caps. Glue more flowers to floral stem wire. Wrap the wire around a pencil. This will give each flower stem an individual look.
Attach the finished flowers to the figures. Your hot glue strip can be hidden under the beard and robe when you do this.