- Secure order
- Easy return shipment
- Service-Hotline +32 50 89 35 27
Instructions No. 3261
Difficulty: Beginner
Working time: 3 Hours

To start, transfer the templates for the grasshopper to the craft cardboard sheet. Carefully cut out all the parts.
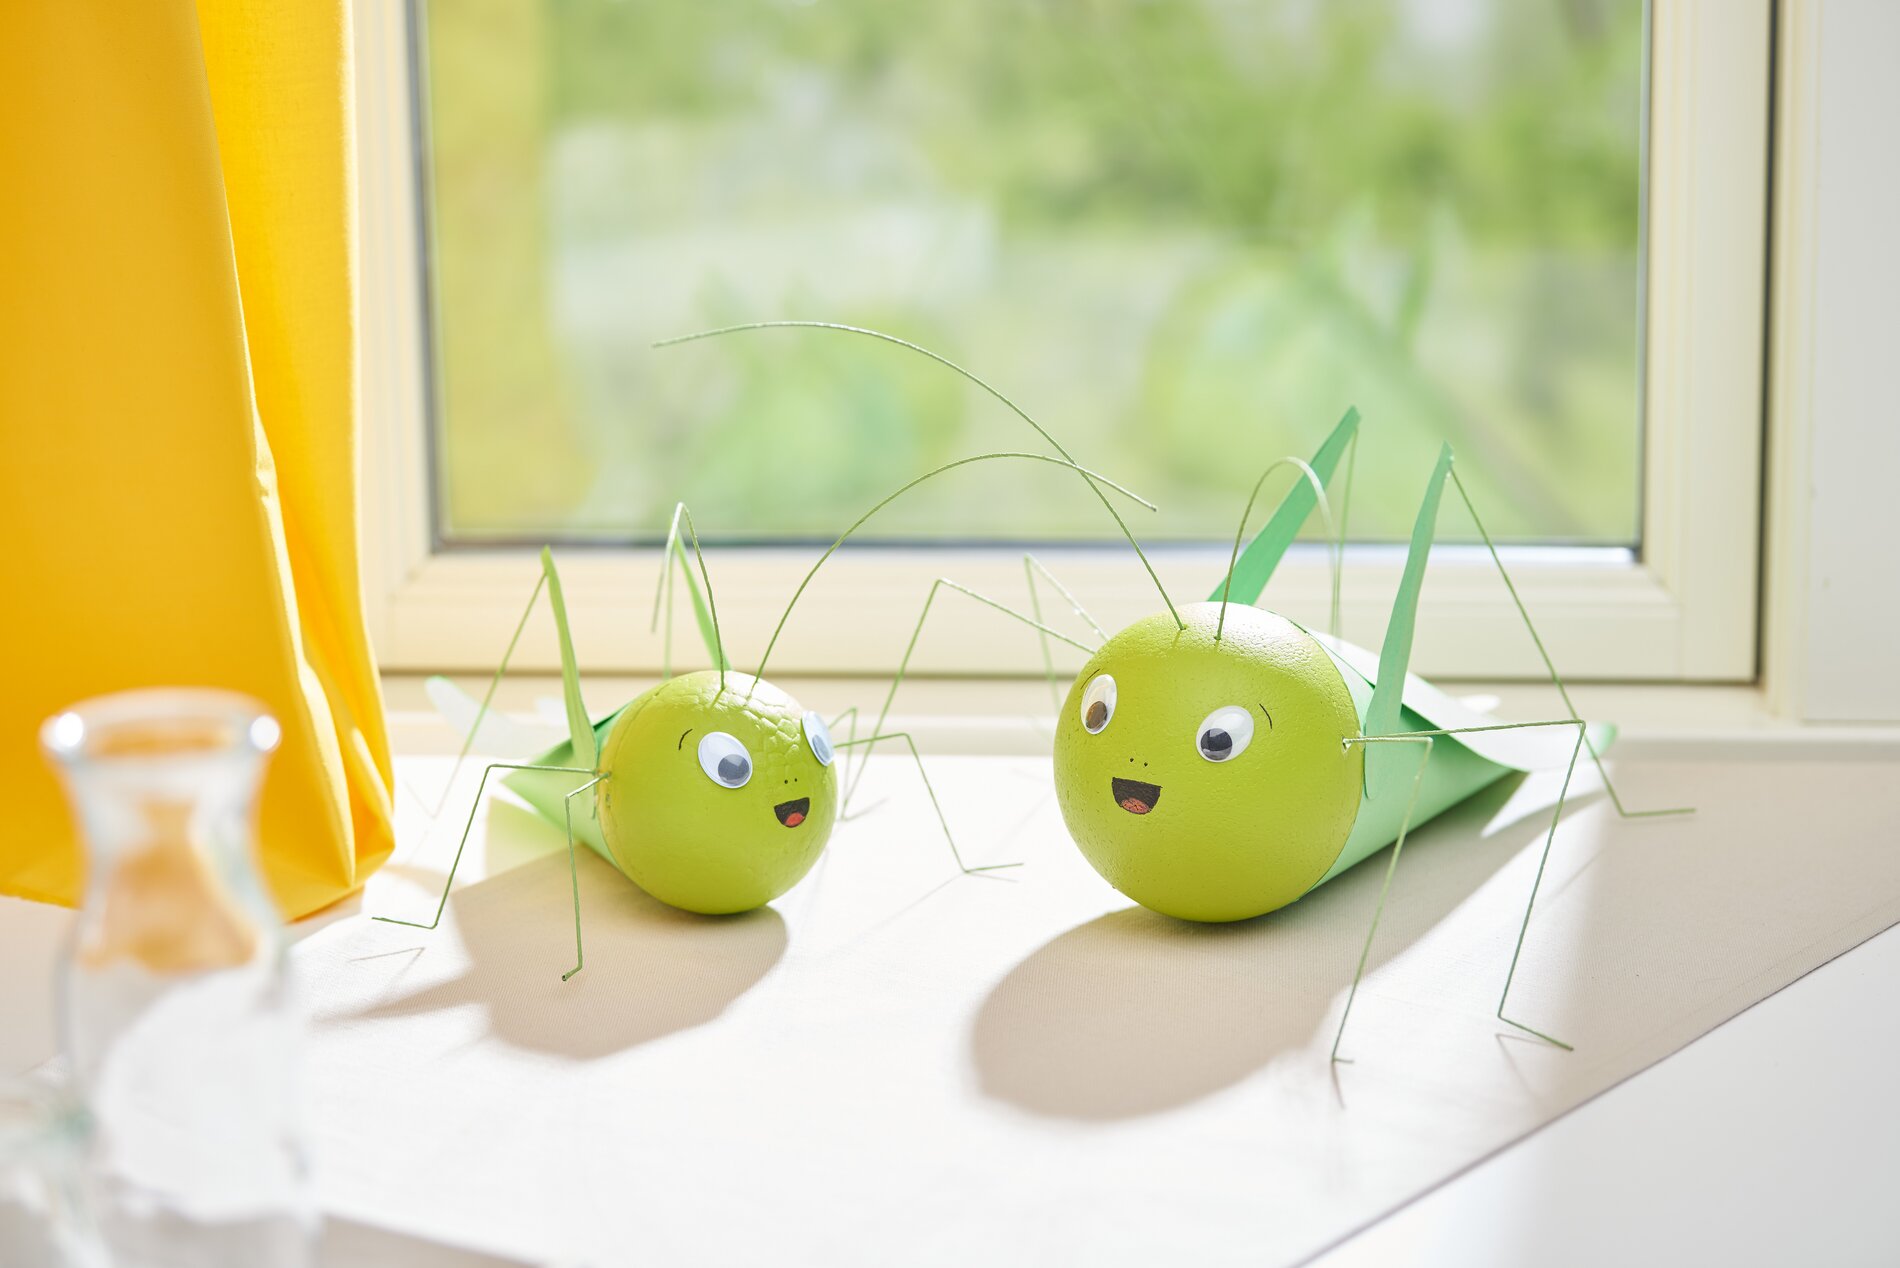
Then shape the craft cardboard sheet into a cone that will serve as the body of the grasshopper. Template E is for the body of the large grasshopper and template F for the small one. Make sure to fix the glued edge well and allow everything to dry thoroughly so that your cone is stable. Now it's time to add some color!
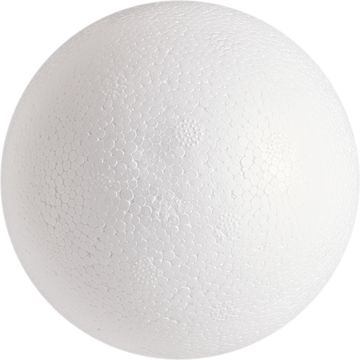
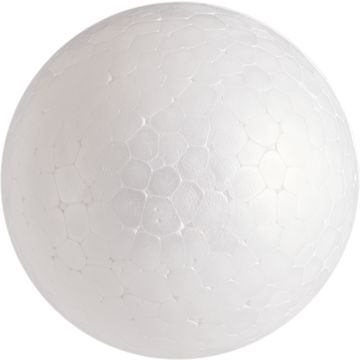
Paint the polystyrene ball in a fresh may green. As the paint should cover well, several coats are required. Allow each coat to dry well before applying the next one.
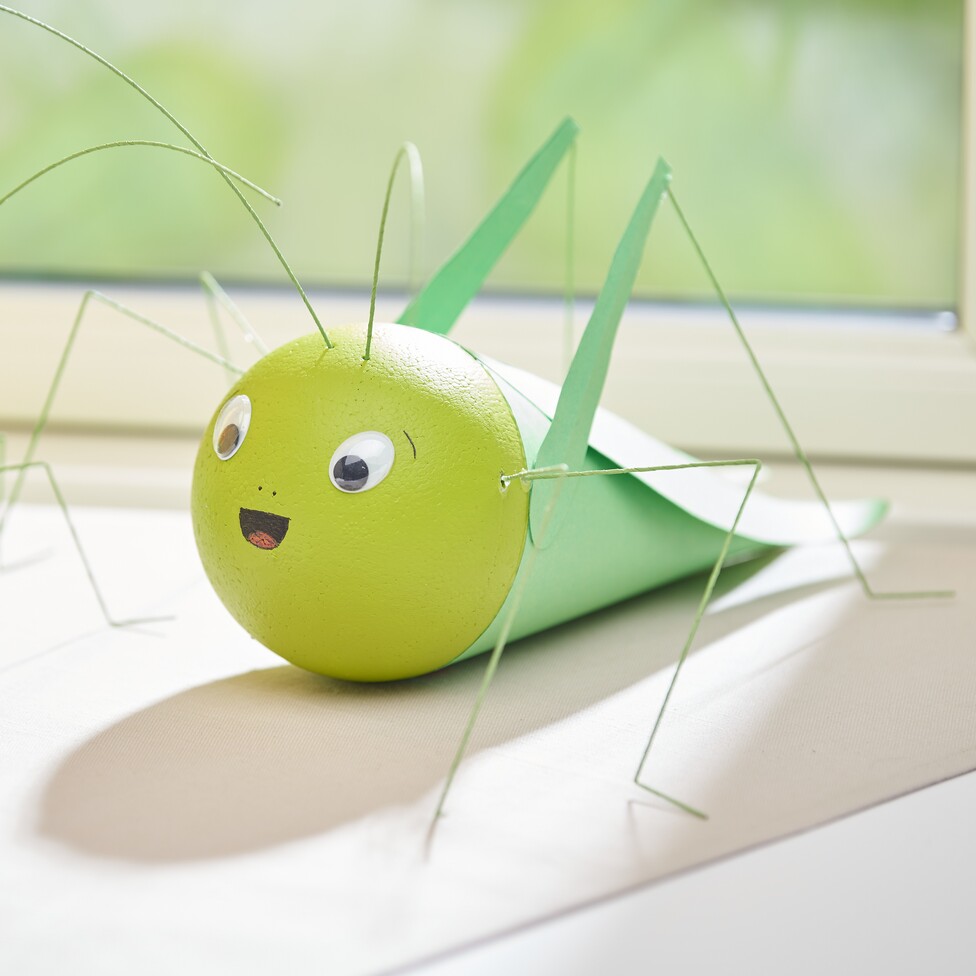
Apply glue to the edge of the cone and attach the polystyrene ball as the head of the grasshopper. Once this is dry, stick the eyes on and paint a cheerful face on the ball. Let your imagination run wild with the design!
Now glue the wings onto the body. Template A is for the wings of the big grasshopper and template B for the little one. Before you attach them, form a slight curve in the wings with your finger to give them more plasticity and dynamism.
Now create the antennae using florist's wire. Cut the wire in half and insert it into the polystyrene ball.
The hind legs are different lengths: about 23 cm for the small grasshopper and 27 cm for the large grasshopper. Use pliers to bend the wire into the right shape.
Insert the upper half into two prepared thighs (template C for the big one and template D for the small one) from craft cardboard sheet and glue them to the side of the body.
For the four front legs of the little grasshopper, cut a wire into quarters, bend it into shape and stick it into the side of the head. The wire is split for the large grasshopper.
Was this craft lesson inspiring? Let's go - bring your creative spirit to life and design your own grasshopper right away!