Halloween ideas with modelling clay
Instructions No. 1664Creepier than that! Make scary decorations for your Halloween party - with Modelling clay you can do it easily and with a little colour your shaped hands and fingers look deceptively real.
Modelling fingers
Finger: Take the salt dough and roll it into finger-thick "sausages". Score fingernails and folds into the fingers with the modelling tool . Leave to dry for 2 days. Turn the fingers in between so that they dry well from all areas.
If necessary, the salt dough can be mixed with Colour Concentrate can be coloured or painted with VBS Hobby Color to set great accents that make the fingers look even more real.
Designing worms
Put the mass into an extruder . Screw the desired hole attachment onto the extruder. By turning the device, press out the salt dough and let it dry for 2 days
Instead of the extruder you can also roll out long, very thin rolls
They can now be painted with Acrylic paint to make them look like real earthworms.
Scary Hand Forming
Stick your arm into the mass, after about 5-10 minutes the form is firm. Now you can slowly pull your arm out.
Next, pour the mould with Concrete off. To do this, mix the concrete with water to a creamy mass. After 24 hours drying time you can carefully take the Moulding material out of the bucket. Roughly loosen the mass from the arm. Let the arm dry. Afterwards the remaining Moulding material can be easily brushed off.
The finished arm and fingers can now be painted creepy. Best is to let the paint run down with a lot of water
Terracotta pot creepy painting
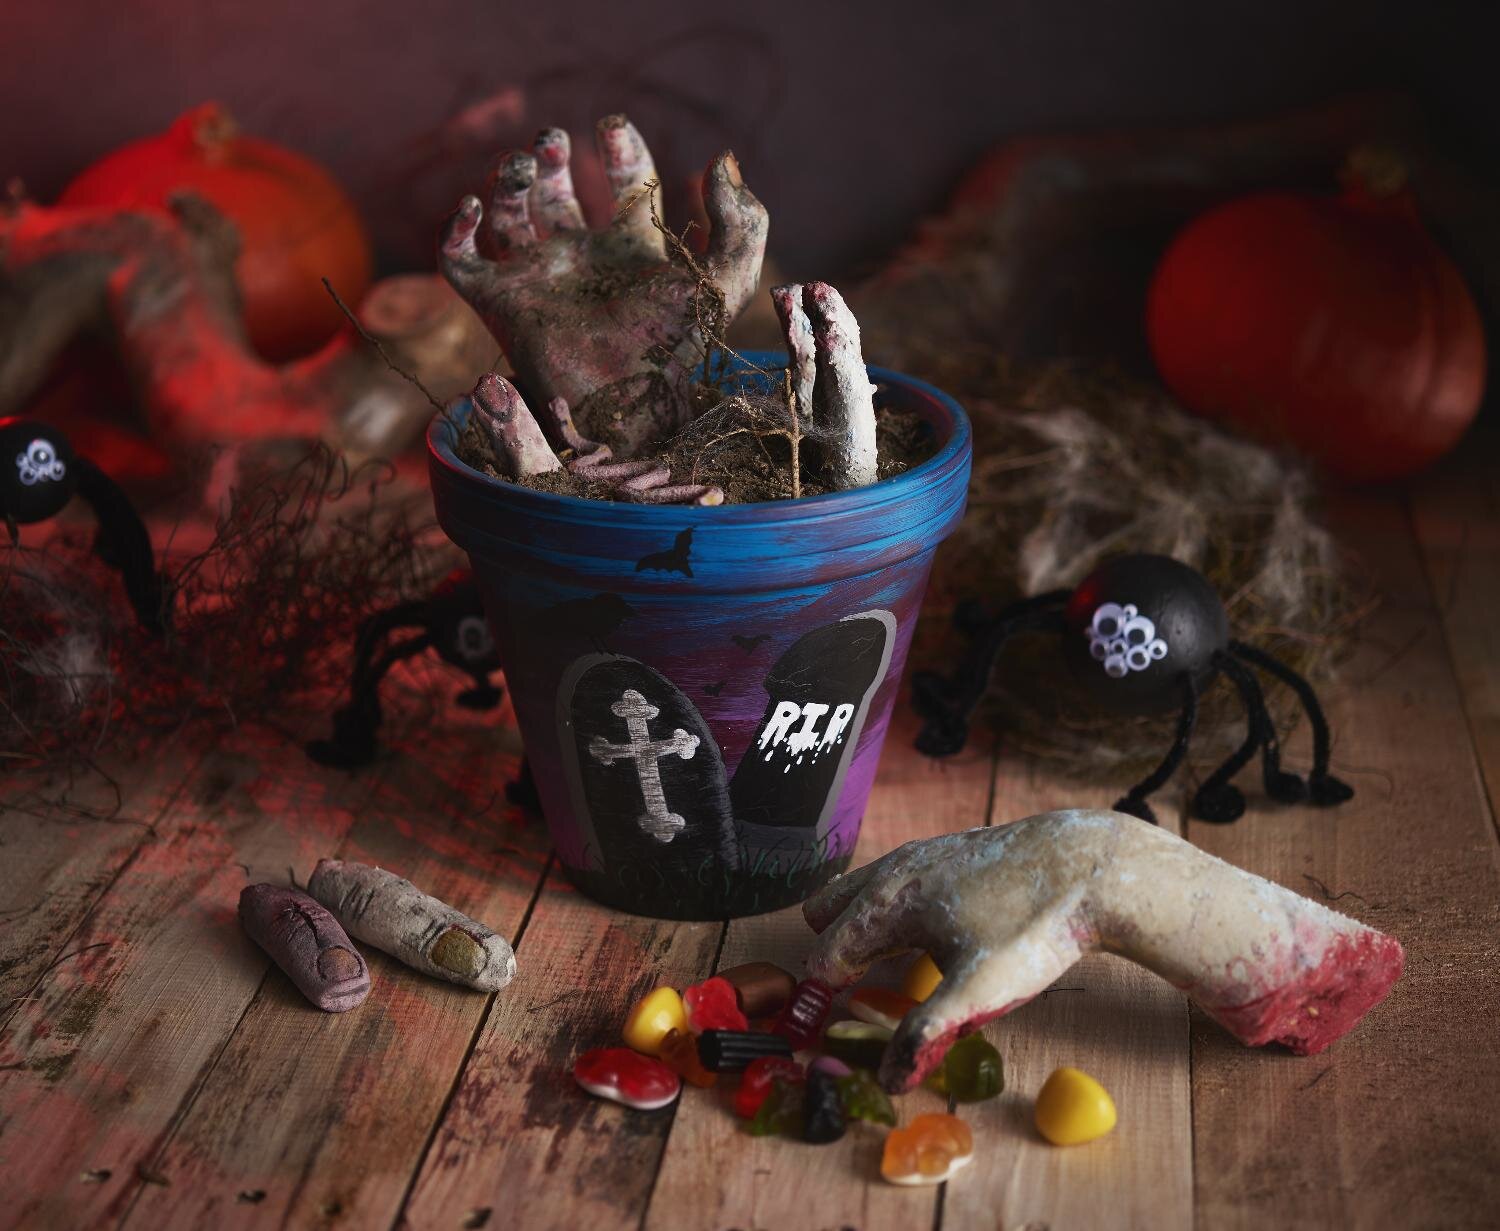
The Terracotta pot is painted with Acrylic paint, e.g. with VBS Hobby Color and a sponge
After drying, gravestones are painted on it with black paint. The inside writing, cross, bats, grass and crow are drawn with markers. Draw the cracks with a pencil.
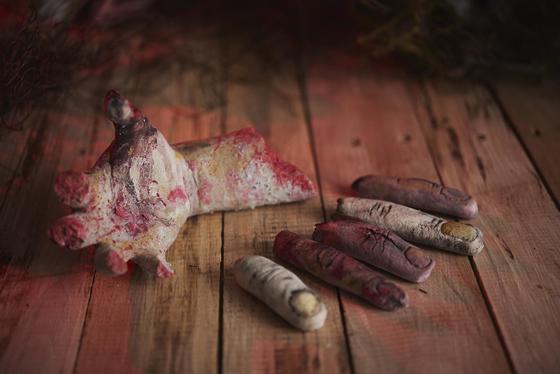
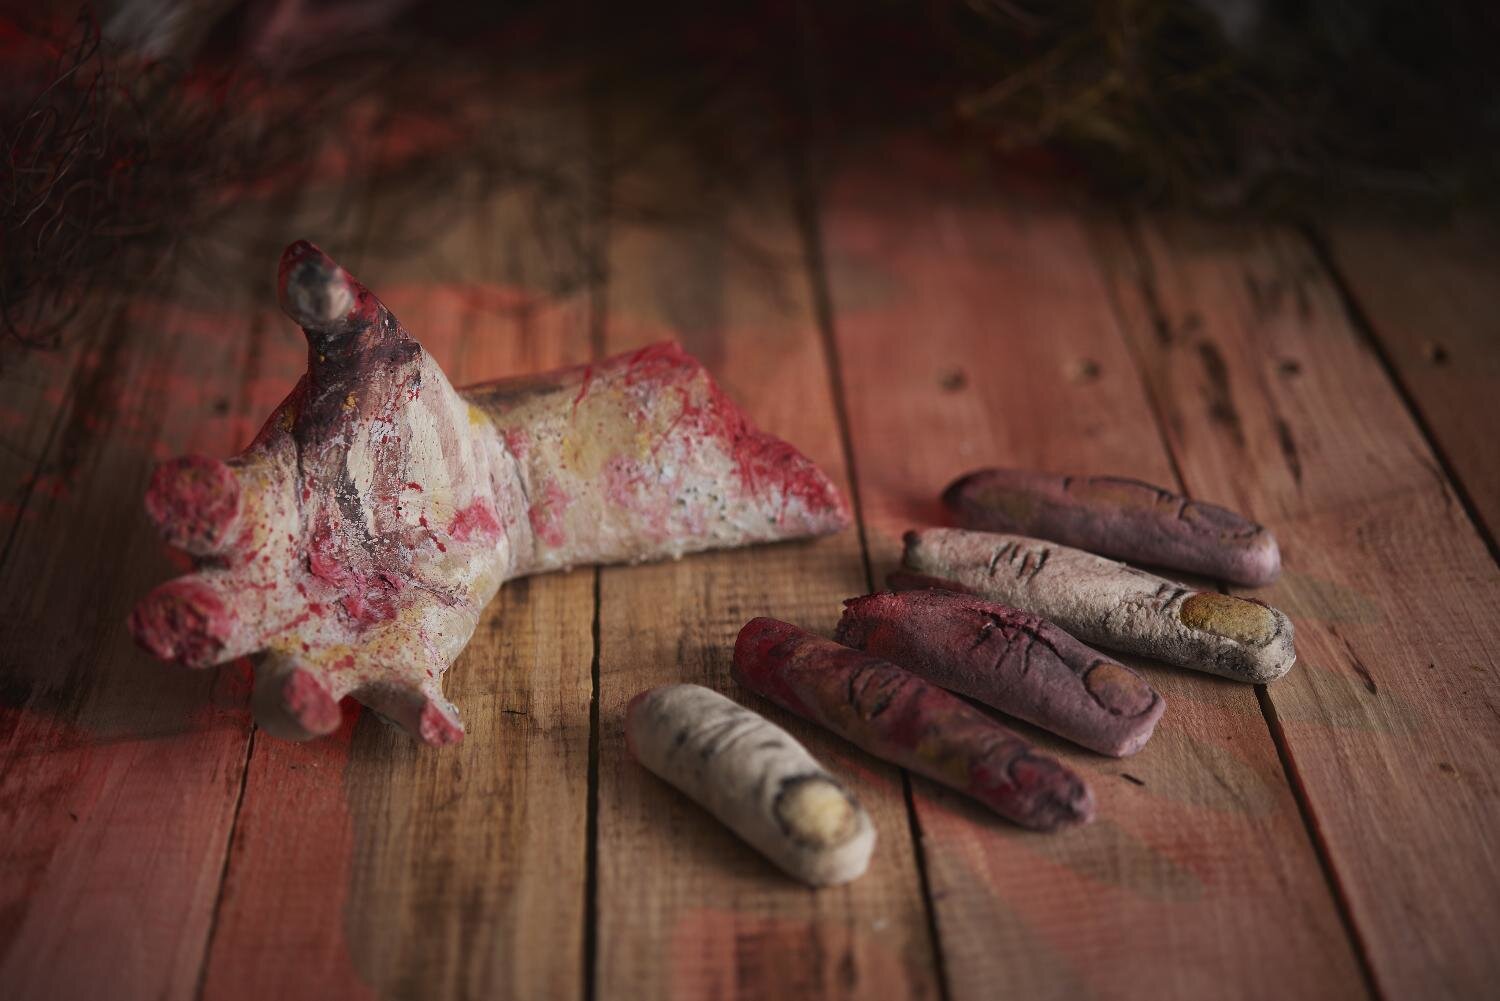
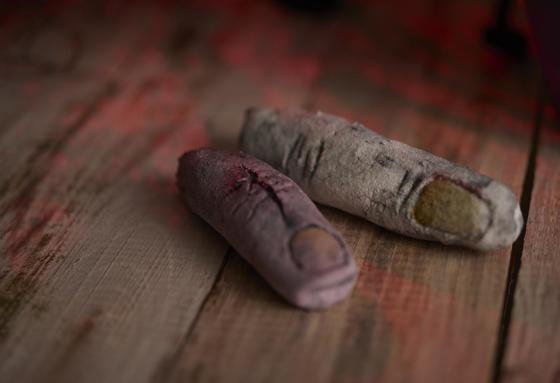
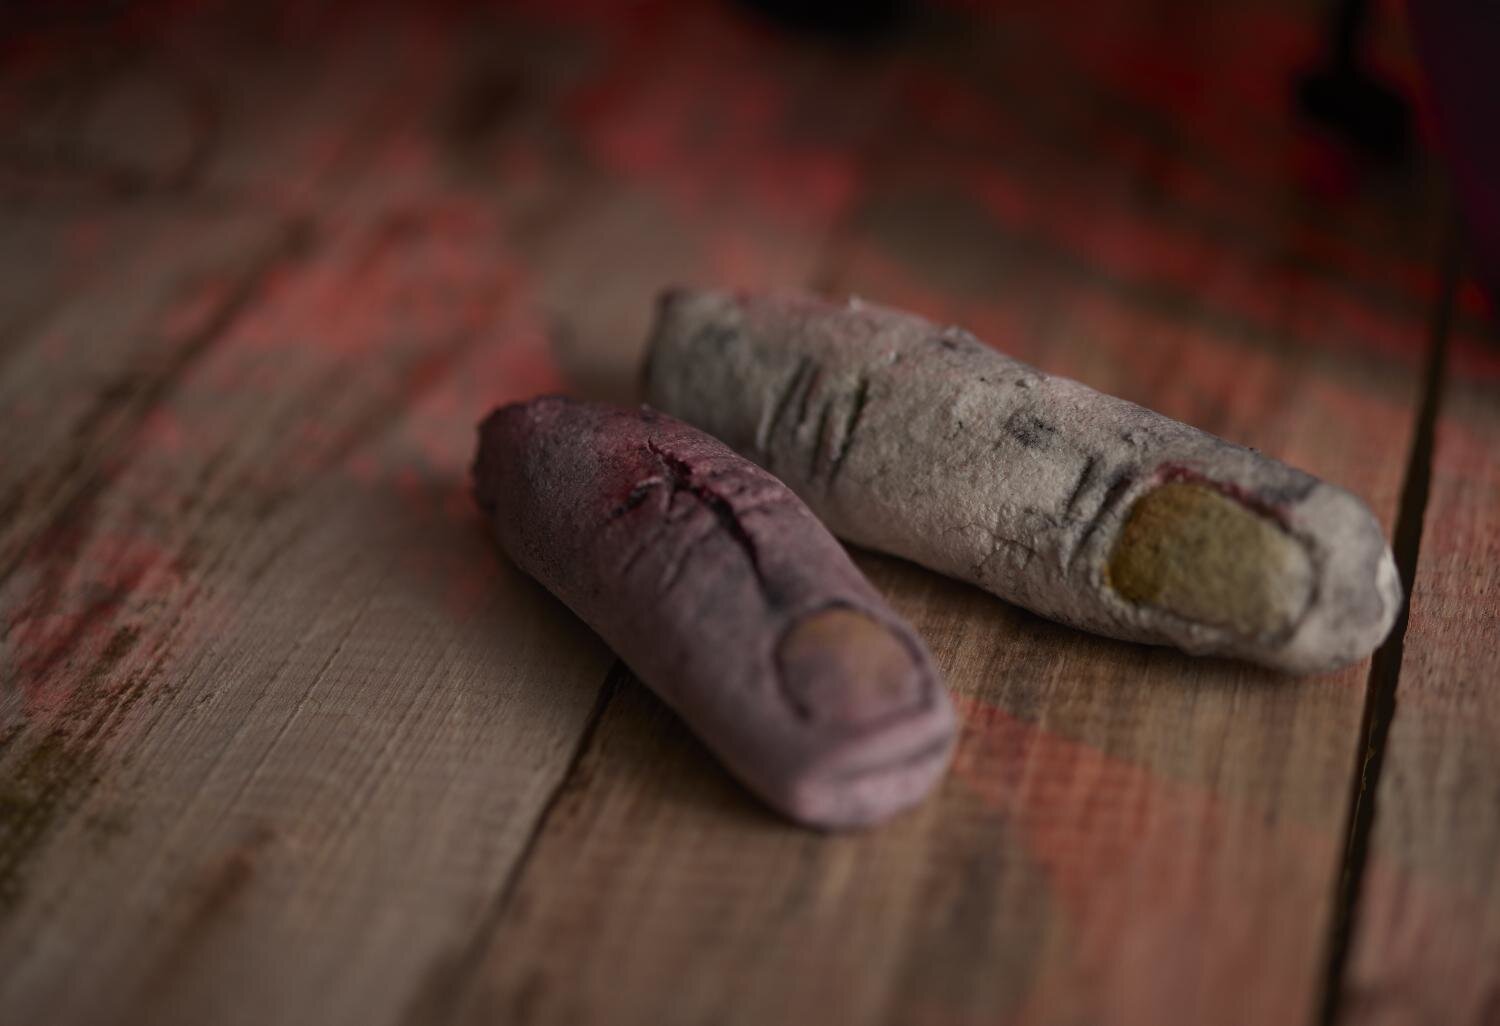
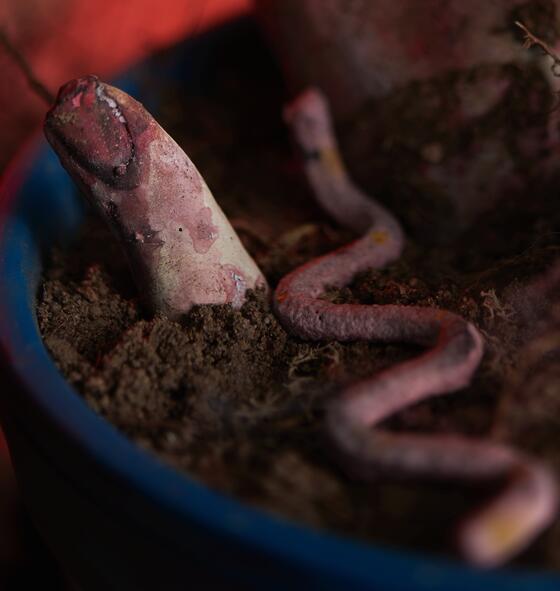
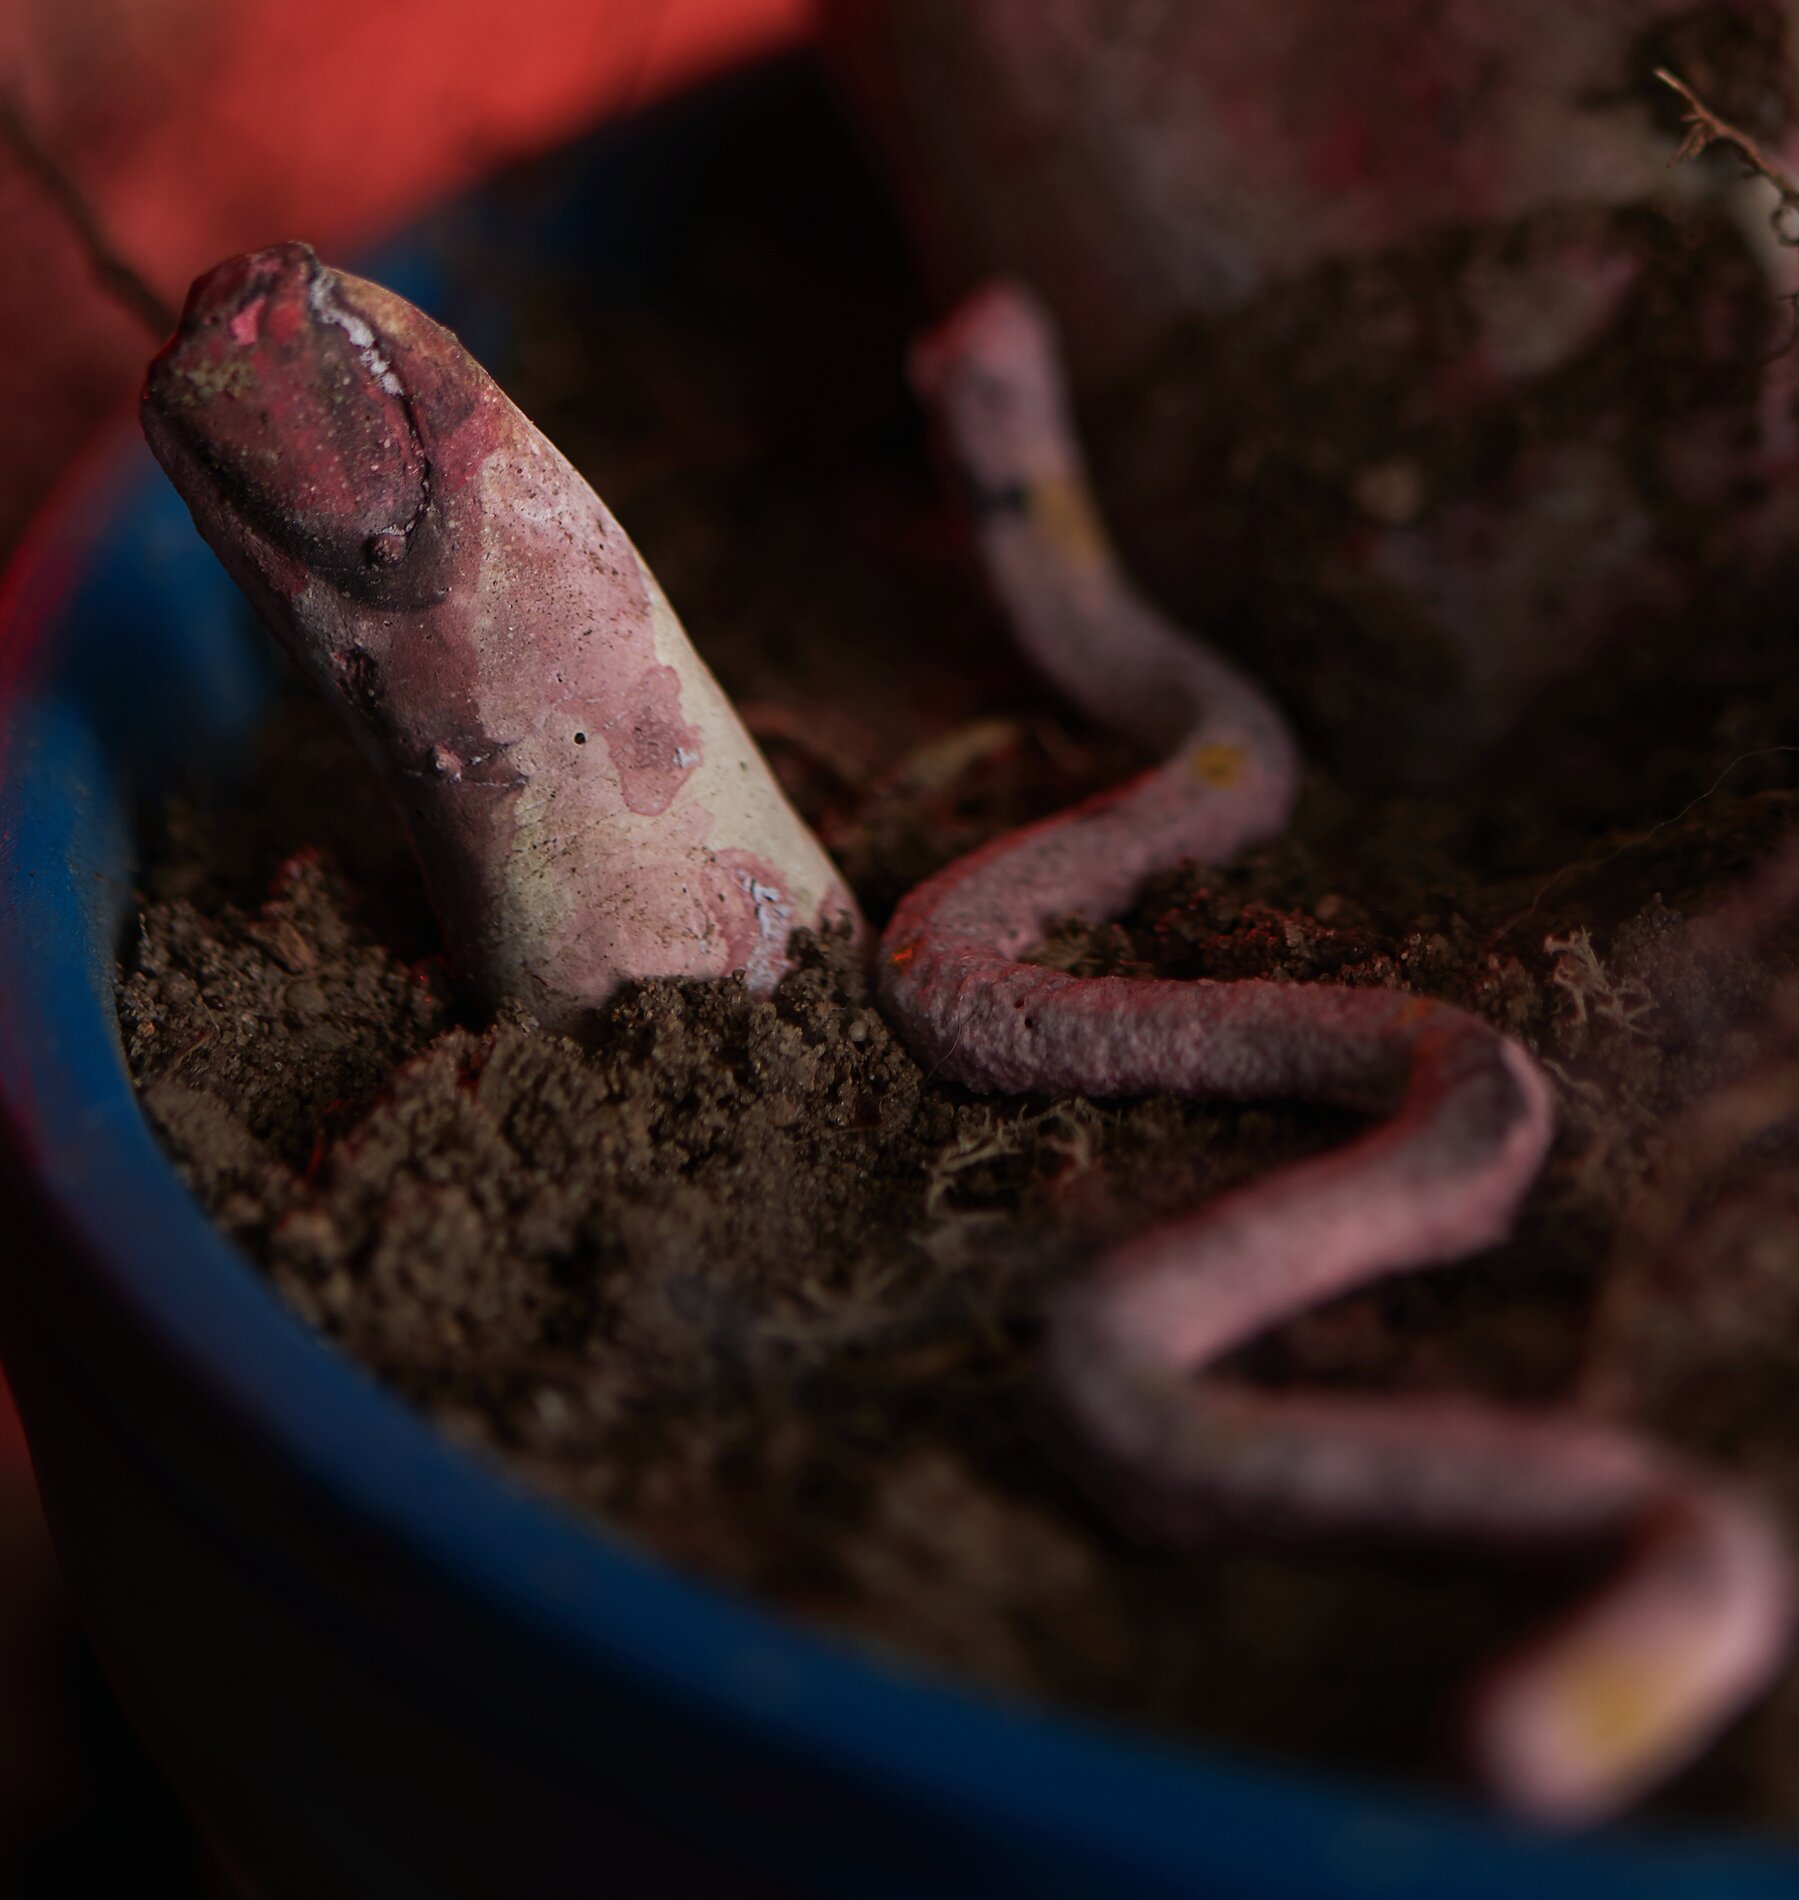
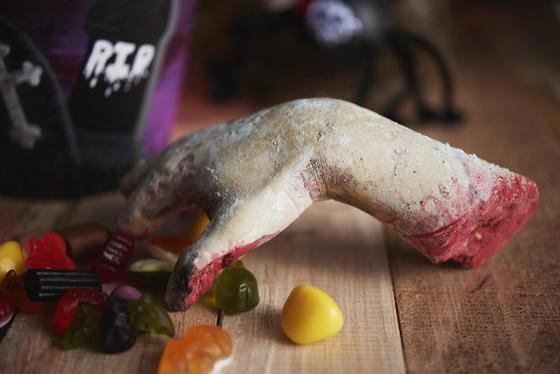
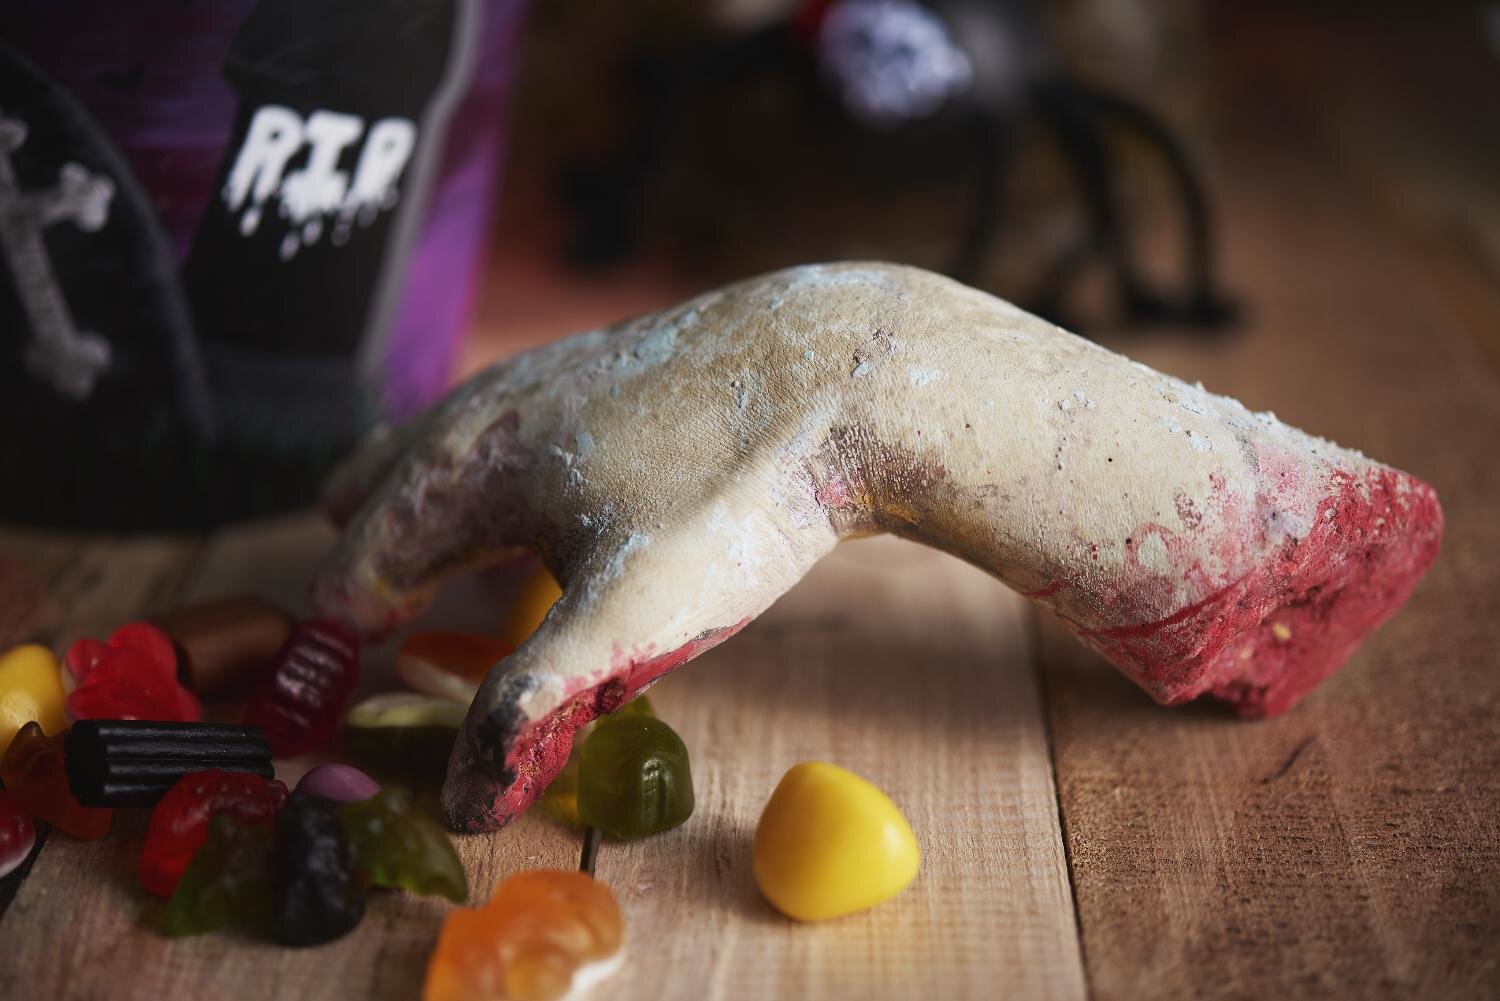
After drying, the Terracotta pot will be displayed with Flower arrangement foam filled. The Flower arrangement foam is covered with earth. Spread some glue on some parts of the concrete arm and fingers and dip them into the earth. Finally put the creepy hand and creepy finder into the pot.
The following decoration is for the really hard ones! If you are looking for extremely scary and frightening decoration - you have come to the right place! The zombie made of concrete learns you and your guests to fear!
Create a concrete zombie
To turn the concrete dwarf into a concrete zombie, break the dwarf a little bit with the hammer . With a pointed object you can still achieve filigree details. For example, the cap can be partially broken and an eye can be hollowed out. The appearance of torn off arms can be designed etc.
The dwarf can then be made into a zombie with colors . With Jute ribbon and glue is used to form and paint a brain and a cluster of worms
For the long worms the salt dough worms can be shaped as described above.