- Secure order
- Easy return shipment
- Service-Hotline +32 50 89 35 27
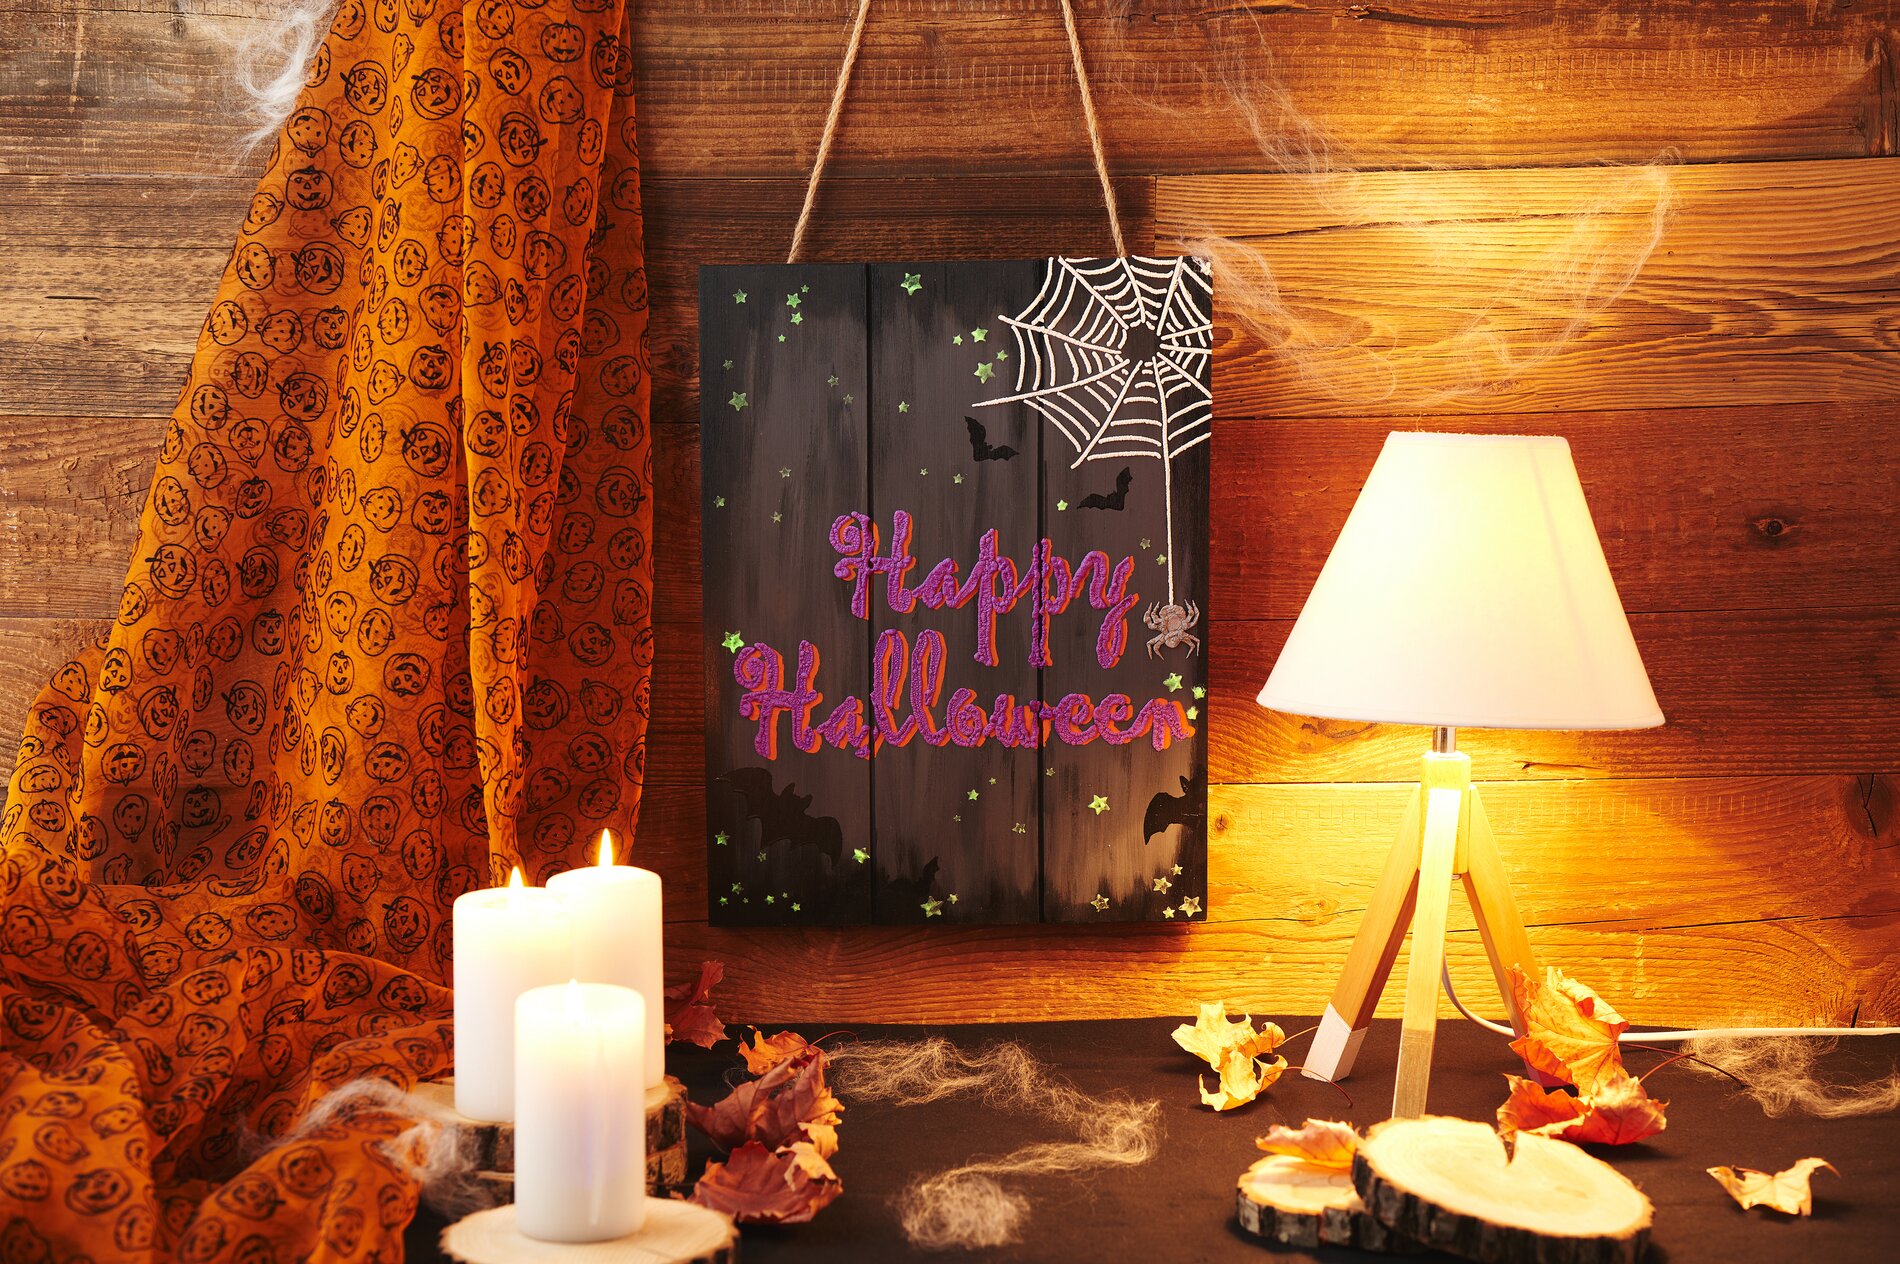
Instructions No. 3536
Difficulty: Beginner
Working time: 2 Hours

Step 1: Prime the wooden panel
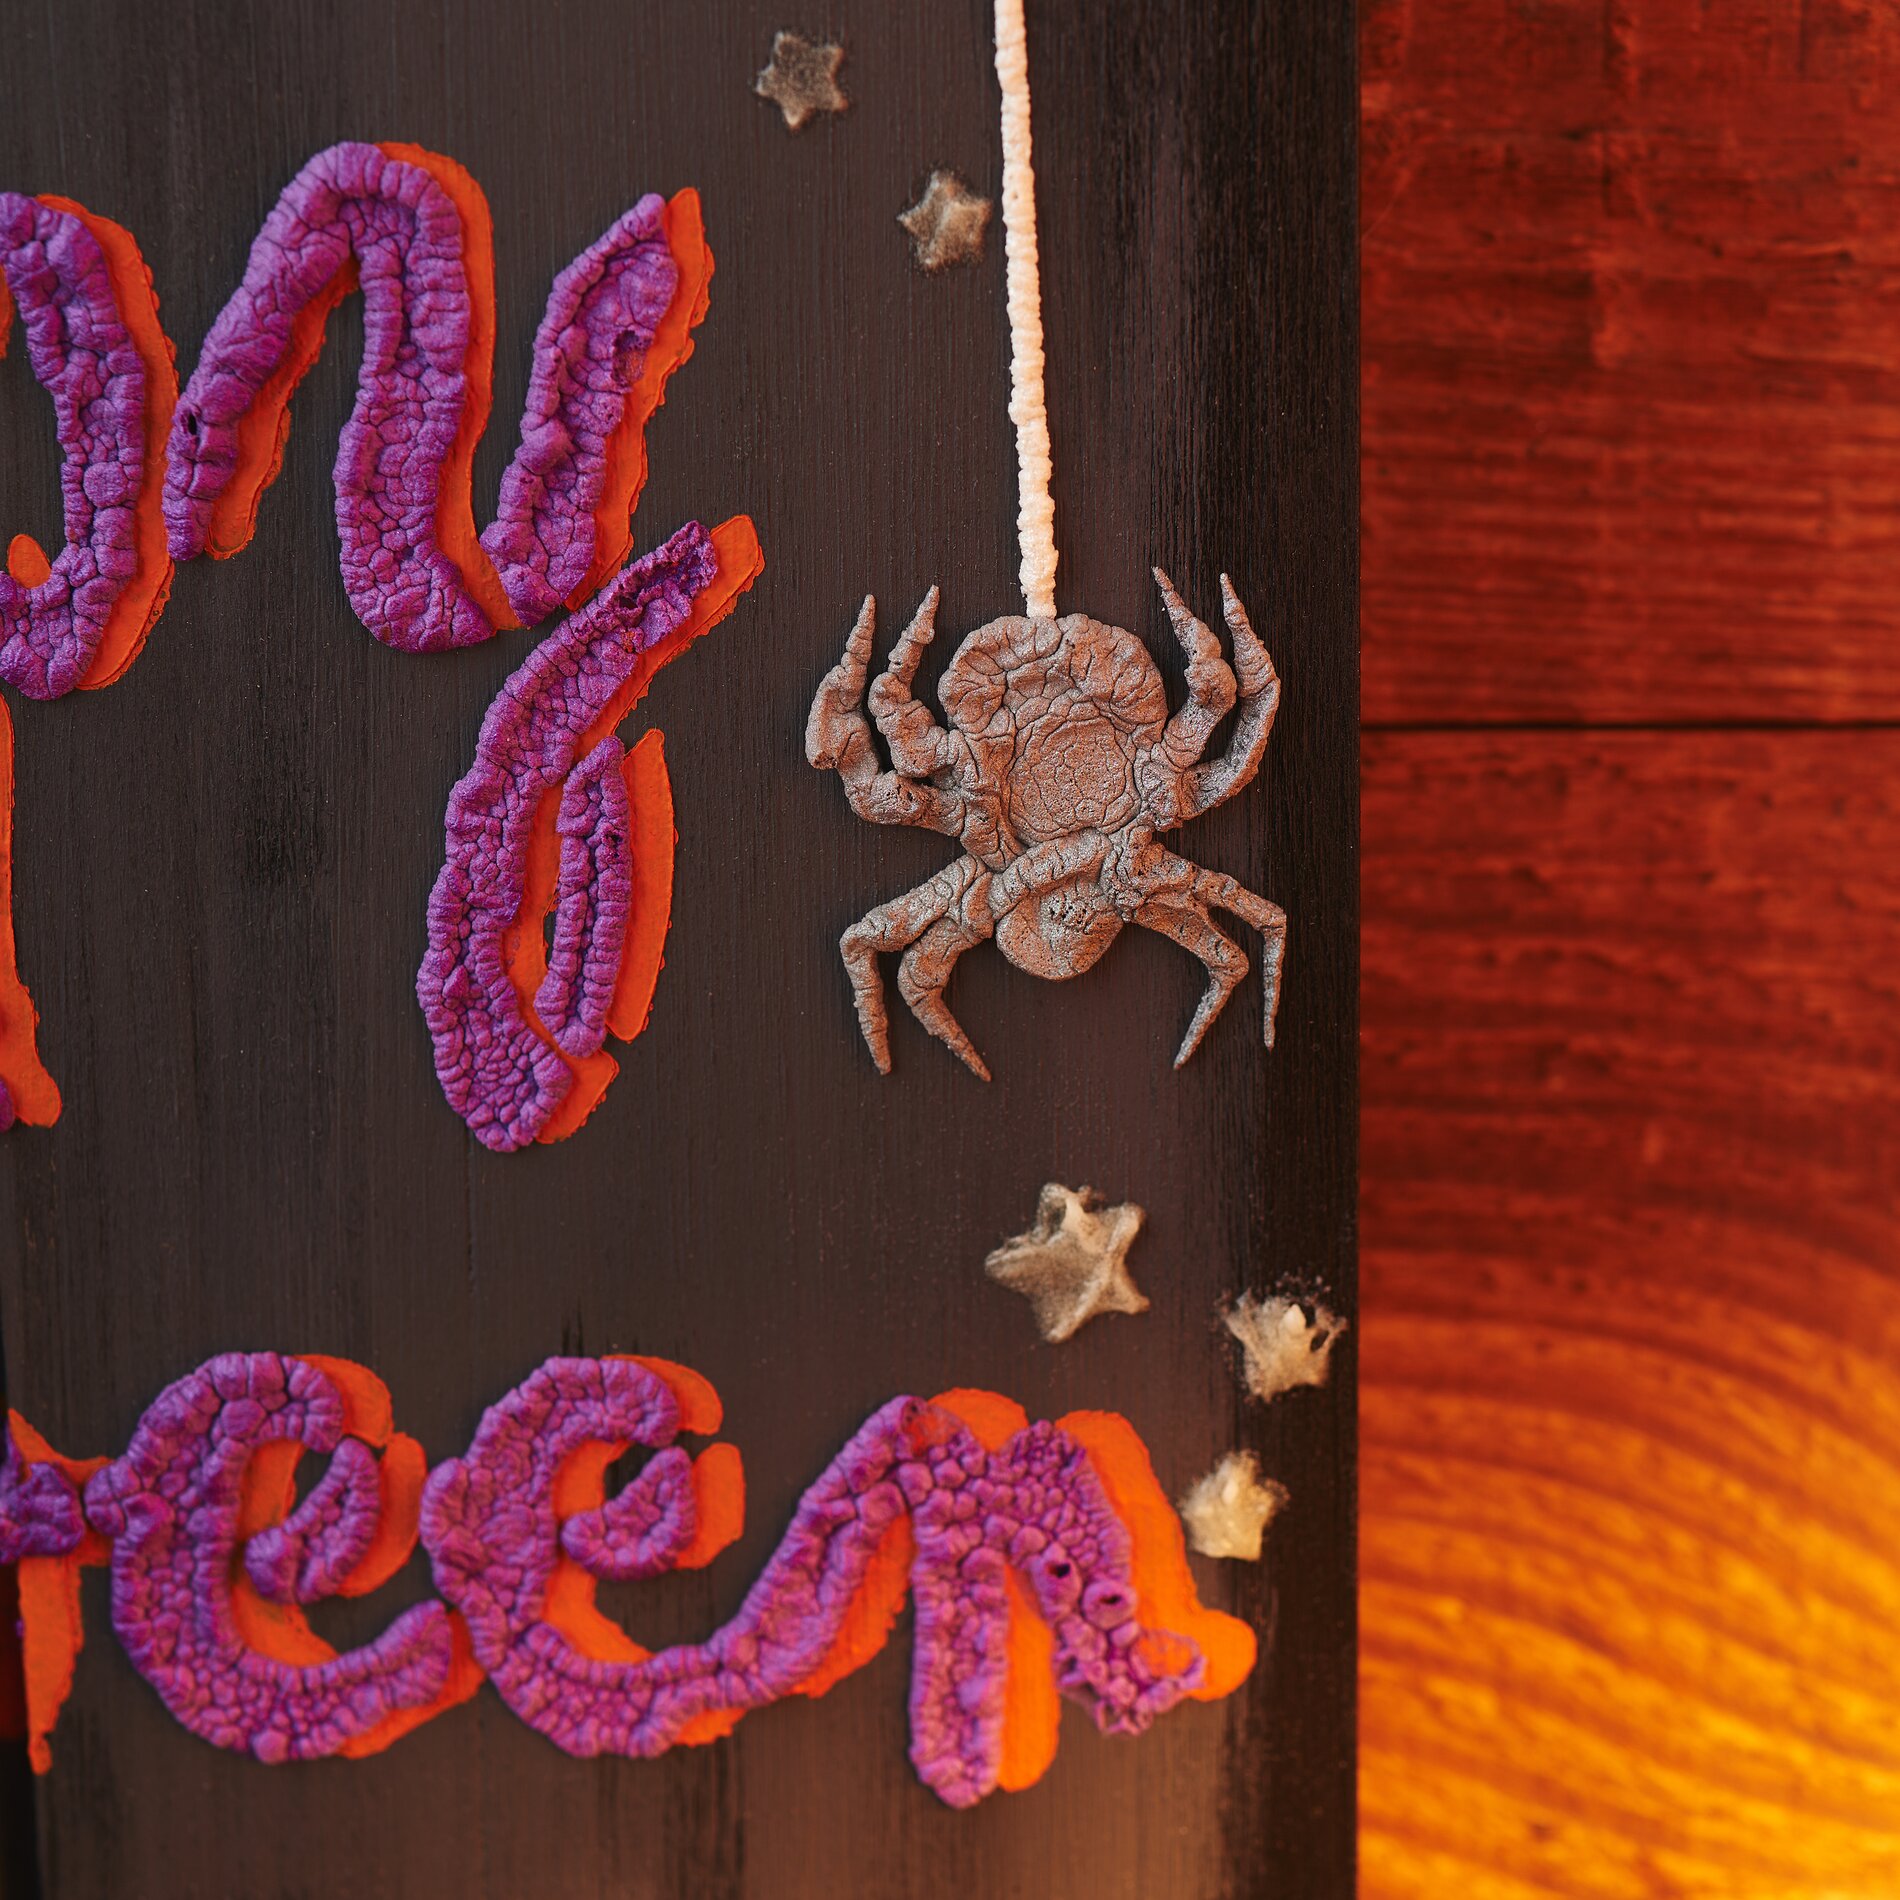
Start by priming the decorative wooden panel with gray and black handicraft paint. These dark tones form the perfect base for your Halloween sign. Mix the colors in a painting palette, to get an eerily beautiful shade of grey and apply the paint evenly to the board. Allow everything to dry completely before moving on to the next step.
Step 2: Prepare and apply stencil
Once dry, spray one side of your stencil with spray adhesive. This ensures that the stencil does not slip during work. Position the stencil precisely where you want the lettering or motif to appear on your panel.
Step 3: Halloween letteringorange
Now it's time to decorate! Dab the lettering with a bright orange paint. orange is the perfect Halloween color and will glow beautifully on the dark base coat. Remove the stencil immediately afterwards, clean it with clear water and allow both the lettering and the stencil to dry thoroughly.
Step 4: Add the shadow effect
For an effective shadow, spray the dried stencil again with spray adhesive and move it slightly over the original lettering. Now apply stencil cream with a plastic spatula to create the shadow effect. Remove the stencil again and clean it thoroughly.