Before you start, print out the templates for the little houses, windows and doors and cut them out carefully. You will need these templates to transfer the shapes to the hot Foil Paper .
Step 1: Transfer the templates and cut out the shapes
Take the house templates, including the windows and doors, and transfer them to 10 different hot Foil papers. Then cut out the shapes. For the single house template, transfer it 20 times onto the star foil and cut it out too.
Step 2: Gluing the star foil house together
Glue each of the five sides of a star foil house with thin double-sided adhesive tape. Make sure that you work precisely so that all the parts stick together well.
Step 3: Shape the hot Foil paper house
Place the star foil house in the matching cut-outs of the hot foil paper house and stick it in place with the double-sided adhesive tape .
Step 4: Attach adhesive tape
Attach another piece of adhesive tape horizontally above the small window on the open side of the paper house. This provides additional support and stability.
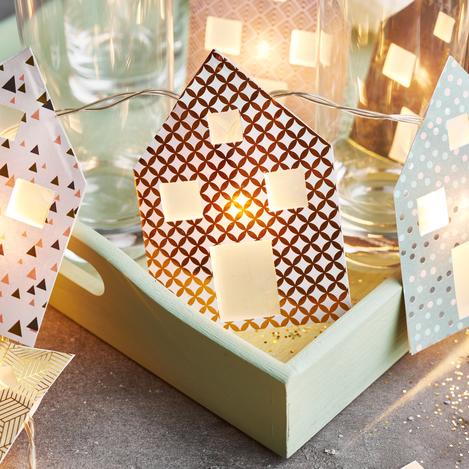
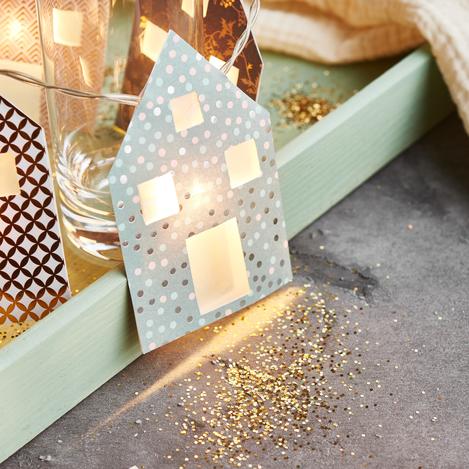
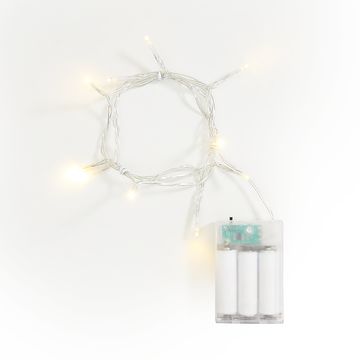
Step 5: Close the house and insert chain of light
First, glue the open side of the house together. Then slide a chain of light light into the house from above and attach it securely. Finally, glue the top of the roof together to complete the house.
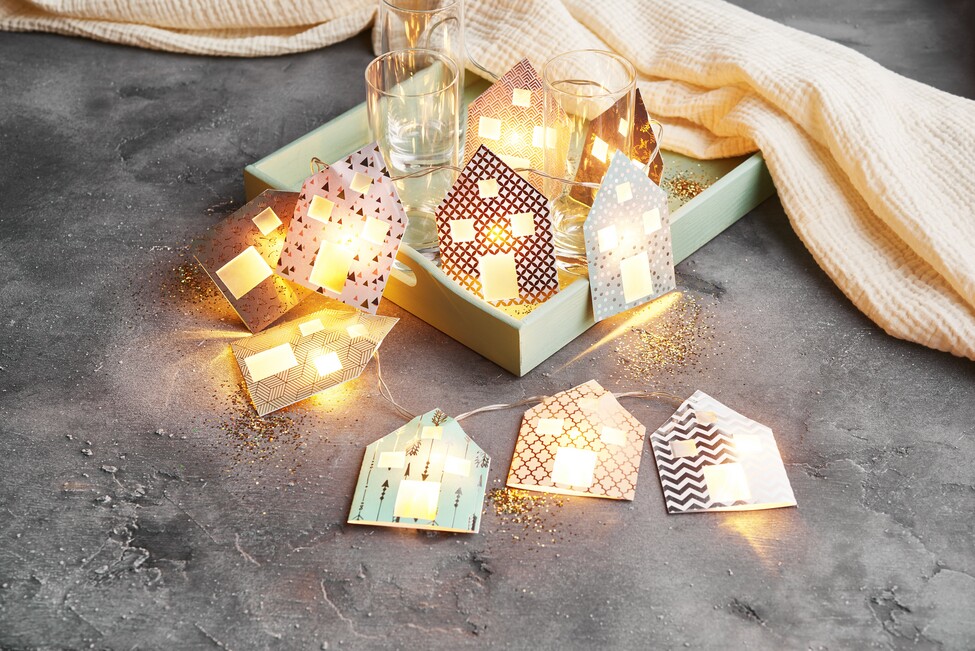
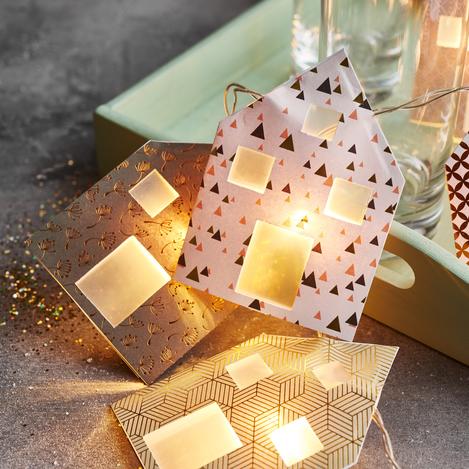
Step 6: Repeat and finish the garland
Repeat this process for all the houses until you have a complete chain of glowing houses that make a beautiful garland.