Individual birthday plate
Instructions No. 2181
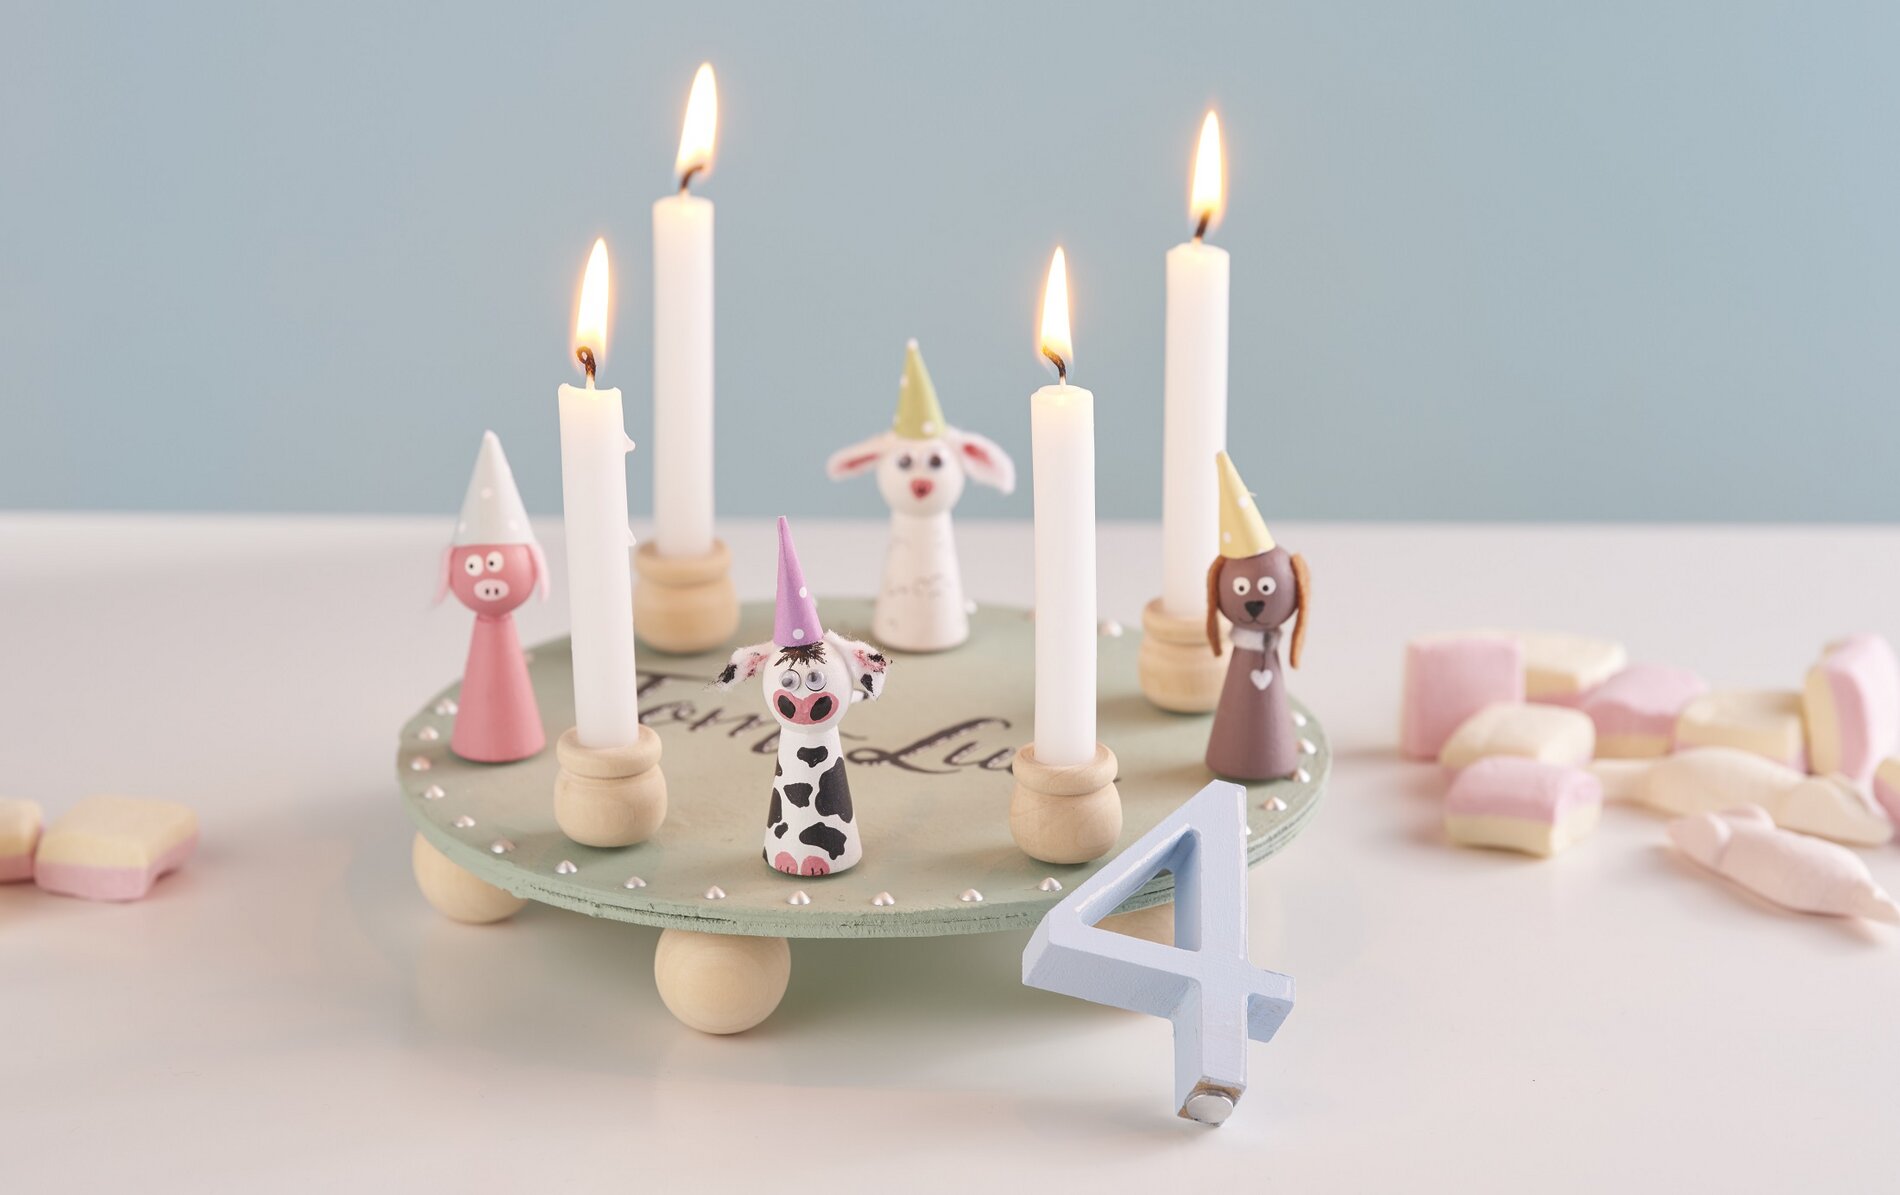
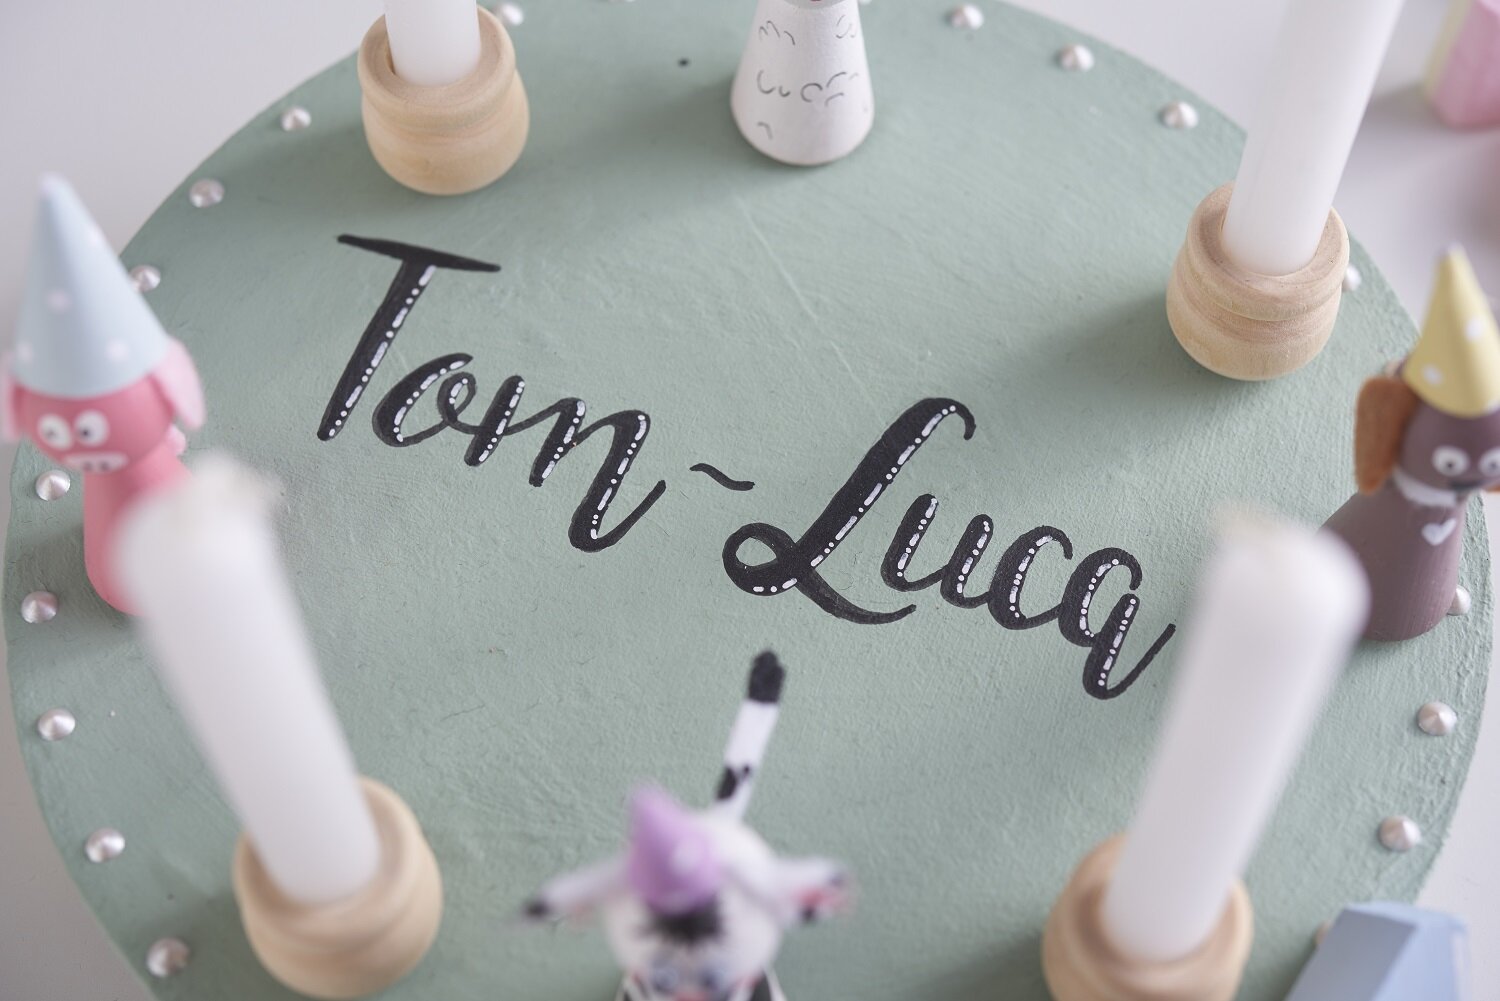
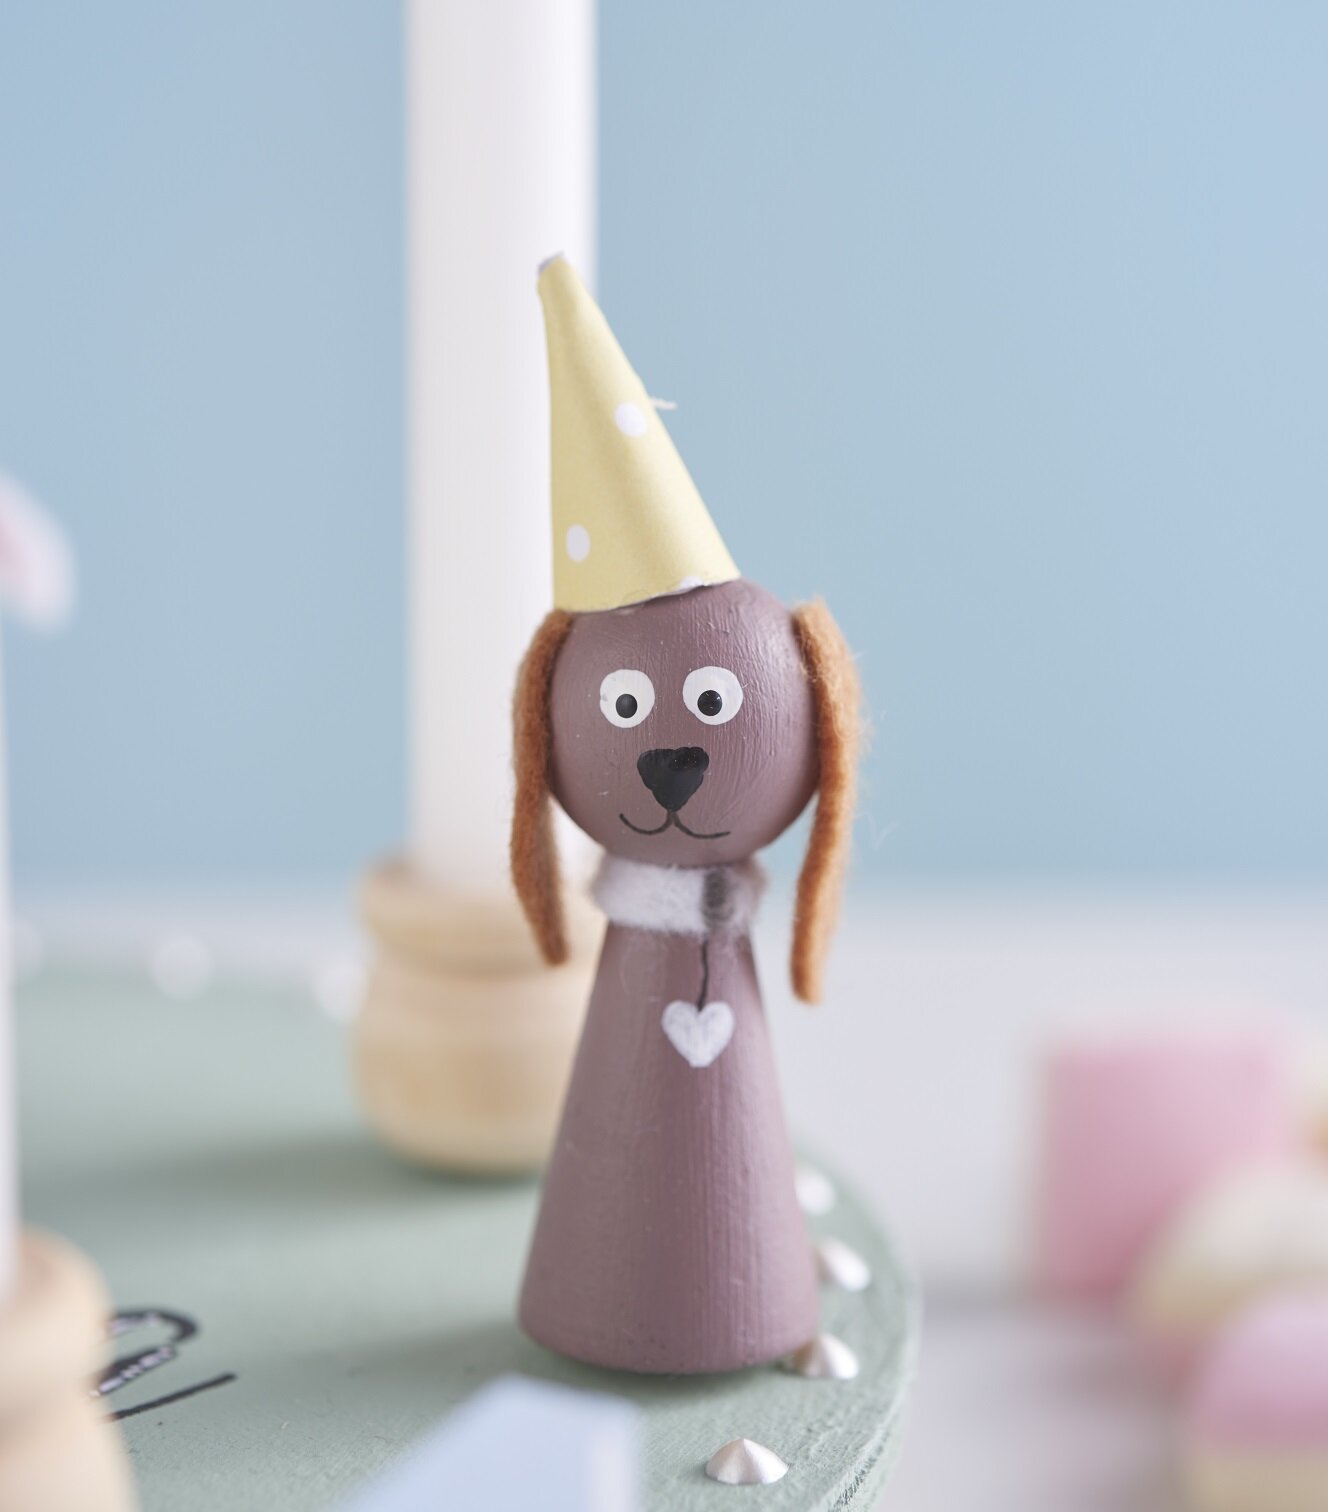
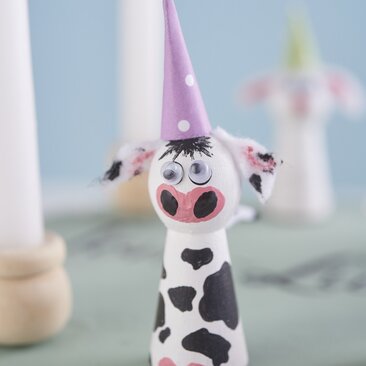
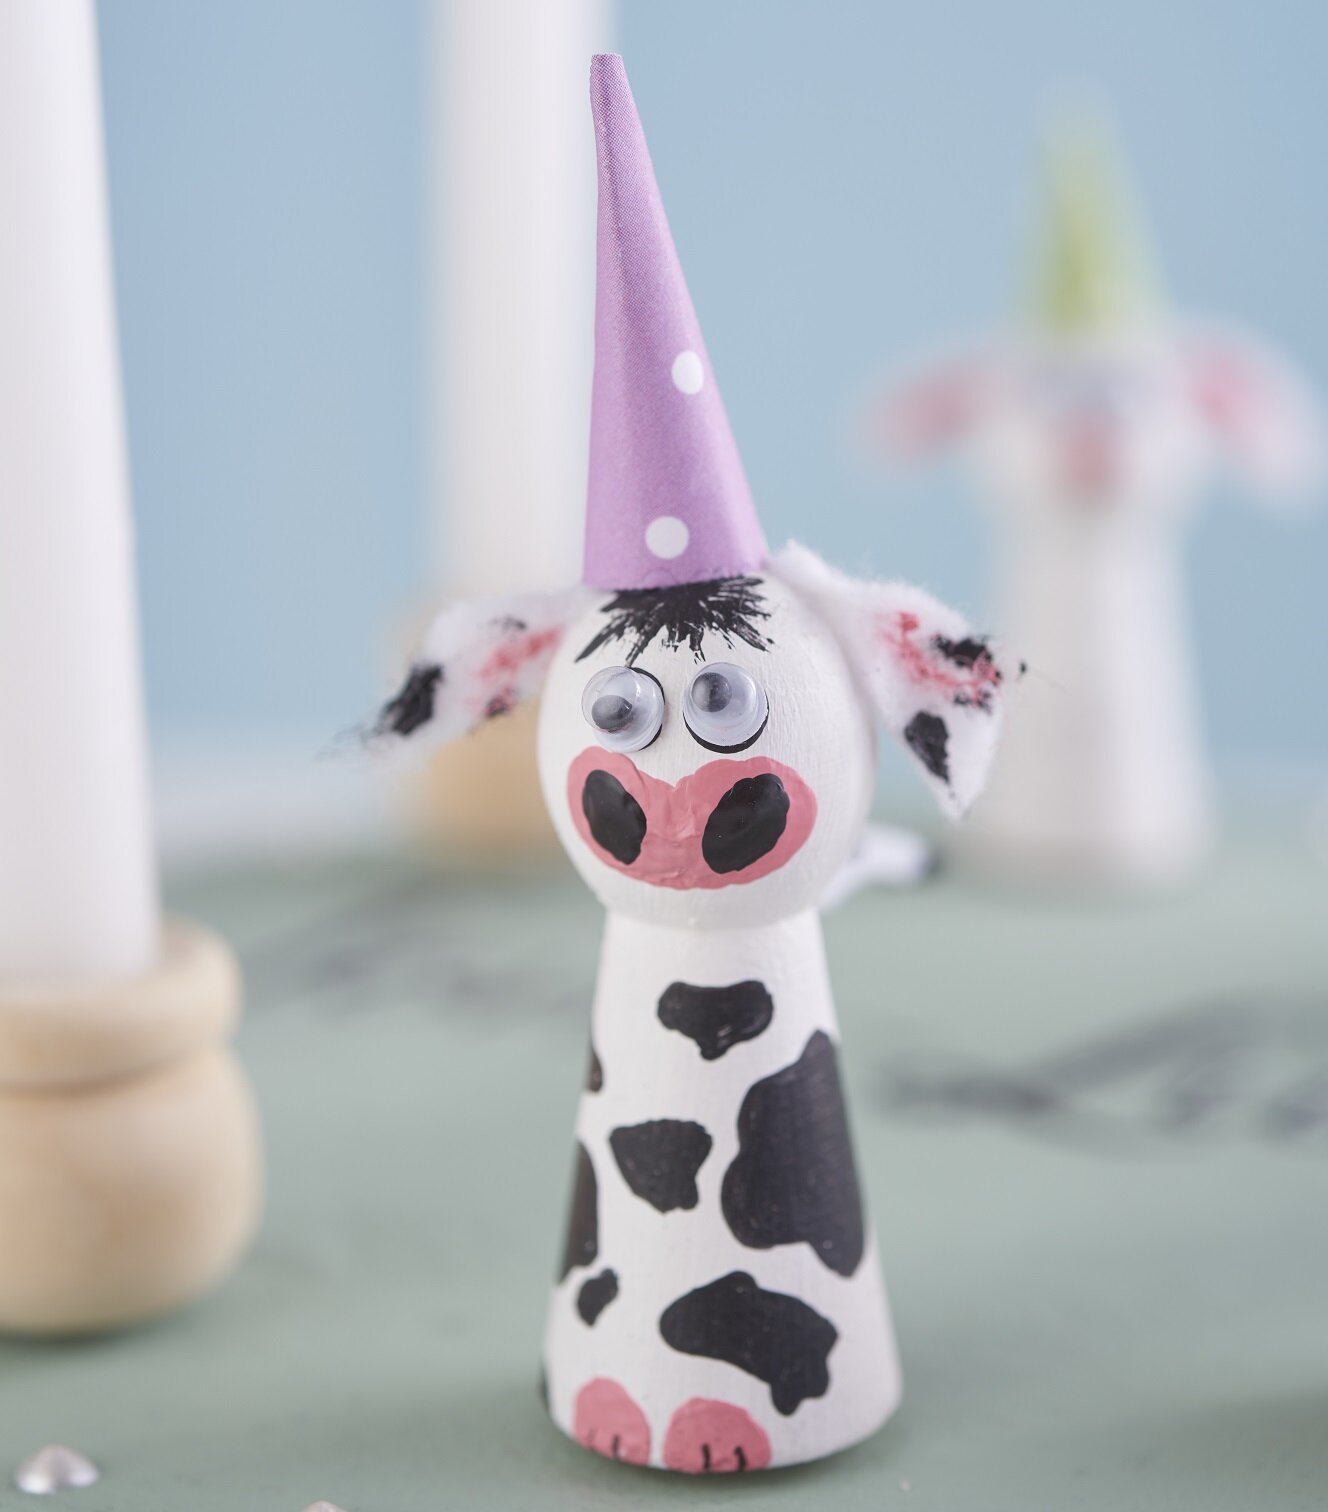
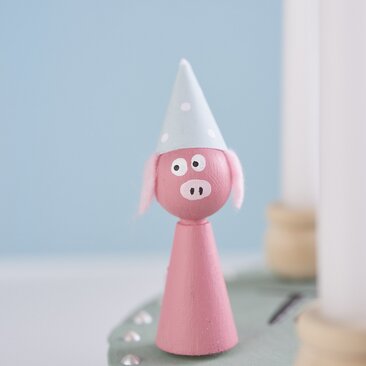
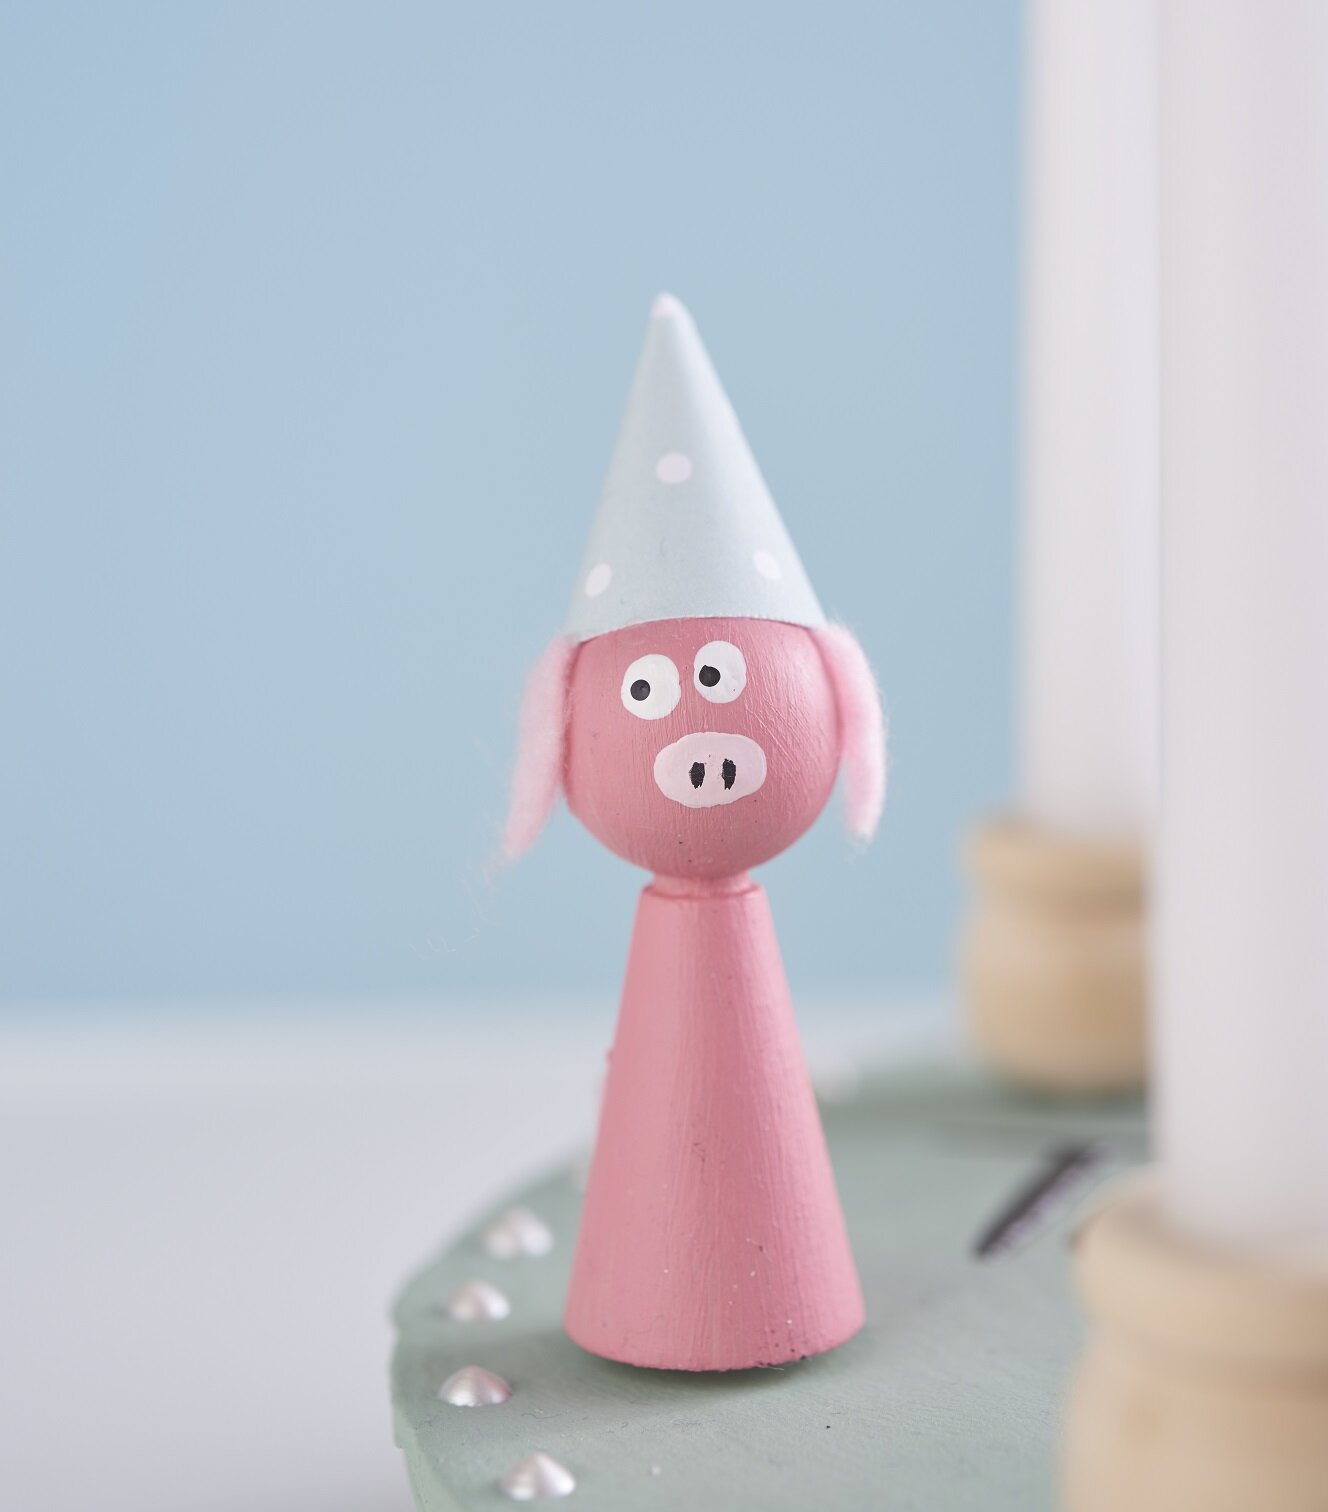
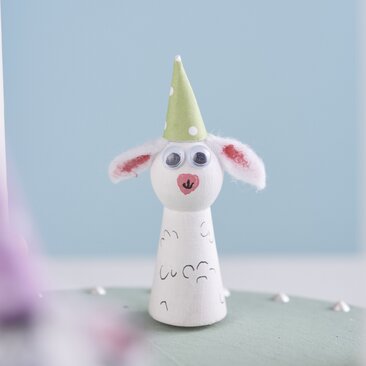
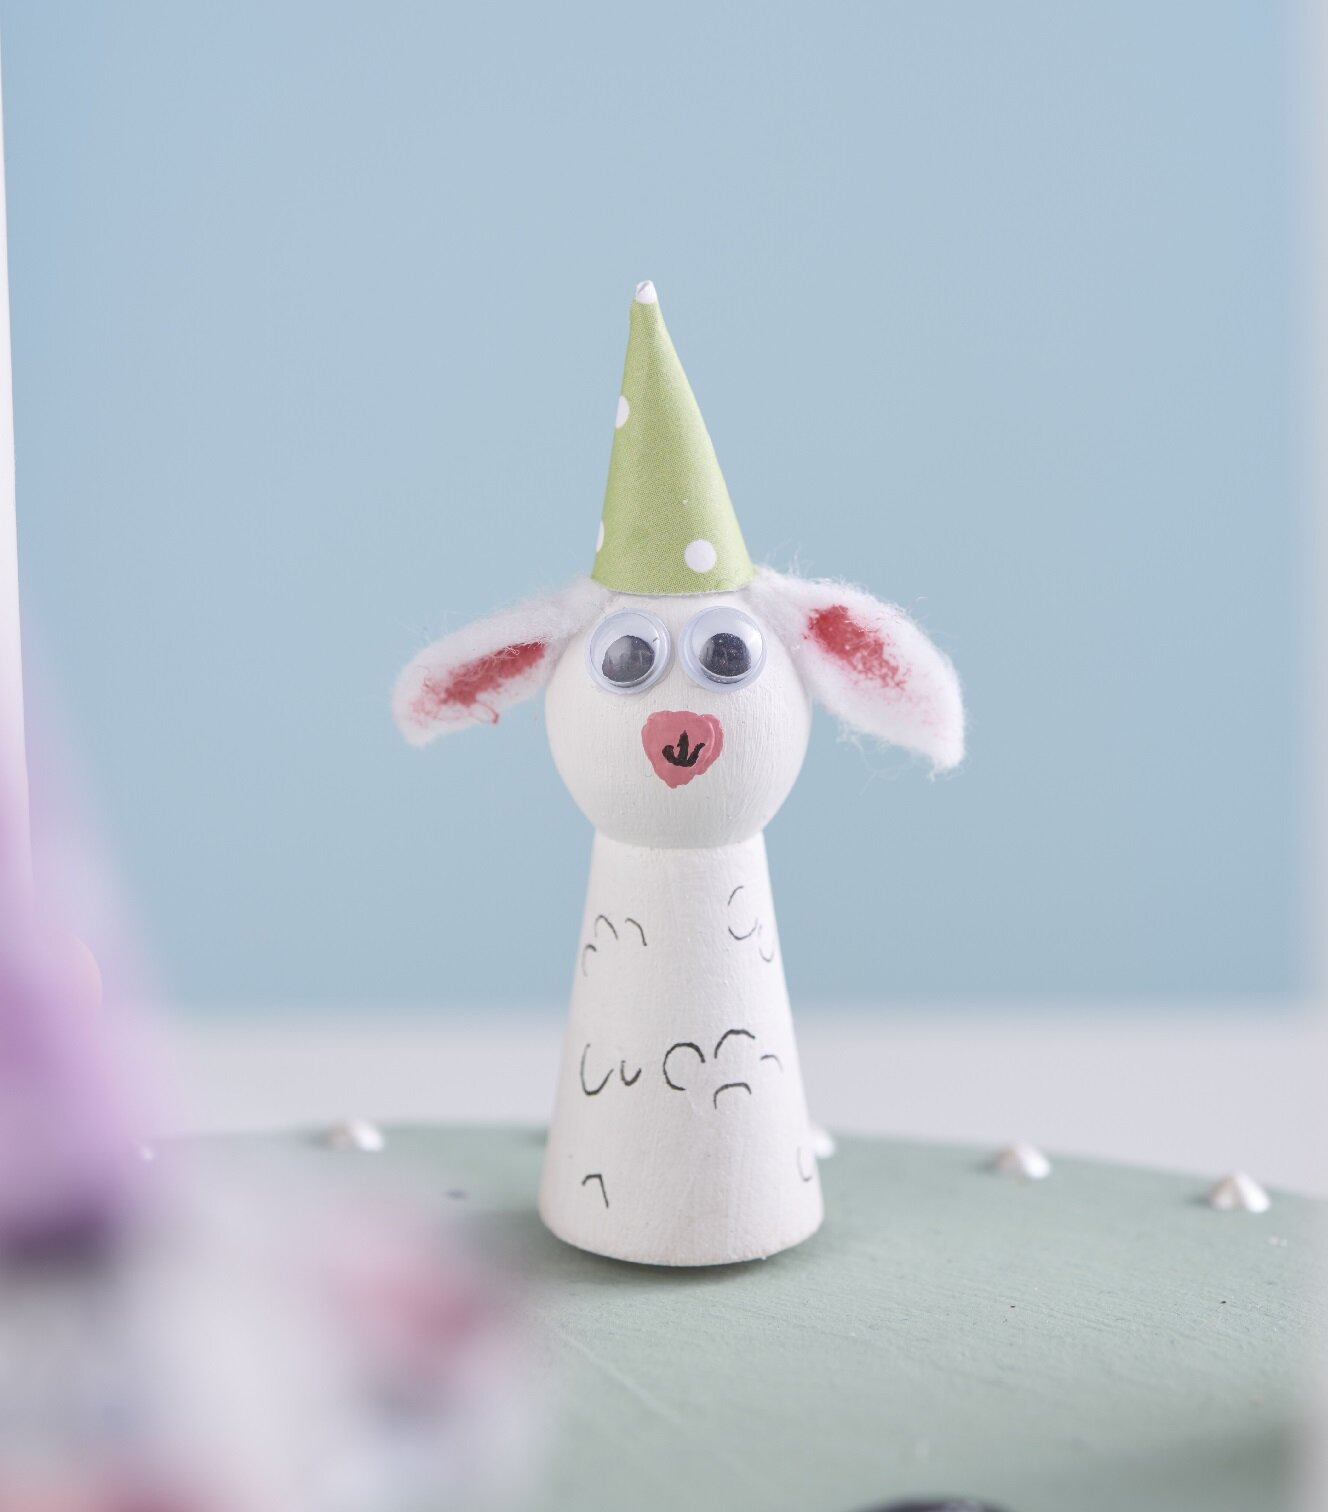
The birthday is always a special highlight for children and should be celebrated. This individual birthday plate can perfectly decorate the birthday table. Thanks to the applied magnetic paint, the birthday plate can be changed and decorated anew every year. This way, every other birthday will be special!
Design a birthday plate
1. Glue two rattan cane bottoms on top of each other with craft glue. Allow to dry.2. Apply magnetic paint to one side. Allow to dry. Repeat the process several times. The paint should be applied crosswise. Important: Stir the paint beforehand so that the magnetic particles are well distributed.
3. Paint the rattan cane base and the number with Chalky paint.
4. Write your child's name on the bottom with a marker. If you don't want to do this "freehand", you can print out the name and transfer and trace it using graphite paper.
5. Stick the wooden balls under the bottoms with craft glue.
6. Spray the entire plate with Marabu Chalky Matt Lacquer.
7. Stick magnets under the candle holders and MDF number with craft glue and let it dry thoroughly. The magnets allow you to arrange the number and the candle holders as you wish on the plate.
Craft animals
If you only want to place one candle on the plate for the first birthday, you can also create cute little animals. This will make the birthday plate a fun eye-catcher.1. First paint the cones with craft colours.
2. Create faces with craft colours, Posca markers or wiggle eyes.
3. Cut little ears out of felt and fix them to the figure cone with craft glue.
5. Finally, attach magnets to the bottom of the figure cones.