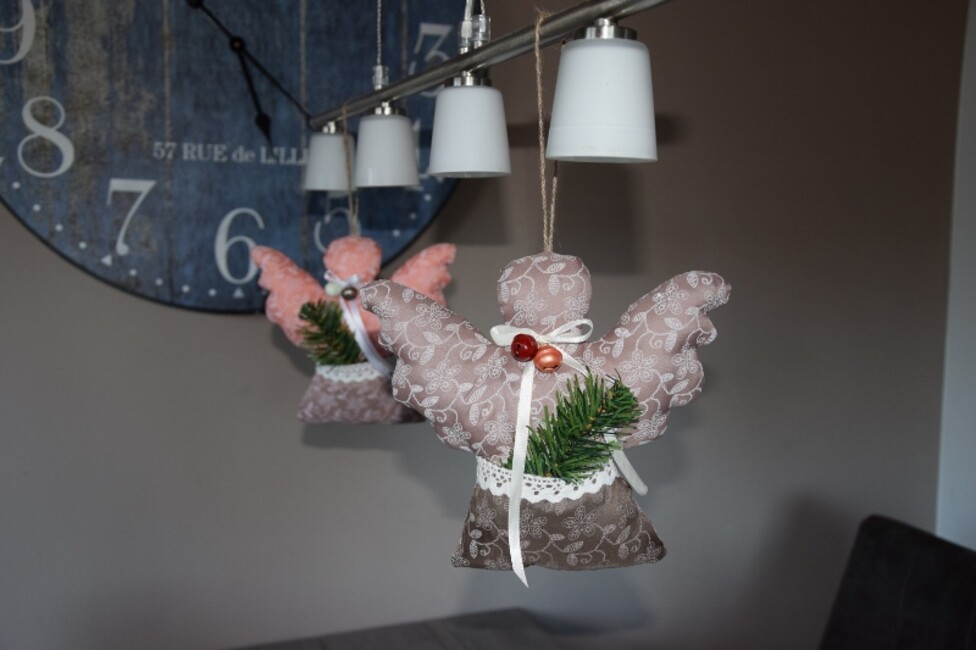
Simply sew the Christmas decorations yourself. This great instruction shows you how to make angel pendants to hang up yourself in just a few steps
And it's as easy as that
In order to cut the fabric in the shape of an angel, you should first download the design template. For sewing you need two Fabric cuts of the angel (front and back) and another one for the angel's belly pocket.
Using the design template, first make a Stencil. of the angel and the fanny pack. The Stencil is placed on the back of the fabric. Use the masking pen to draw the contours of the Stencil . Then the fabric is cut out cleanly with a pair of fabric scissors
Place the piece of fabric belly pocket on the ironing board with the left side of the fabric facing upwards and iron the upper edge around 1 cm. This folded edge is then sewn on with a decorative stitch, it will be the edge of the pocket in the finished angel.
For the later hanging of the angel a piece Cord is now attached loop-like to an angel-Fabric cut . The fanny pack is sewn to the angel's front in a narrow-edged manner (approx. 2 mm from edge).
Now put both angels-Fabric cuts together so that the left side of the fabric is on the outside and staple them together. The angel can now be sewn together. Orientate yourself with the sewing foot on the angel front and sew the two fabrics together with a little foot width. This step also sews the hanging cord together. Please note that for the later filling of the angel you have to cut out an approx. 5 cm wide turning opening at the bottom of the angel.
To ensure that the fine details of the angel can be ironed out even after turning, cut all curves and corners in half when adding the seam (see template). The angel is now turned and ironed. To fill it with life, you can use filling cotton wool. Sew up the angel and decorate it with ribbons, buttons or other accessories to your heart's content
Dear sewer, as fabrics are seasonal goods and we always want to have trendy fabrics in stock for you, it can happen that the sewn fabric is no longer in our range.
In our fabric section you will find a large selection of great fabrics. Click hereto discover all the fabrics.
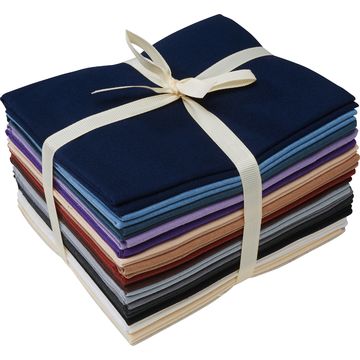
Material list
The item has been successfully added to your shopping cart.