- Secure order
- Easy return shipment
- Service-Hotline +32 50 89 35 27
Instructions No. 3197
Difficulty: Beginner
Working time: 30 Minutes
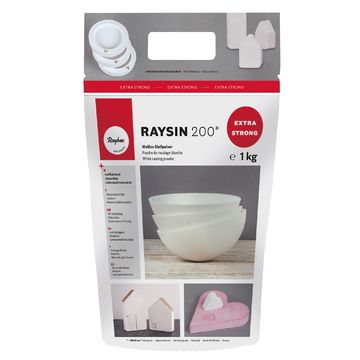
The difference between Raysin 100 and Raysin 200
Before we start, let's briefly clarify which Raysin is best suited to your project:
Raysin 100 is perfect for smaller objects and offers lower strength. However, it is ideal if you want to create intricate details. Raysin 200, on the other hand, offers higher strength and is suitable for larger casting projects where stability is important.
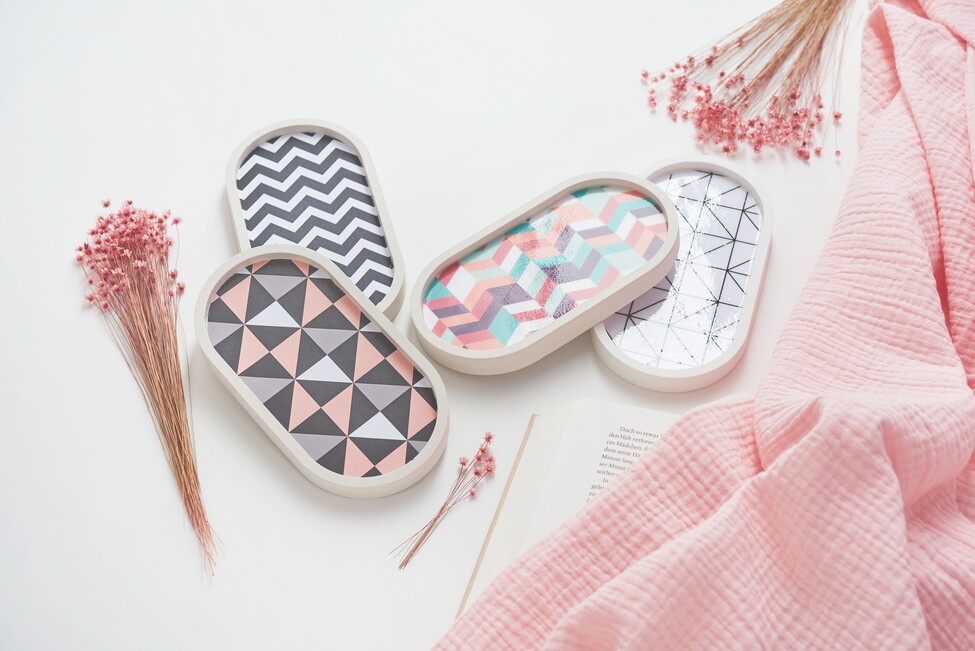
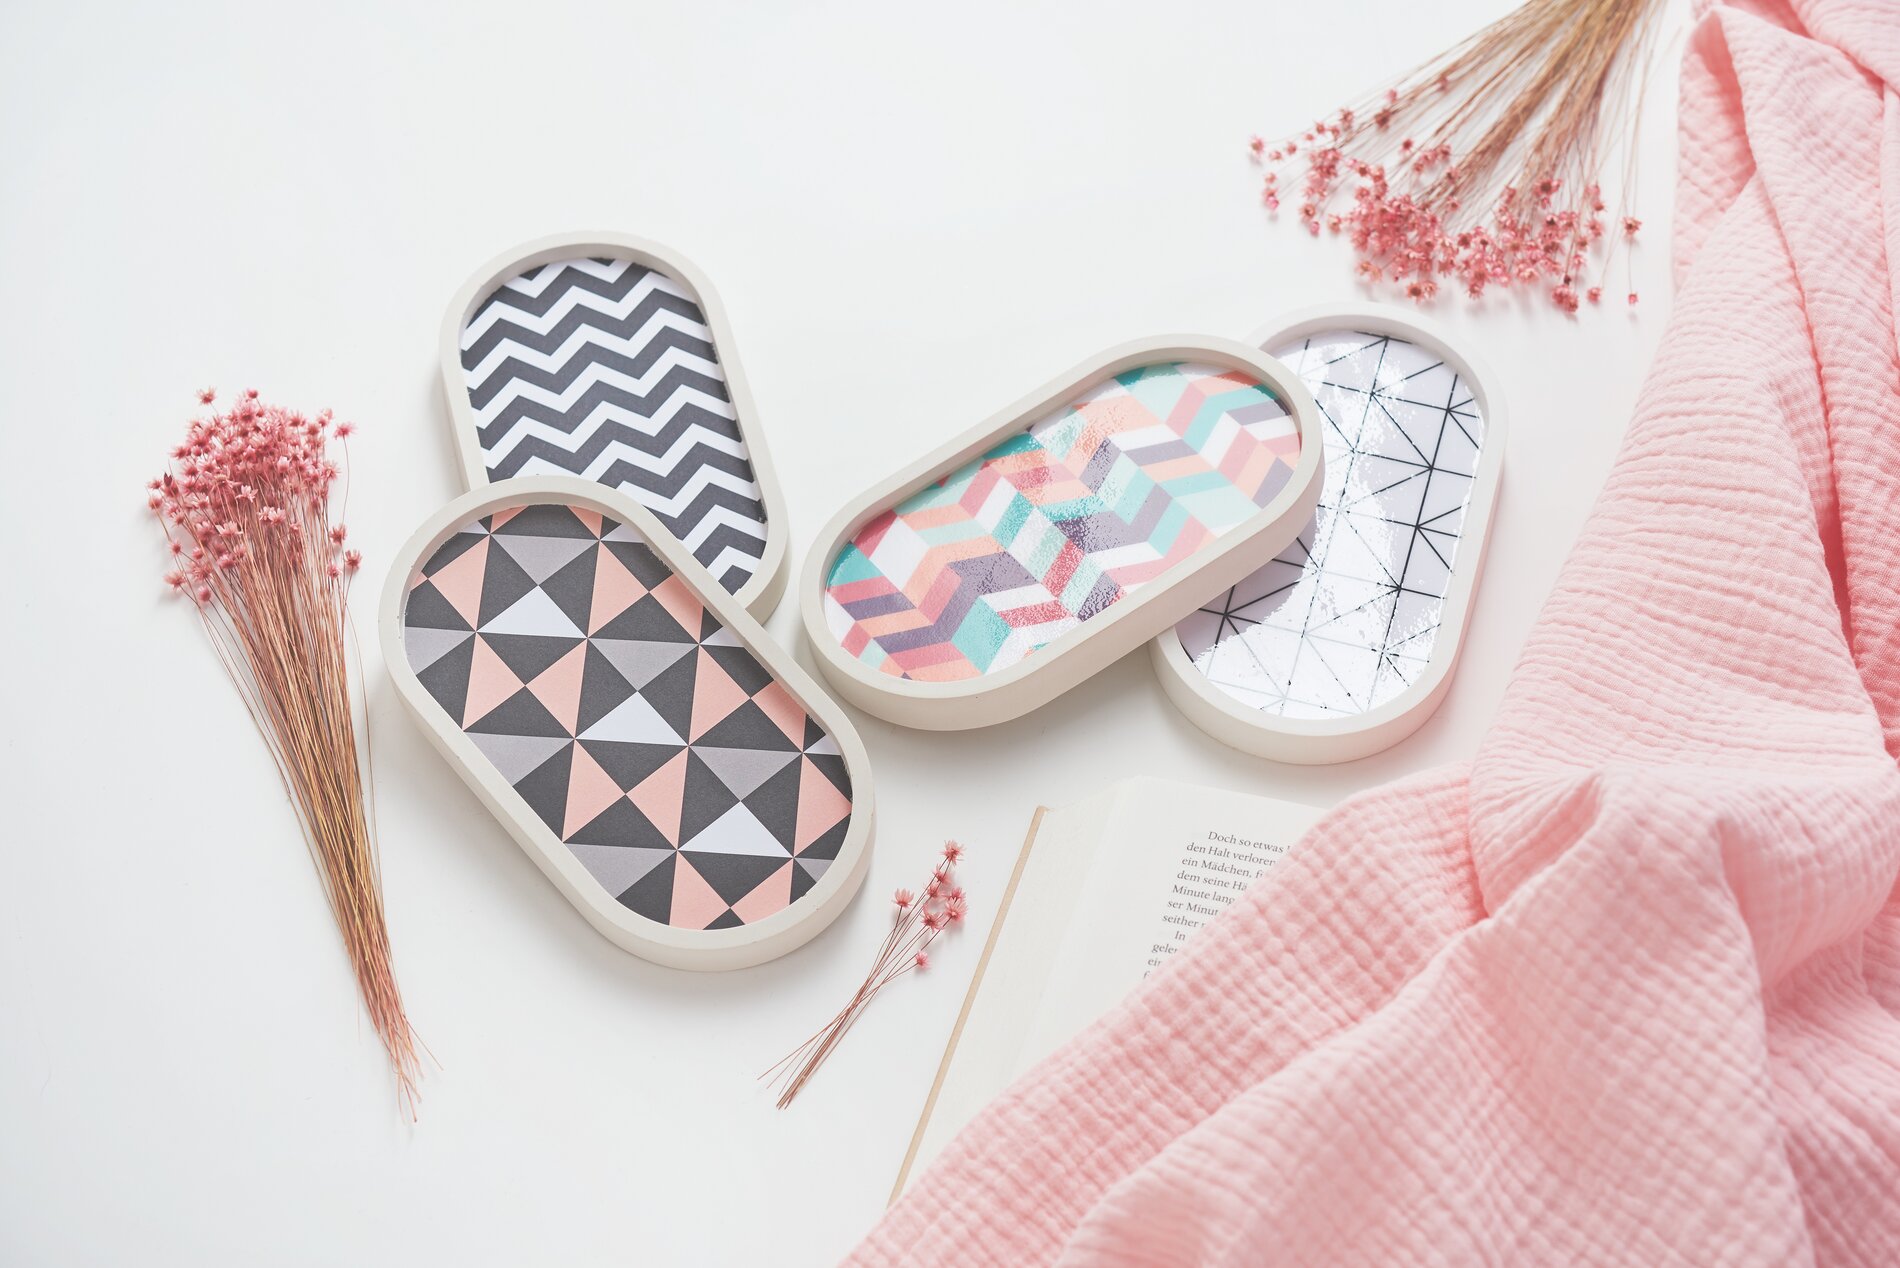
This is how you create your unique jewelry bowls:
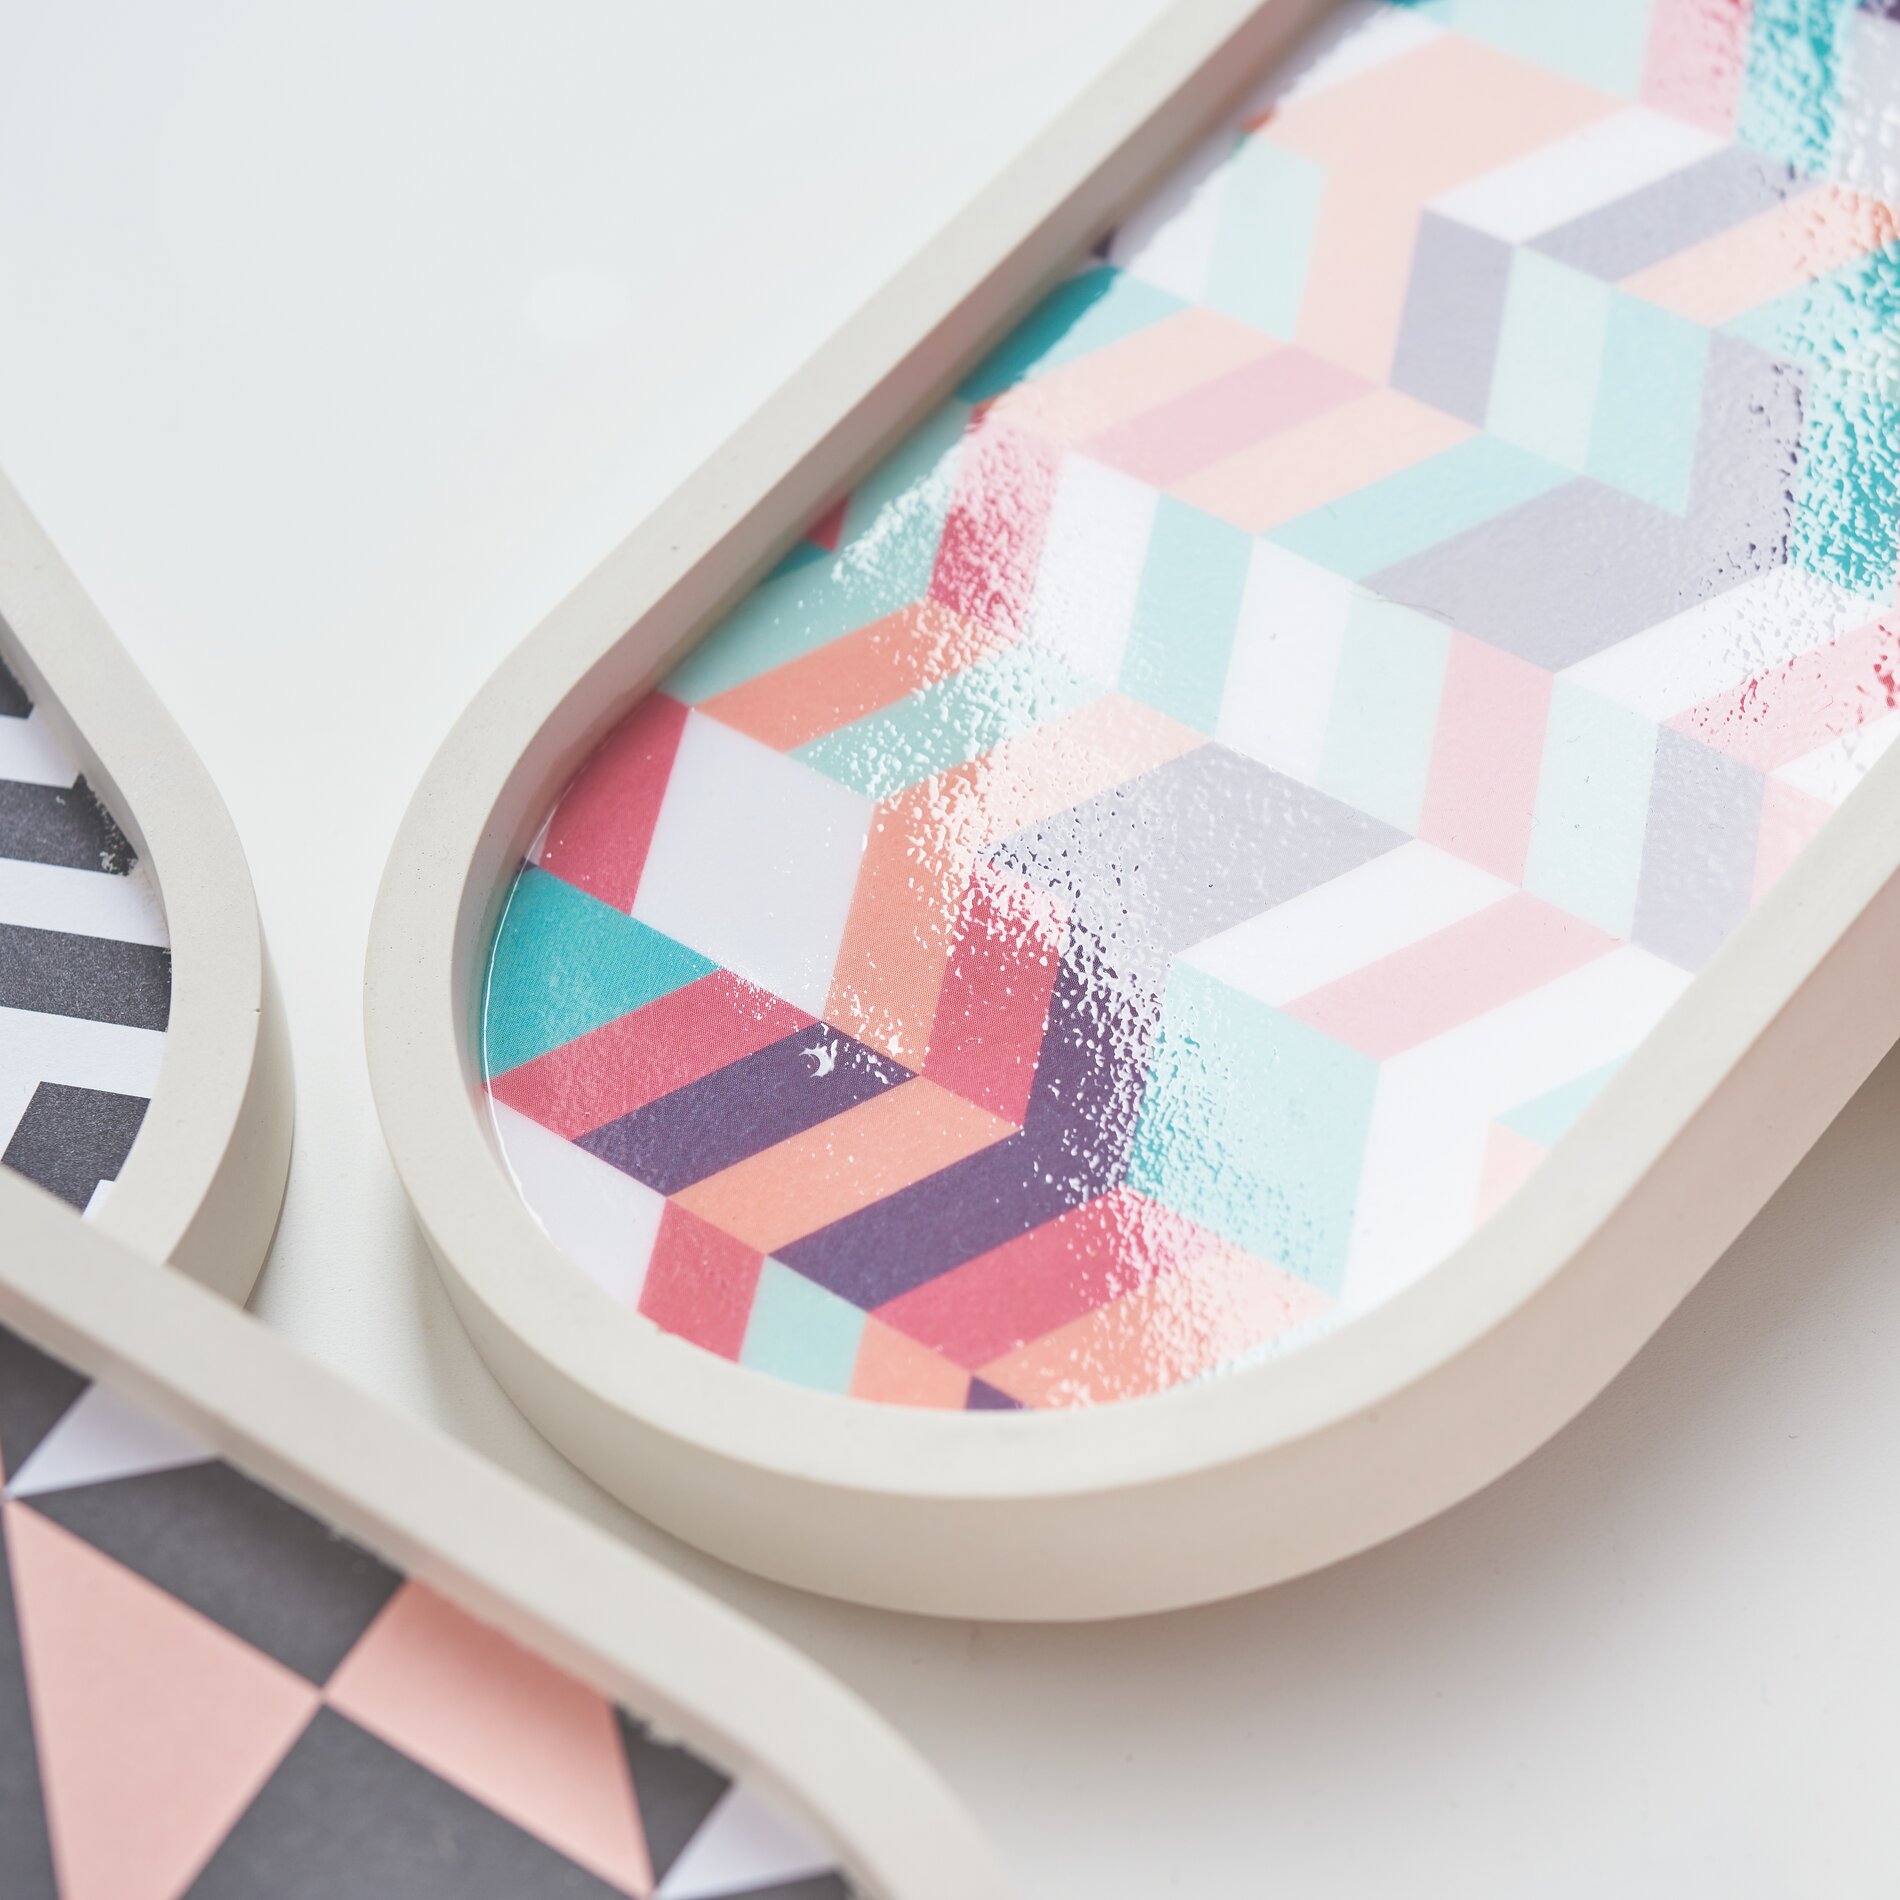
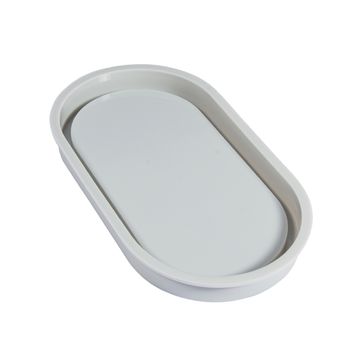
First, prepare your template by transferring the desired shape onto cardboard and cutting it out. Place the template in the casting mold with the design side facing down. This step ensures a clean result and ensures that the design of your jewelry bowl is shown to its best advantage.
Mixing the casting compound is a crucial moment: you combine the powder with water until an even, lump-free consistency is achieved. It is important to stir thoroughly so that no powder settles at the bottom. Then pour the mixture into the prepared mold and tap it gently on the tabletop to ensure even distribution and remove any air bubbles.
After about one hour you can carefully release the mold. However, for complete strength, you should allow your jewelry bowl to air dry further . Irregularities or rough edges can easily be smoothed out with a little sandpaper .
The final touch is entirely up to you: you can decide whether you want to keep the chic matte look or give it a shiny, professional look with Stamperia Fluid Gloss. The Fluid Gloss is simply applied directly to the bowl and provides additional protection and an elegant shine.
Have fun casting!