- Secure order
- Easy return shipment
- Service-Hotline +32 50 89 35 27
Instructions No. 4176
Difficulty: Beginner
Working time: 2 Hours
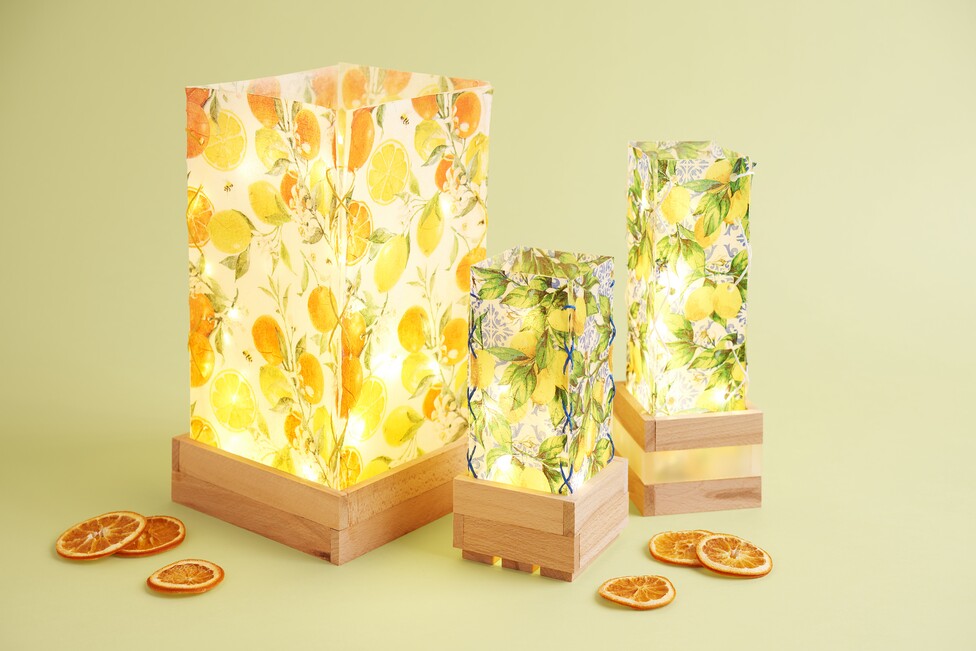
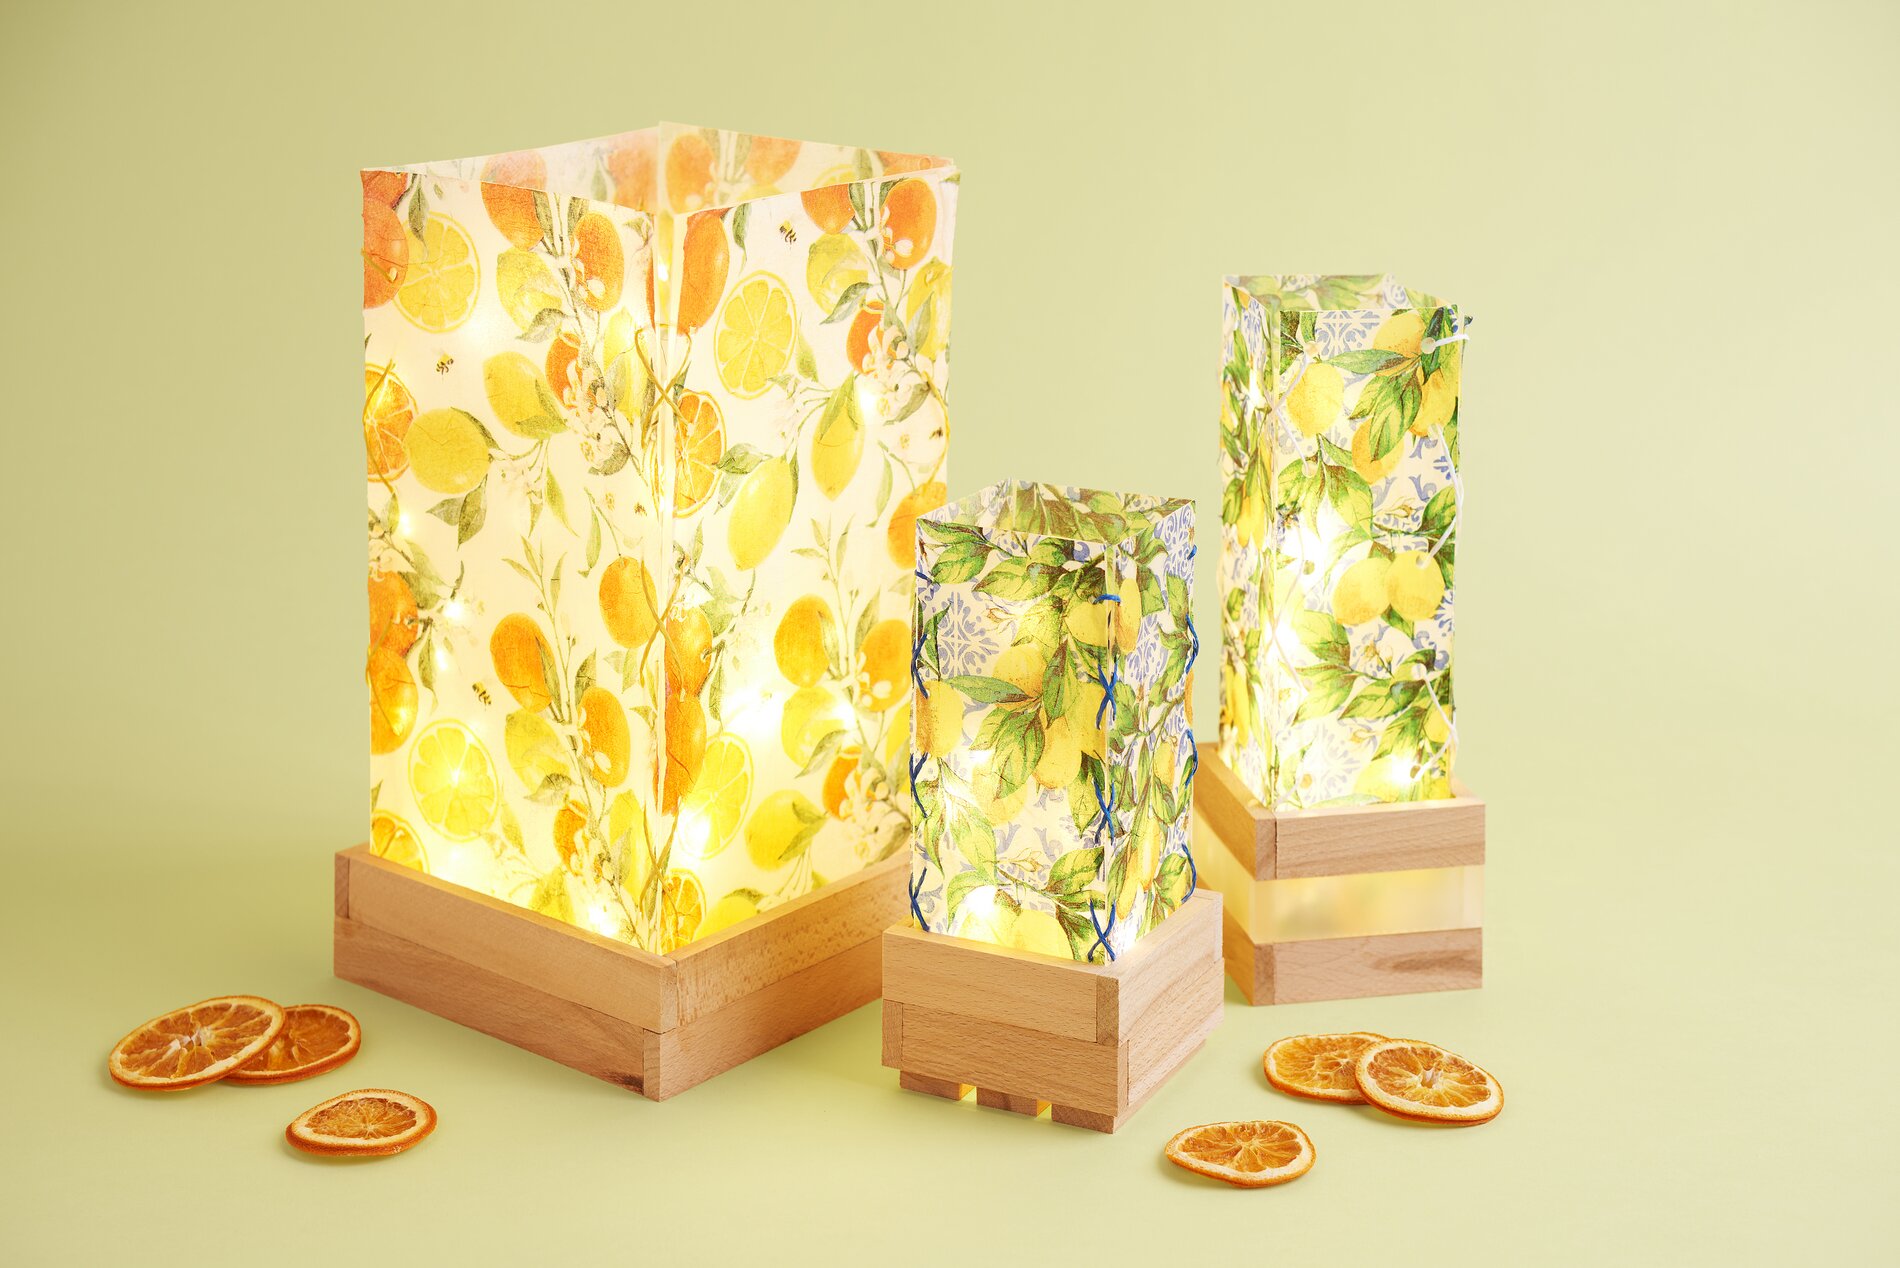
wind light Design: First, cut the lamp foil to the desired size. For a harmonious arrangement, you can use these dimensions as a guide: a large wind light that is 15 cm wide and 30 cm tall, a medium wind light that is 7 cm wide and 25 cm tall, and a small wind light that is 7 cm wide and 15 cm tall. Clean, straight edges are important here so that the wind light can be closed evenly later and the motif edge of the napkin looks neat.
napkin Prepare and Position the Motif Take a Mediterranean-style motif napkin, for example one featuring citrus fruits, leaves, or ornaments. Remove the two unprinted layers so that only the wafer-thin printed layer remains. This step ensures that light can shine through clearly later and that the “ napkin technique ” doesn’t apply too thickly. Place the design on the cut-to-size “ lamp foil ” to test the fit and decide where the most attractive part of the image should be positioned.
napkin technique Stick to lamp foil:, smooth, seal Apply napkin varnish. evenly to the foil cutout. Carefully place the printed napkin layer on top and gently smooth it out from the center toward the edges. This prevents wrinkles and trapped air. Next, apply another layer of “ napkin varnish ” over the “ napkin .” This second layer seals the surface, makes it more durable, and ensures an even light effect. Let everything dry completely so that nothing tears or shifts during the next step.
Punch Holes for a Clean Connection Once the “ napkin varnish ” is completely dry, punch holes along both long sides of your cutout. You can use a hole punch or a standard office hole punch for this. Make sure to space the holes as evenly as possible. This not only looks neater but also ensures that the “ lamp foil ” closes evenly when tied together.
wind light Shape and secure with raffia Cut a piece of raffia paper ribbon and thread it through the punched holes so that the two long sides are connected. Pull the ribbon tight enough to make the wind light sturdy, but not so tight that the foil warps. Carefully tie the ends in a knot.
Sturdy Wooden Frame Made from Craft Blocks To ensure your wind light stands securely, glue together a frame using craft blocks. Start with four blocks, which you connect at the corners to form a square or rectangle. If you want more height, simply build the frame in multiple layers. You can also combine different block sizes to create steps or a particularly sturdy base.
Place and Light Place the finished “ wind light ” inside the wooden frame. For lighting, you can use an “ chain of light ” or a candle. If using a real candle, make sure it’s stable and kept at a safe distance from the lamp foil . With a chain of light , you’ll get even lighting that makes the napkin designs glow especially beautifully.
Finishing Touches and a Coordinated Look If you make several lanterns at once, they’ll look especially elegant as a set: Repeat the steps using different cutouts from the same napkin or combine several Mediterranean motifs. The varying heights create a harmonious overall look that looks decorative on a sideboard, windowsill, or table and casts a warm, atmospheric glow.
Now it’s your turn! Browse the online shop for “ lamp foil, ” craft blocks and everything you need for “ napkin technique ” and atmospheric lanterns, and create your own set right away.