- Secure order
- Easy return shipment
- Service-Hotline +32 50 89 35 27
Instructions No. 3476
Difficulty: Advanced
Working time: 3 Hours

Quick steps to DIY-light decoration
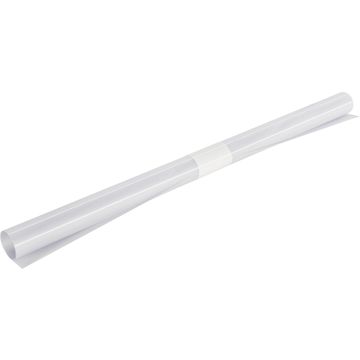
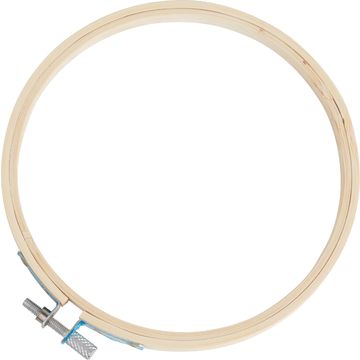
Preparing the star foilPlace the embroidery hoop on the star foil and outline it at a distance of about 5 cm. Take a pair of scissors and cut out the outlined shape. Clamp the cut foil into the embroidery hoop so that it sits tightly. Cut off the excess foil, but leave about 1 to 1.5 cm.
Fastening the foilUse hot glue to stick the protruding edge of the film to the inside of the frame. Make sure that no glue is visible from the outside. This step ensures that your light decoration is not only only stable, but also looks aesthetically pleasing.
Attaching the chain of lightNow attach a chain of light from behind in the embroidery hoop. The chain of light gives your decoration the desired lighting effect and accentuates the foil stars particularly well. Position the lights so that they are evenly distributed.
Your way from digital design to the finished product
The following instructions refer to the use of a PC with a Windows operating system. The arrangement of the buttons may differ for mobile devices and other operating systems. The designations remain the same.
Download and prepare the SVG fileopen your PC and download the SVG file provided. Go to the Cricut Design Space program and select "Workspace". Click "Upload" to integrate the SVG file into your program.
Plotting the motifsNow it's time to get creative: Select all motifs on your workspace and click on "Split" to edit them as desired. To combine motifs, select them individually again and click on "Combine". This allows you to customize the motifs to your liking. Go to "Produce" to see a preview of your project and make sure that your designs are displayed as a whole. Click on "Continue" to start the plotting process.
Weeding and transferringAfter plotting, the designs must be weeded. This means that you remove the excess background so that the motifs remain on the carrier film. Cut the transfer foil to size and stick it onto the motifs. Use a scraper, to press firmly and peel off the designs so that they only still adhere to the transfer film.
Attaching to the embroidery hoopPlace the plotted designs on your embroidery hoop and press them down firmly using a scraper . Remove the transfer foil slowly and carefully. Use tweezers or a weeding hook for this step to place the motifs perfectly.
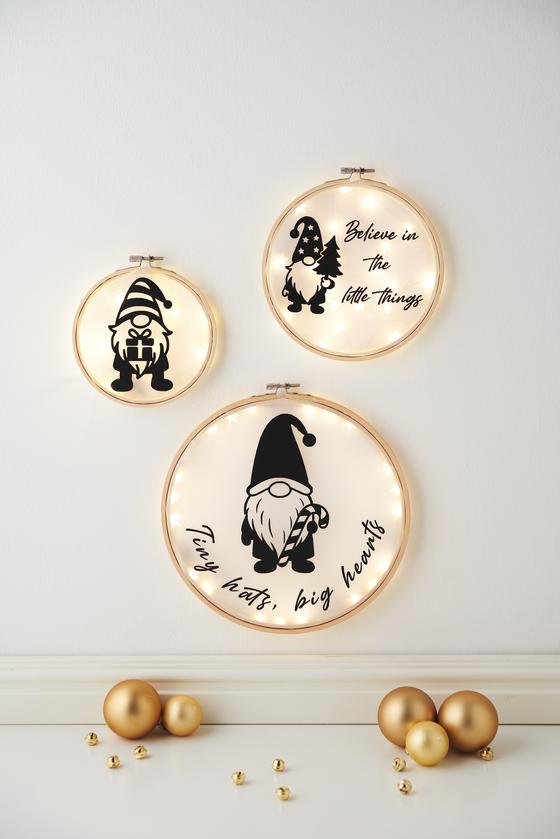
Give your home a sparkle!
With these steps, you can create a beautiful, sparkling decoration in no time at all. Visit our online store to discover all the materials you need for your next project DIY-Project. Let your creativity shine and turn your home into a place full of lights and warmth!