- Secure order
- Easy return shipment
- Service-Hotline +32 50 89 35 27
Instructions No. 3328
Difficulty: Beginner
Working time: 1 hour
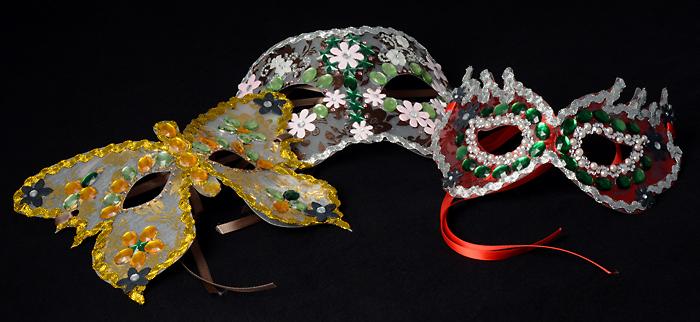
Welcome to our crafting instructions for impressive Venetian masks! Whether for carnival, fancy dress or as a highlight for an unforgettable girls' party - you can easily make these glamorous masks yourself with our step-by-step instructions. Let your creativity run wild and transform simple materials into a sparkling work of art that is guaranteed to turn heads.

Remember that every mask is unique and you can design it entirely according to your wishes. The following instructions will guide you through the individual steps required to make a Venetian mask. Let the pictures inspire you and discover how you can turn the materials from our online store into something special!
Step 1: Make templates
Draw mask-shaped patterns according to your own ideas or download the templates from our website. Use them to create stencils by transferring the templates onto cardboard. Old cornflakes packaging is perfect for this and gives the mask the necessary stability.
Step 2: Make the mask
transfer the stencil to the self-adhesive lamp foil and cut out the mask. The self-adhesive side should be on the bottom. Repeat this step for an organza or cotton fabric, that forms the inner lining of the mask. Remove the protective film from the lamp foil , place the fabric on top and smooth it out without creases. Use a hole punch to punch holes in the upper corners of the mask, through which the satin ribbon will later be threaded for fastening.
Step 3: Glue on the ribbons
Use double-sided adhesive tape, to attach your desired ribbon around the contours of the mask. It is not necessary to line the contours completely as long as the ribbon holds well.
Step 4: Decorate
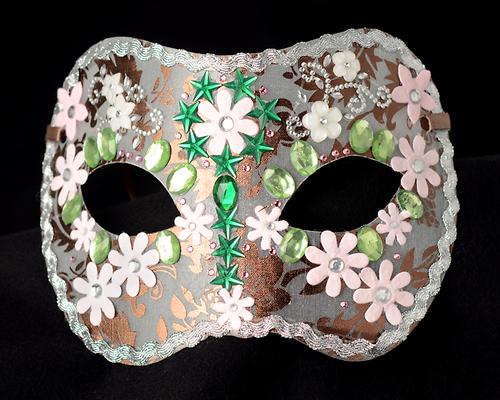
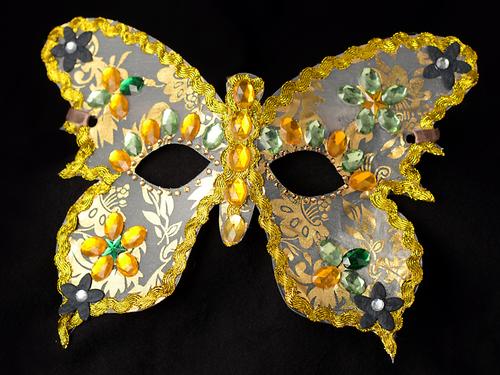
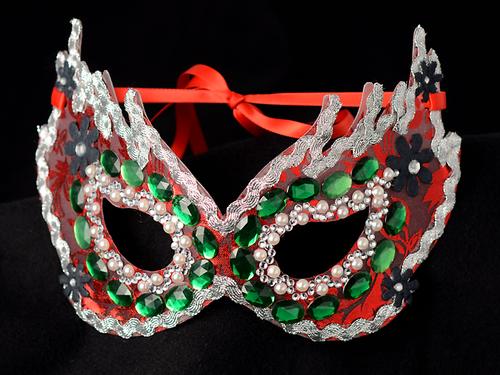
Bring your mask to life by decorating it with gemstones and other glittering accessories. Start with the larger stones and arrange ornaments as a test before attaching them. Our examples and additional decorations such as marabou feathers can serve as inspiration.
Step 5: Attach satin ribbon
Cut the satin ribbon to the desired length, making sure to leave enough length for a bow for tying. Thread the ribbon through the holes at the corners of the mask and your work of art is finished.


These masks are not only only a perfect accessory for the carnival season, but also a great craft idea for birthday parties or girls' evenings. If you are crafting with children, prepare the masks up to and including step 3 and leave the decorating to them. This keeps the creative part and the fun factor intact!
Visit our online store to purchase all the necessary craft materials and let your creativity run wild!
You can download the templates here:
Simple mask template
Feather mask template
Butterfly mask template