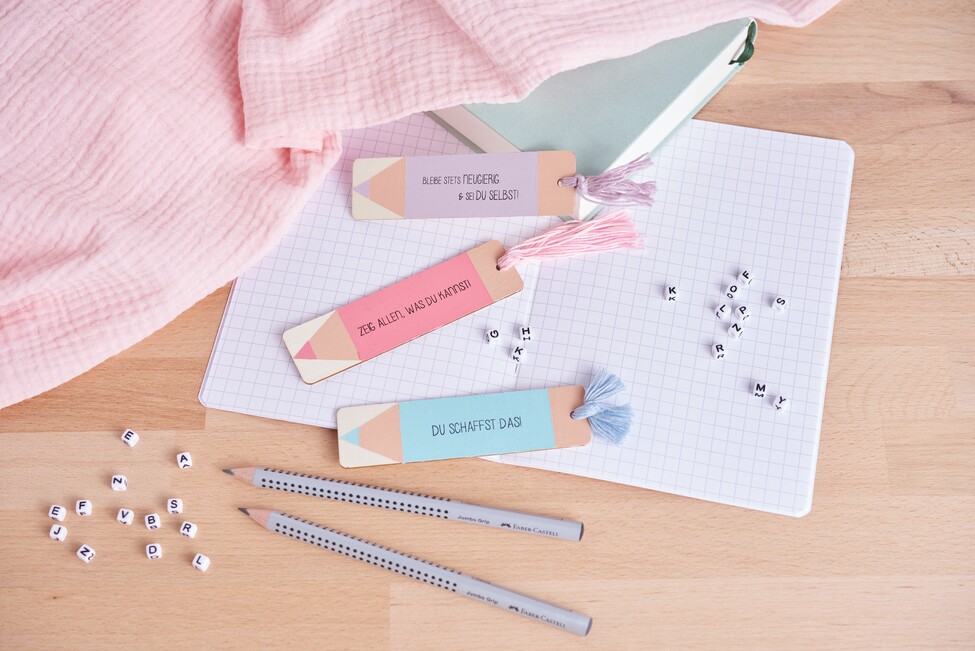
Preparing and painting the wooden bookmarks
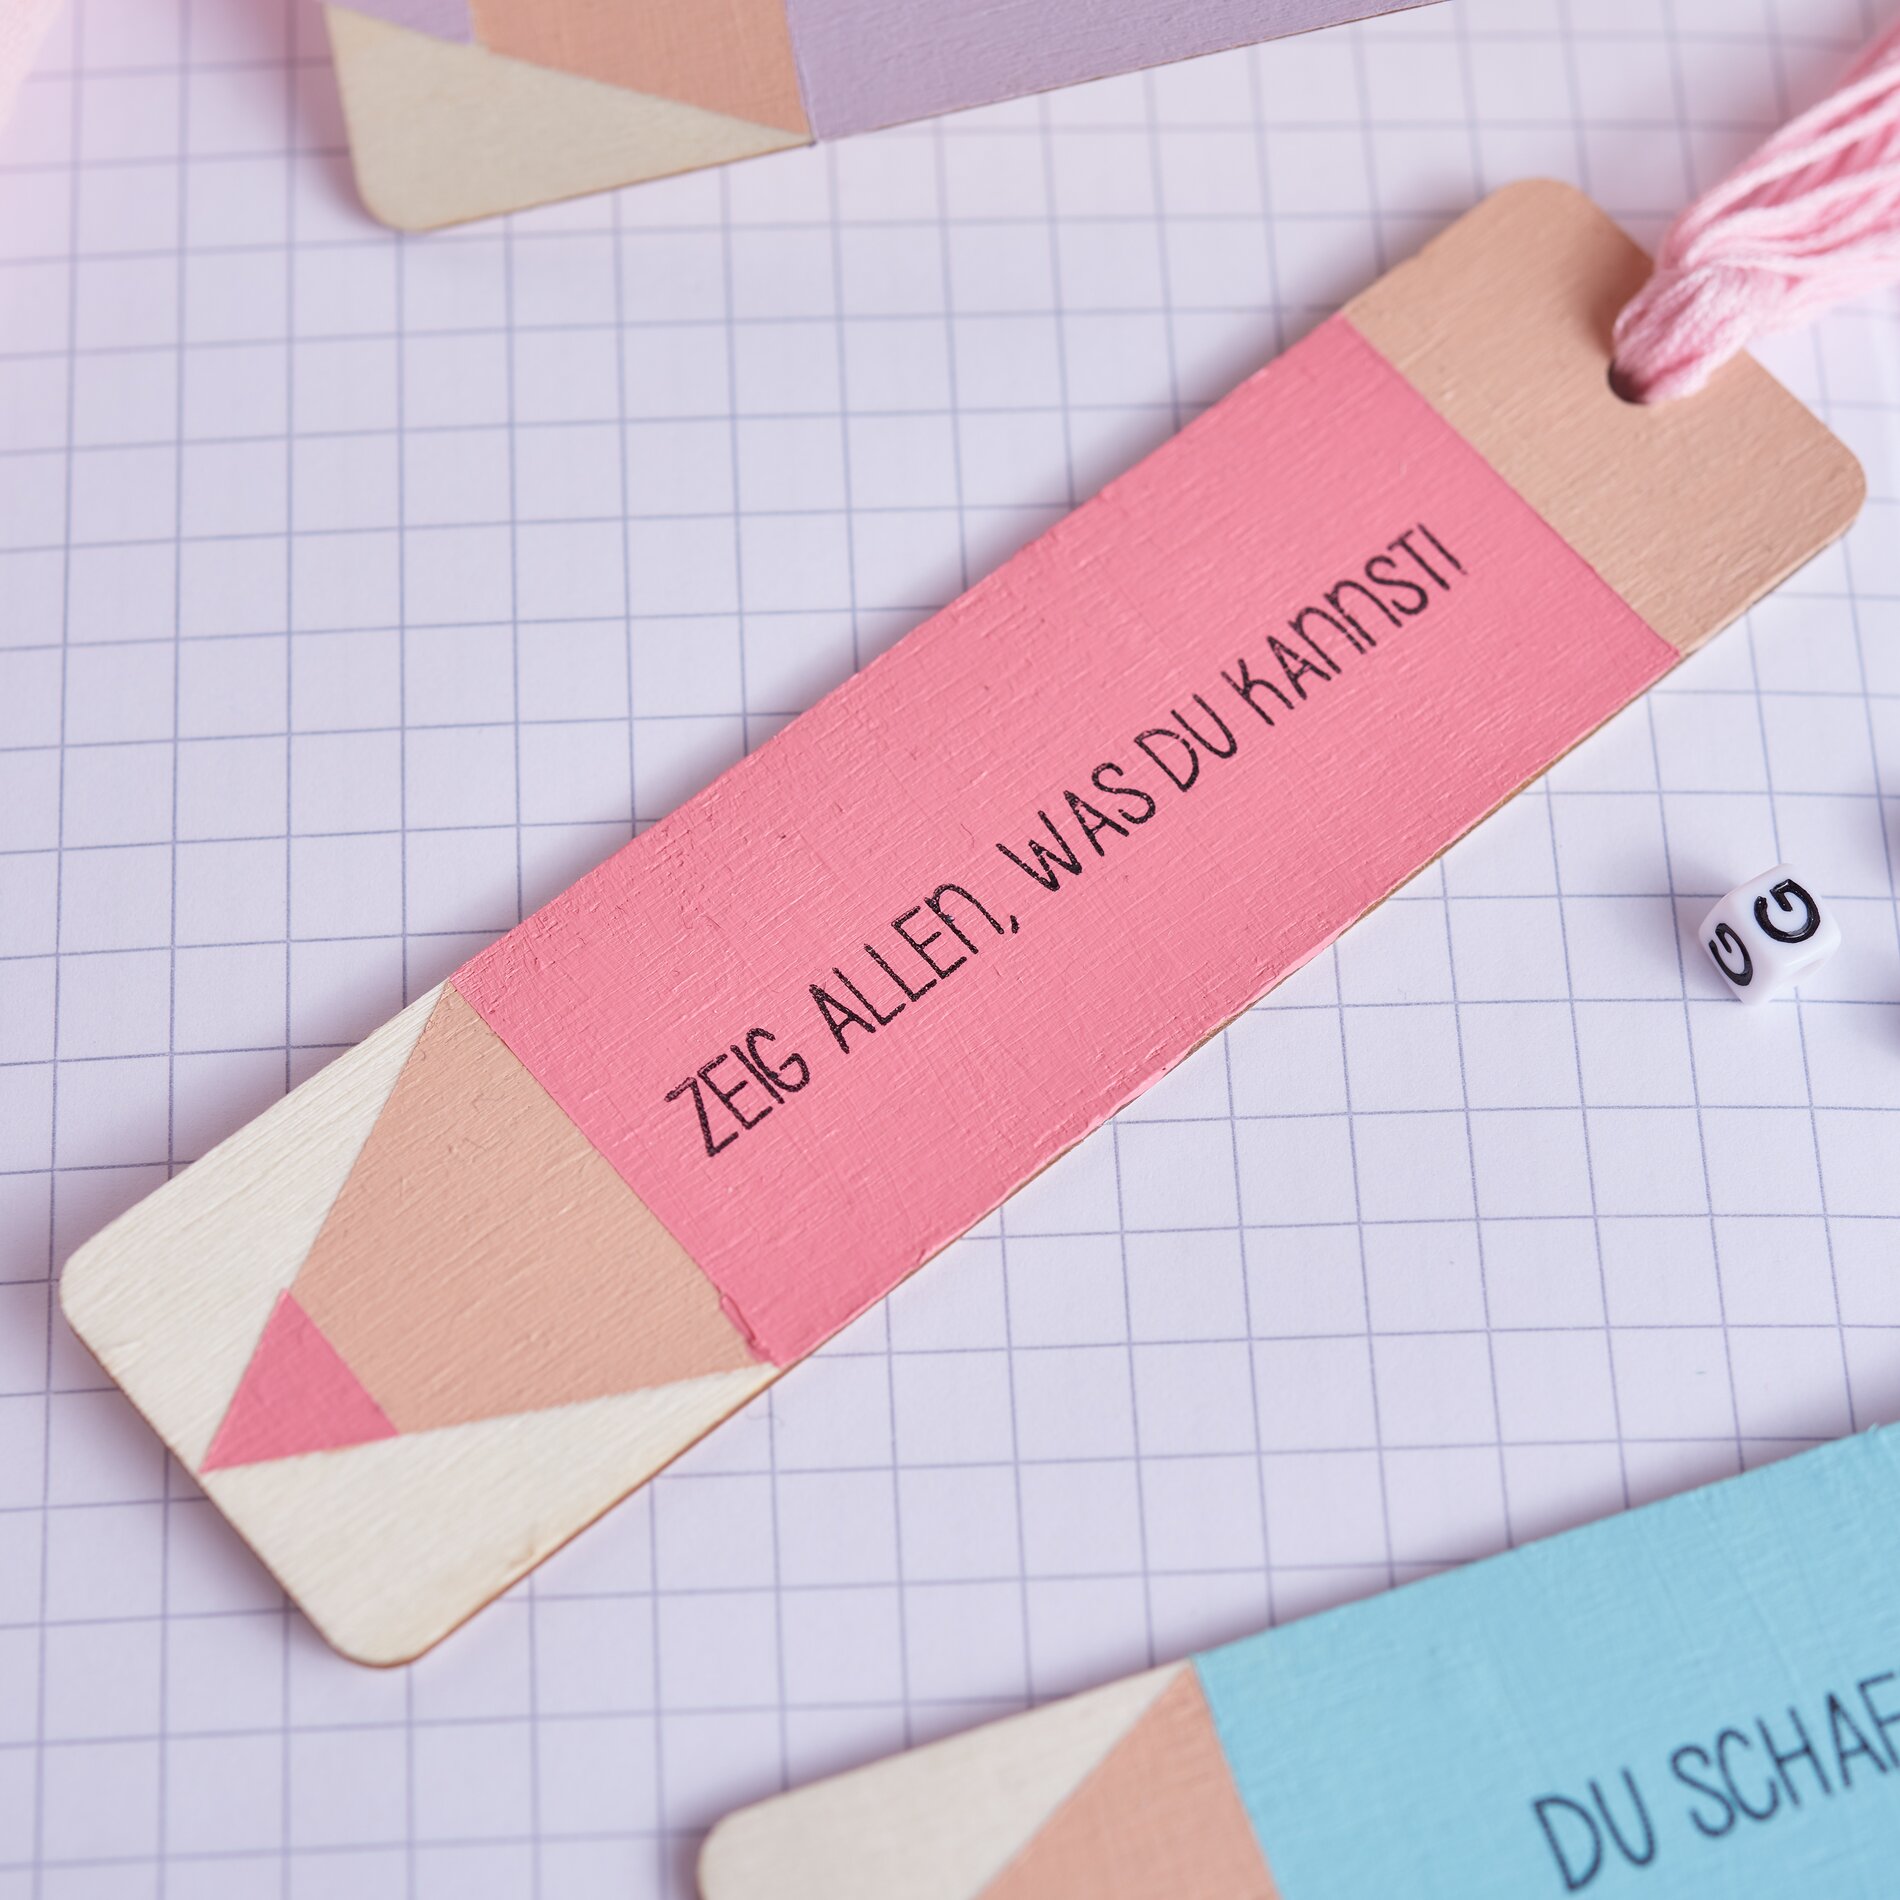
Start by painting the wooden bookmarks with the craft VBS Craft paints of your choice. Use crepe-adhesive tape as a technical aid: mask off the desired color edges with crepe-adhesive tape to achieve sharp, straight edges. This will give you a clean finish. Once you have applied the desired color, allow the bookmark to dry completely.
Once the paint has dried, peel off the crepe-adhesive tape slowly and carefully. Be careful not to damage the paint. The clear lines give your bookmarks a professional look.
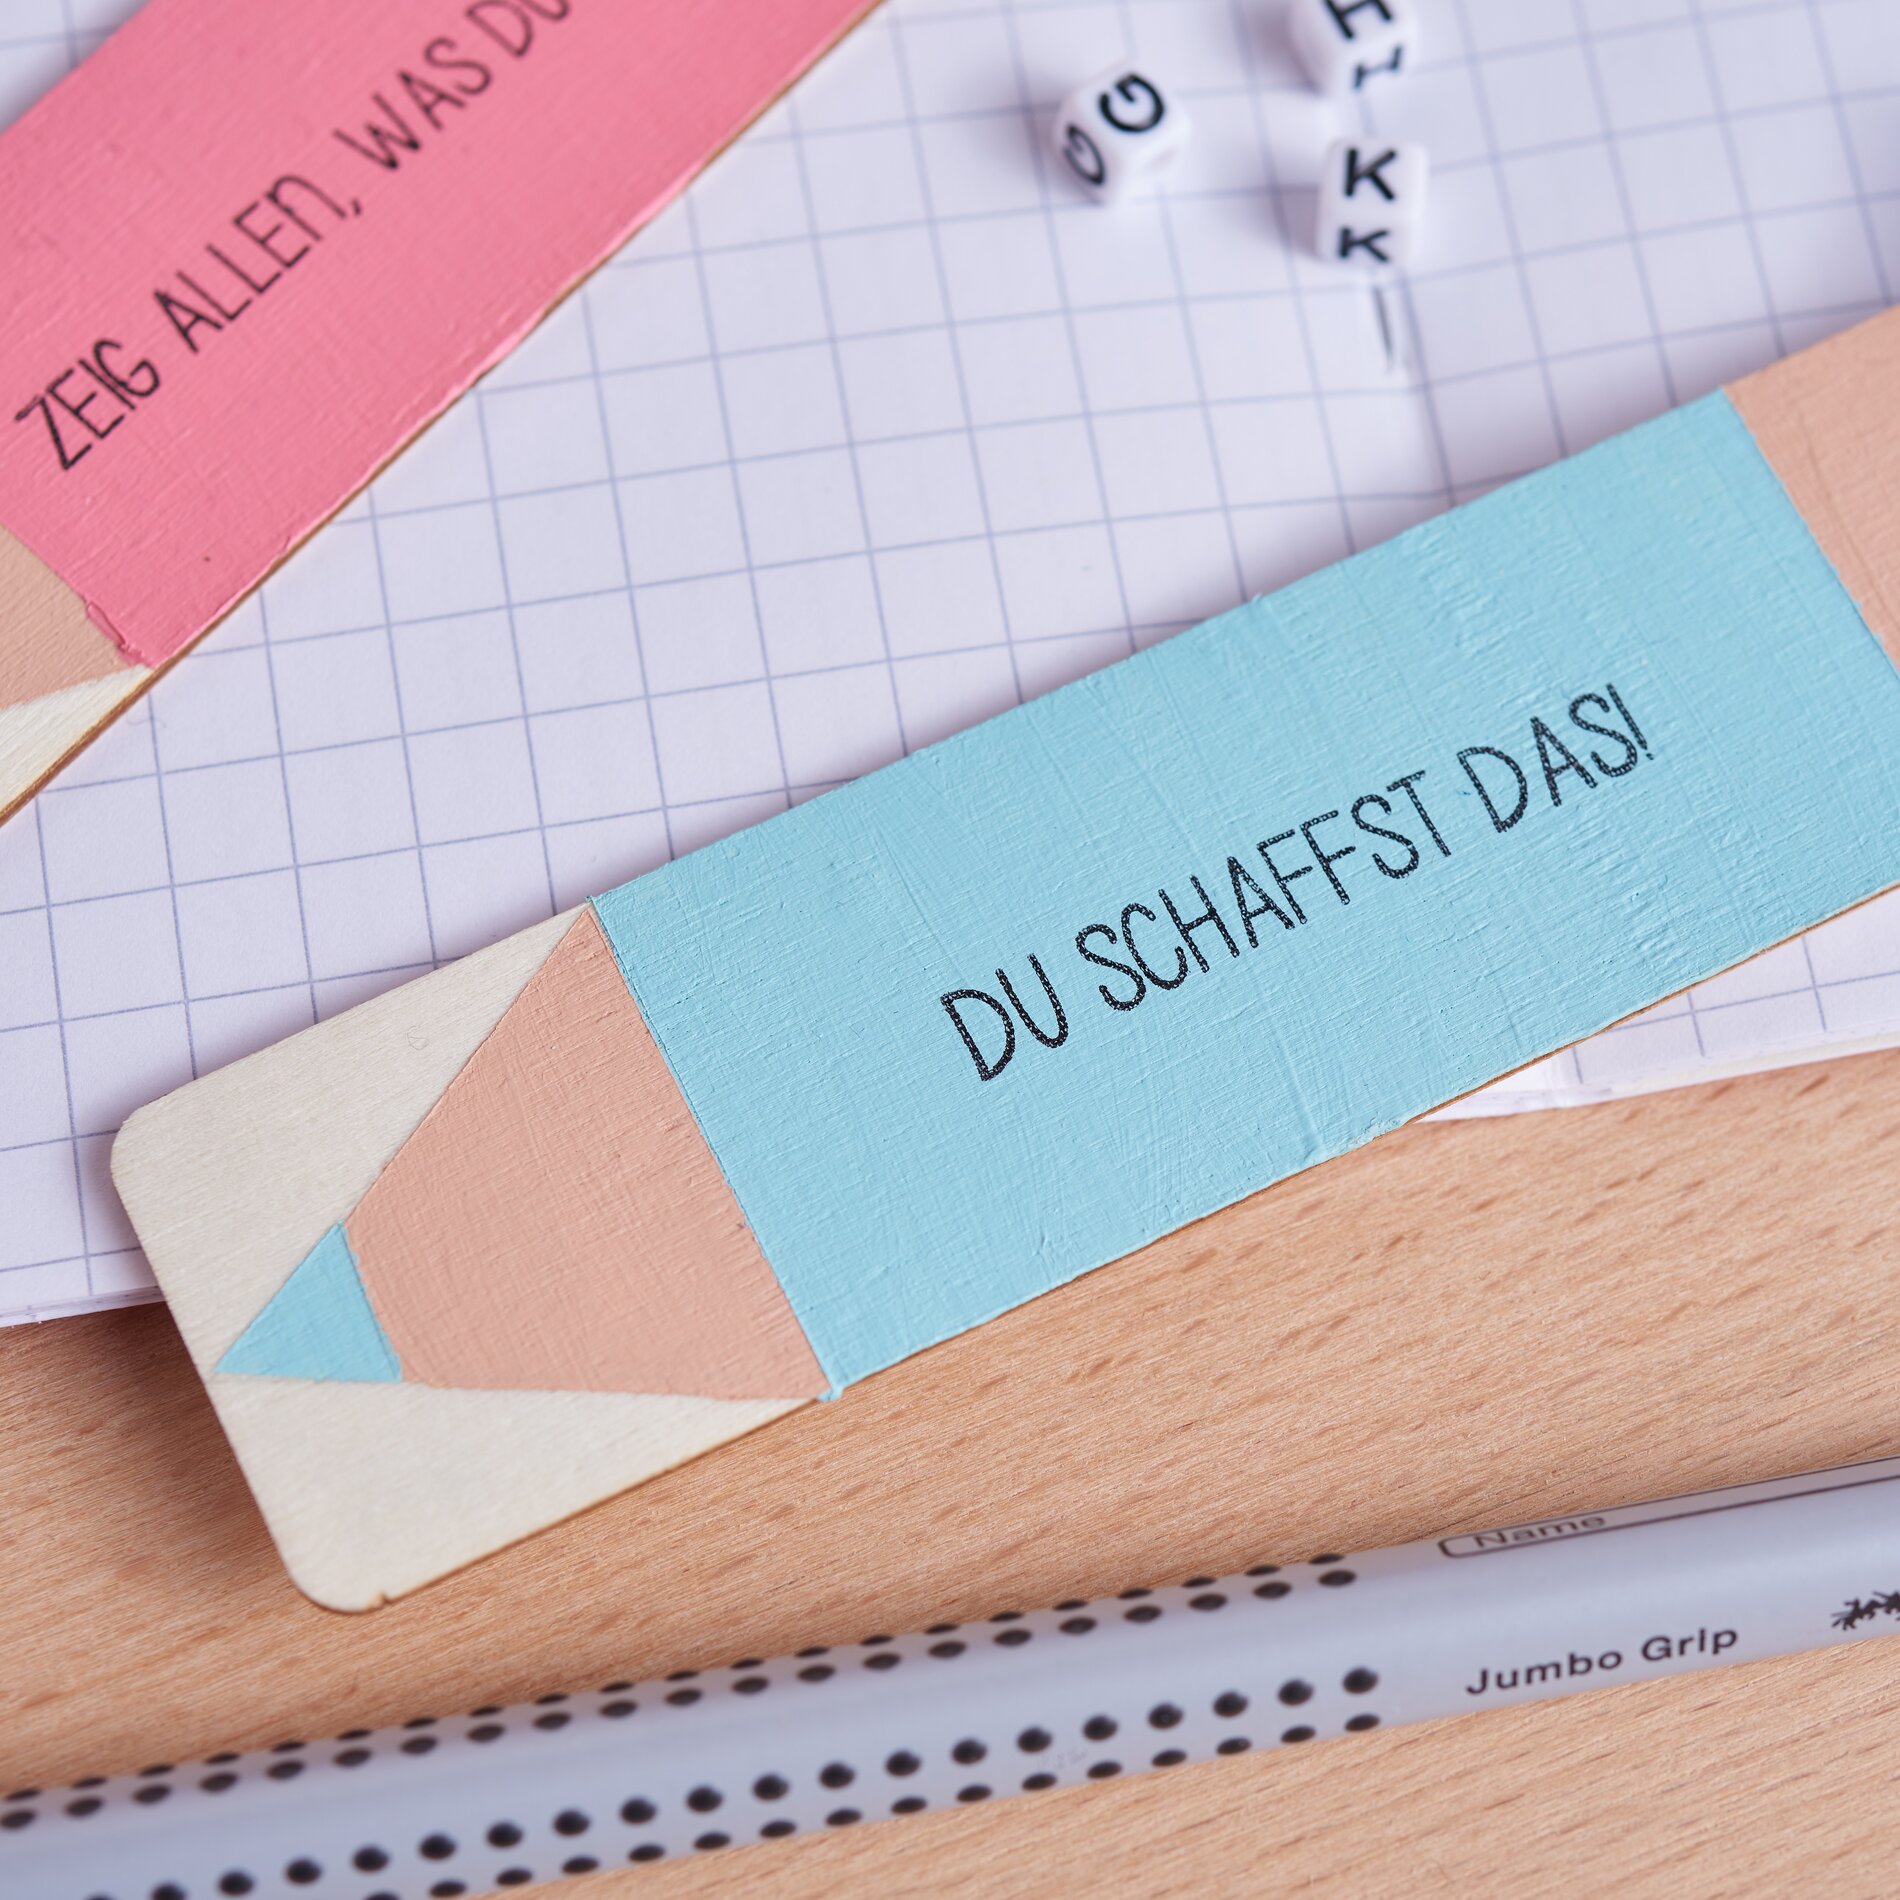
Stamping for an individual design
You can use silicone stamps to add individual and personal messages to the bookmarks. Prepare your silicone stamp by placing it on a Clear Stamp Holder and applying waterproof stamping ink from Staz-On. Press the stamp evenly onto the wooden bookmark. Once you're done, clean the stamp with a special stamp cleaner to keep it ready for future projects.
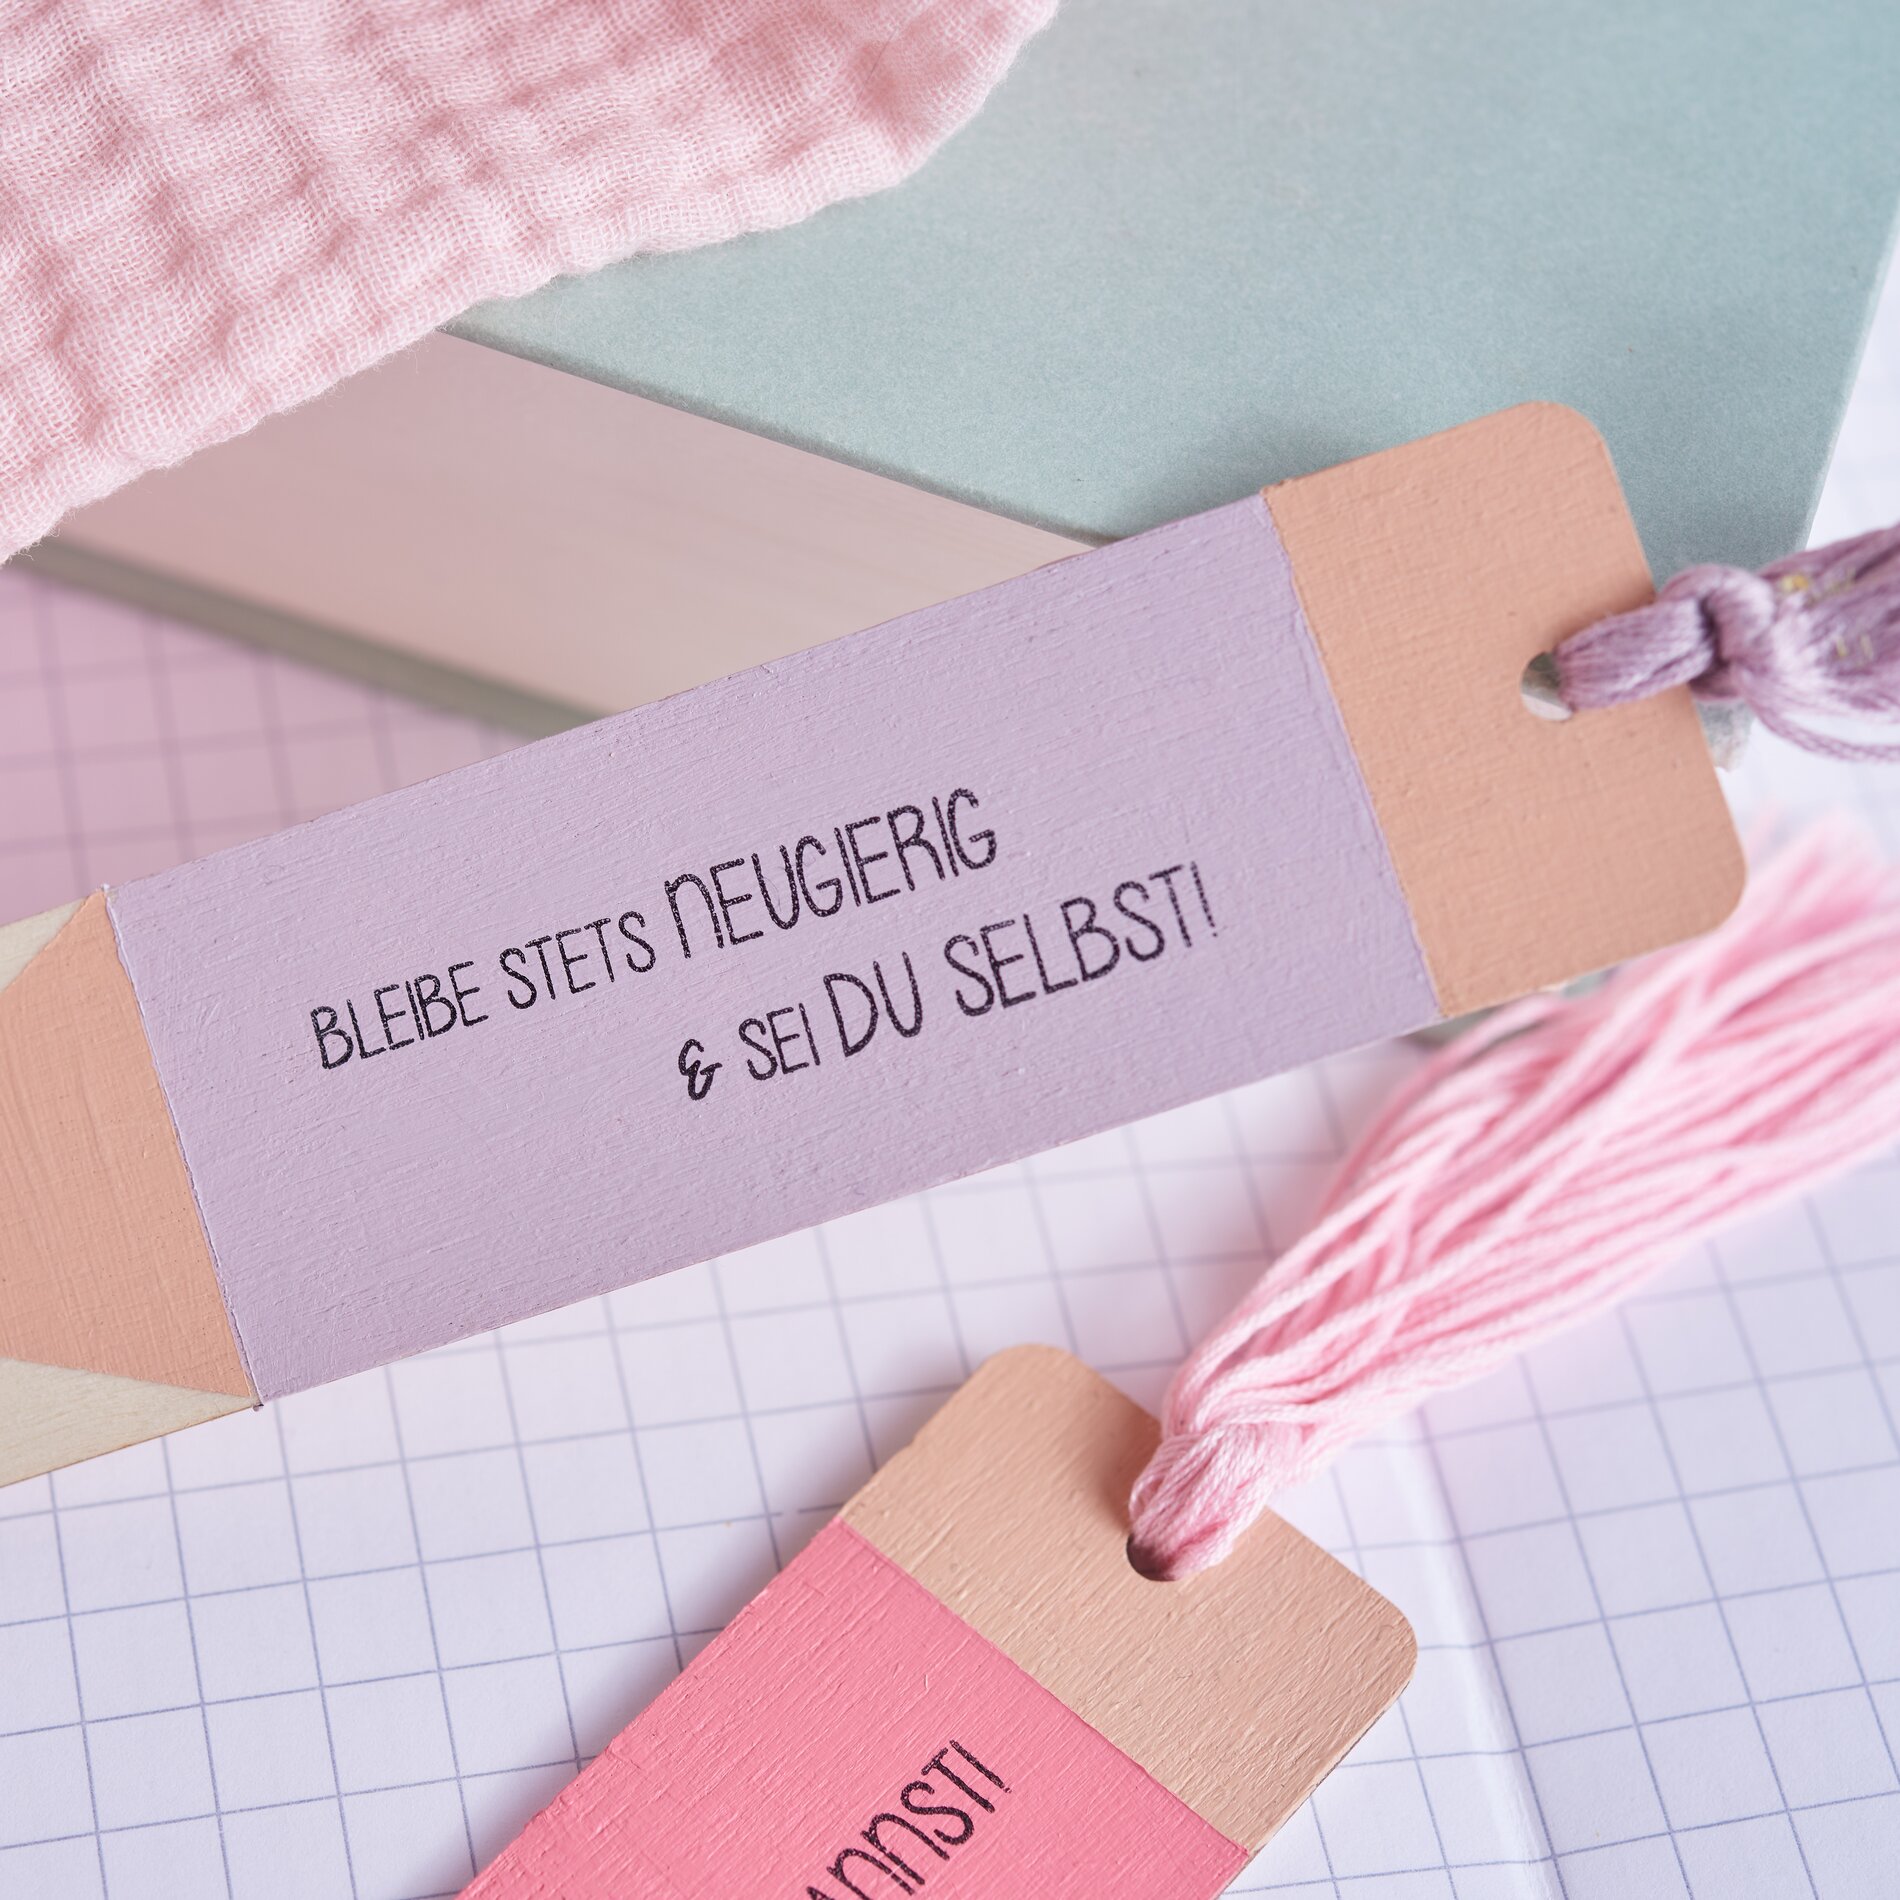
Finishing ribbons on the bookmark
To give your bookmark the finishing touch, unwind some embroidery twist . Lay the threads on top of each other several times, about 20 cm long, and pull them through the hole in the bookmark. Knot the threads tightly and then cut them to the desired length. This will give your bookmark a decorative and functional finish.
Get creative now!
The bookmarks are a unique DIY-gift idea go to start of school. Order the necessary materials now and make more bookmarks for other students and bookworms, for family and friends.
Discover lots of great inspiration for school cones for girls and boys and impressive table decorations for the first day of school in our ideas & instructions.