- Secure order
- Easy return shipment
- Service-Hotline +32 50 89 35 27
Instructions No. 3238
Difficulty: Beginner
Working time: 3 Hours
Preparing your workspace
Before you start, protect your workspace with a handicraft mat. This will prevent unwanted paint splashes or water damage to your table. colour for marbling can leave stubborn stains - so it's better to be safe than sorry.
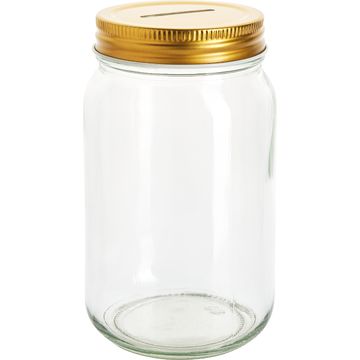
Choose the right container
Use an old container that is large enough to fully submerge your money box. A bucket that you no longer need is best. As paint residue only is difficult to remove, choose a container that is no longer important to you.
Preparing the materials
Put on disposable gloves to protect your hands from the hard-to-remove colour for marbling paint. Then fill your container with cold tap water. Shake the marbling paints well so that the color pigments are evenly distributed. Add a few drops of your desired colors to the surface of the water.
Create a pattern
You can now use a bamboo skewer to draw creative patterns in the paint. Try out lines, waves or curls - be creative, there is no right or wrong. Be careful not to mix too many colors to achieve a smooth end result.
Immerse the glass
Carefully dip the glasses into the color design on the water surface and quickly pull them out again vertically. Tip: Before you pull the jar out, blow the remaining paint onto the edge of the jar to avoid color overlapping. Leave the jars to dry on your handicraft mat . You can dip the jars completely or only partially to achieve unique effects.
Marbling again
For new patterns or other color effects, you can remove the paint residue from the water surface by dragging a piece of Paper over the water surface. Then add new drops of paint to the water and create a fresh pattern with the bamboo skewer.
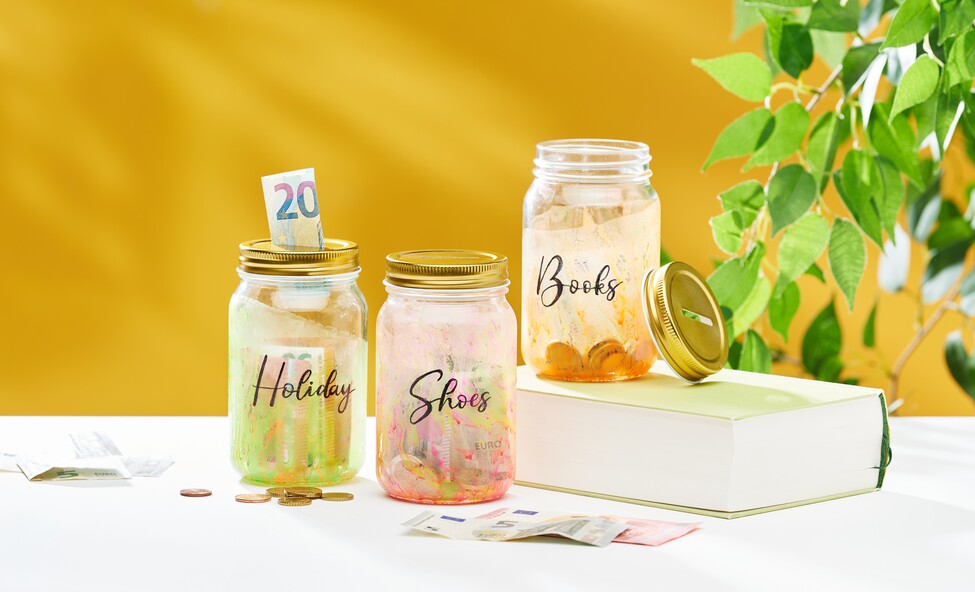
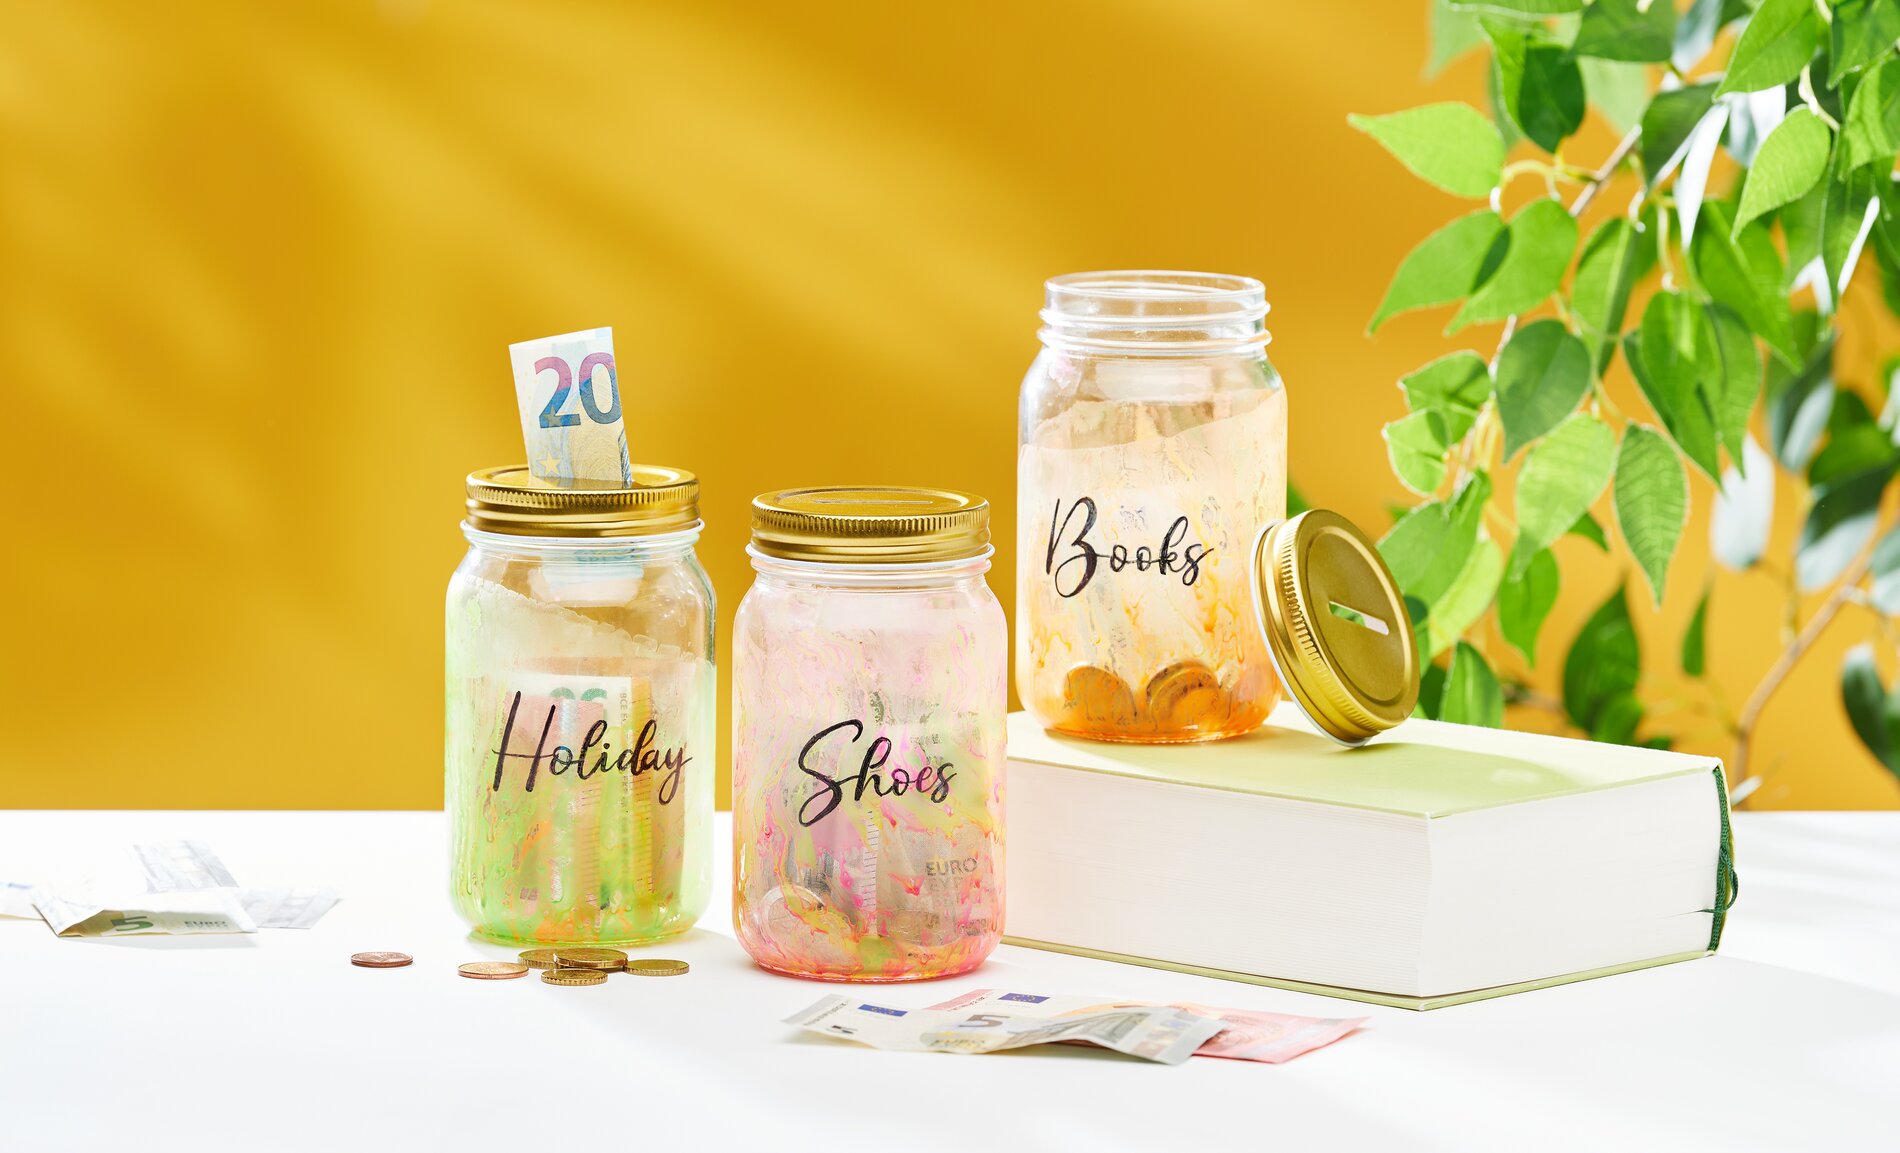
Finish and personal touch
Once the jars are completely dry, you can add your own lettering using a permanent marker . Use our free template: cut out the words, stick them to the inside of the jars and trace the lettering with the marker .