- Secure order
- Easy return shipment
- Service-Hotline +32 50 89 35 27
Instructions No. 4125
Difficulty: Beginner
Working time: 2 Hours
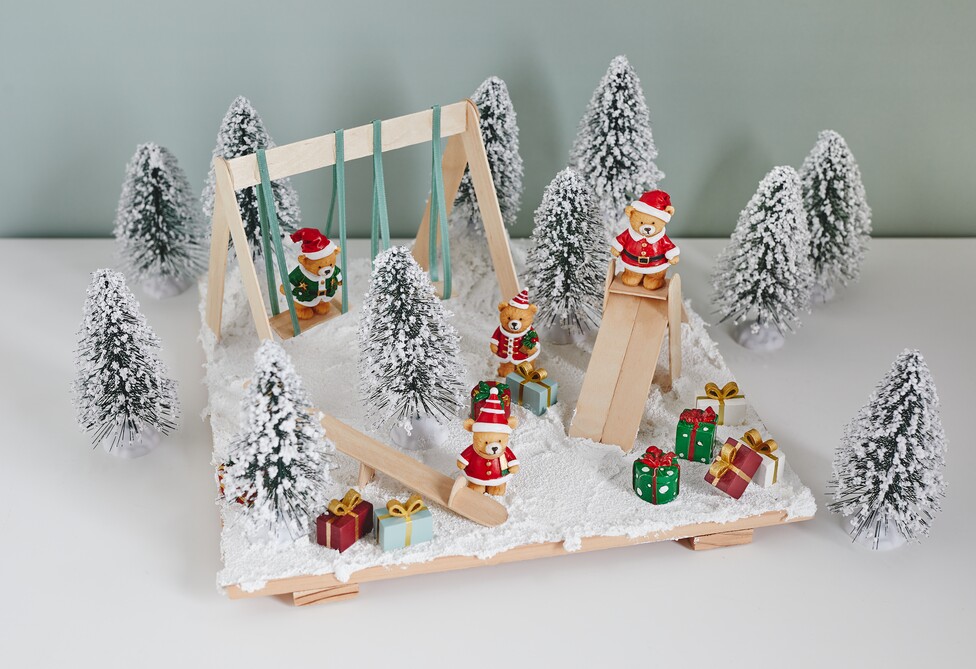
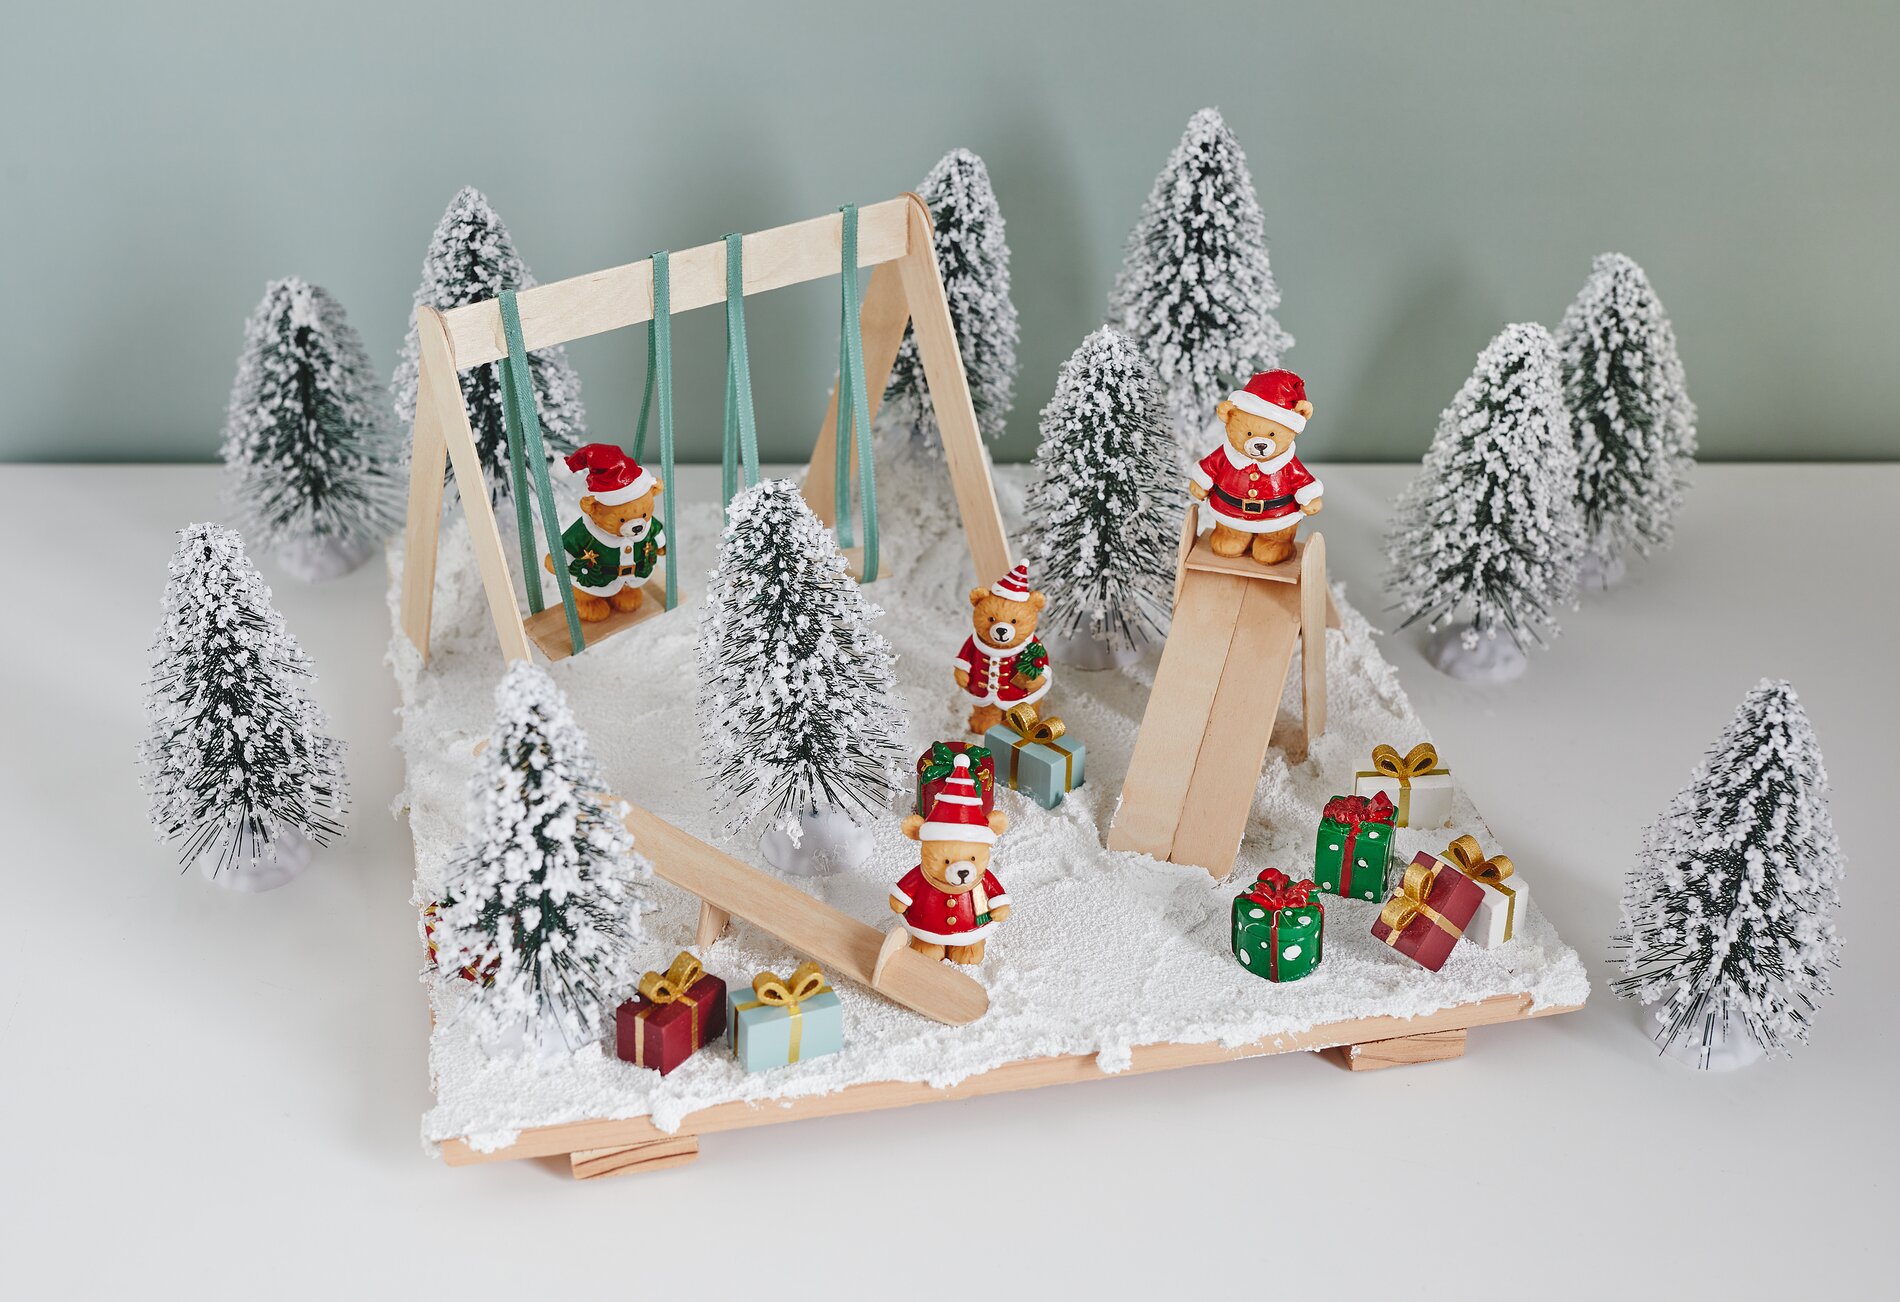
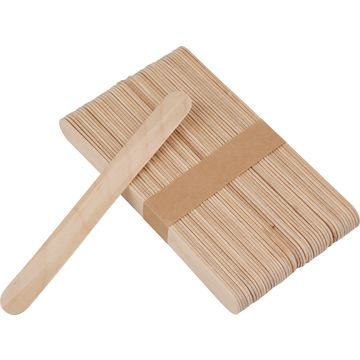
How to Make a Miniature Christmas Playground Out of Wooden Spatulas: Set up a sturdy surface and use just a little glue so the miniatures stay clean. Wooden spatulas are perfect for a miniature playground because they have straight edges and are easy to cut to size. This allows you to create a swing, a seesaw, and a slide that will really come to life later in a snowy Christmas landscape.
Build a Swing, Seesaw, and Slide from Wooden Sticks Use the wooden sticks to build a swing, a seesaw, and a slide. You can cut the sticks to size with sharp scissors and VBS handicraft glue glue them together. Let everything dry thoroughly.
Prepare the snow base Generously coat your painting board with decorative snow. This creates the foundation for your Christmas miniature world. Make sure to work unevenly: Small mounds and ridges look like natural snowfall. If you prefer clean edges, coat the edges of the cardboard as well so that no “cardboard edge” shows through later.
Incorporating elevations and hills To create different levels, split a polystyrene ball and press the halves into the still-wet snow. Coat the Styrofoam surfaces with decorative snow as well, so the material isn’t visible and everything looks seamless. You can then place a mini-fir on top of such a hill. The advantage of these elevations: Your scene gains depth, and the miniatures look as if they’re part of a small winter landscape rather than just “set up.”
Placing Miniatures and Setting Up the Scene Place the playground equipment in the wet snow while it’s still malleable. Press them in lightly so they stand securely. Then place Christmas bears and small gifts in a way that creates lines of sight and paths: one bear on the seesaw, one by the slide, and one on the swing. If you want to place figures on playground equipment, add a small dot of handicraft glue . This ensures that nothing slips out of place when you’re decorating or rearranging later.
Let it dry and add the finishing touches Let everything dry thoroughly before moving the scene. This keeps the decorative snow stable, and the wooden spatula structures will hold up over time. If any gaps are still visible after drying, dab a little decorative snow there to hide the transitions and make the snow cover look seamless.
Now it’s your turn! If you’d like to craft even more miniatures for your “ christmas decoration ,” you’ll find the right craft supplies for snowy landscapes, small figures, and everything else to perfectly complement your winter world in our online shop.