- Secure order
- Easy return shipment
- Service-Hotline +32 50 89 35 27
Instructions No. 3262
Difficulty: Beginner
Working time: 1 hour 30 Minutes

Step 1: Prepare the modelling clay
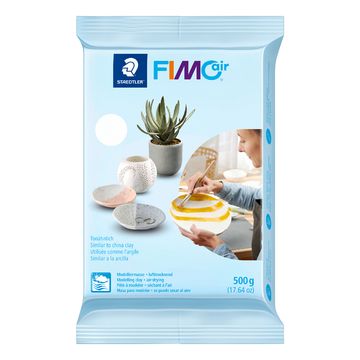
Cut off as much of the modelling clay as you like. Make sure that the amount is sufficient for the bunny's body and tail. Knead the mixture thoroughly until it is smooth and malleable. This preparation ensures that the dough does not tear and makes it easier for you to modelling If you want to use different colors, decide now whether you want to form the body and tail from the same color or combine different shades.
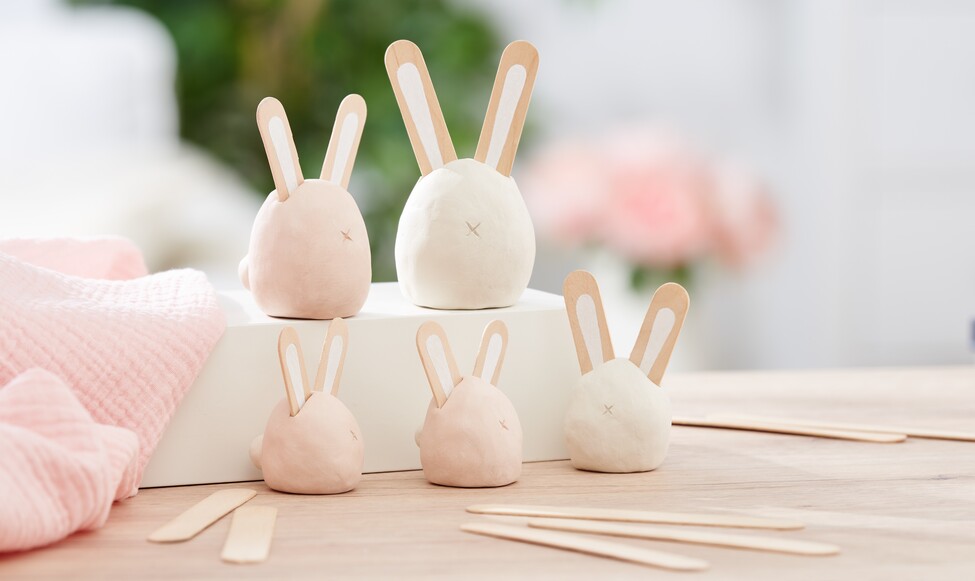
Step 2: Shape the body and tail
Sculpt a bunny body from the dough. The classic shape would be a round body, but there are no limits to your imagination. Also shape a small tail and attach it to the appropriate part of the body. Use modeling tools to create smooth and clean transitions between the parts. These tools will help you to smooth out the mass and remove any unevenness. A little trick: you can easily smooth out cracks and unevenness with a little water.
Step 3: Design the face
To give the bunny a face, carve a small "X" into the clay as a mouth.
Step 4: Cut and attach the ears
Depending on the size of your modeled bunnies, cut the ears out of wooden spatulas. Wooden spatulas are sturdy and can be easily cut with craft scissors. Paint the inside of the ears with a marker to give them more expression. Carefully insert the finished ears into the bunny's head.
Step 5: Dry and finish
Now leave your bunnies to dry completely. Depending on the size of the figures and the room conditions, this may take a few hours. After drying, you can sand the surface of your bunnies smooth with a fine sandpaper if necessary. This will give you a beautifully smooth surface that looks professional.